Overview
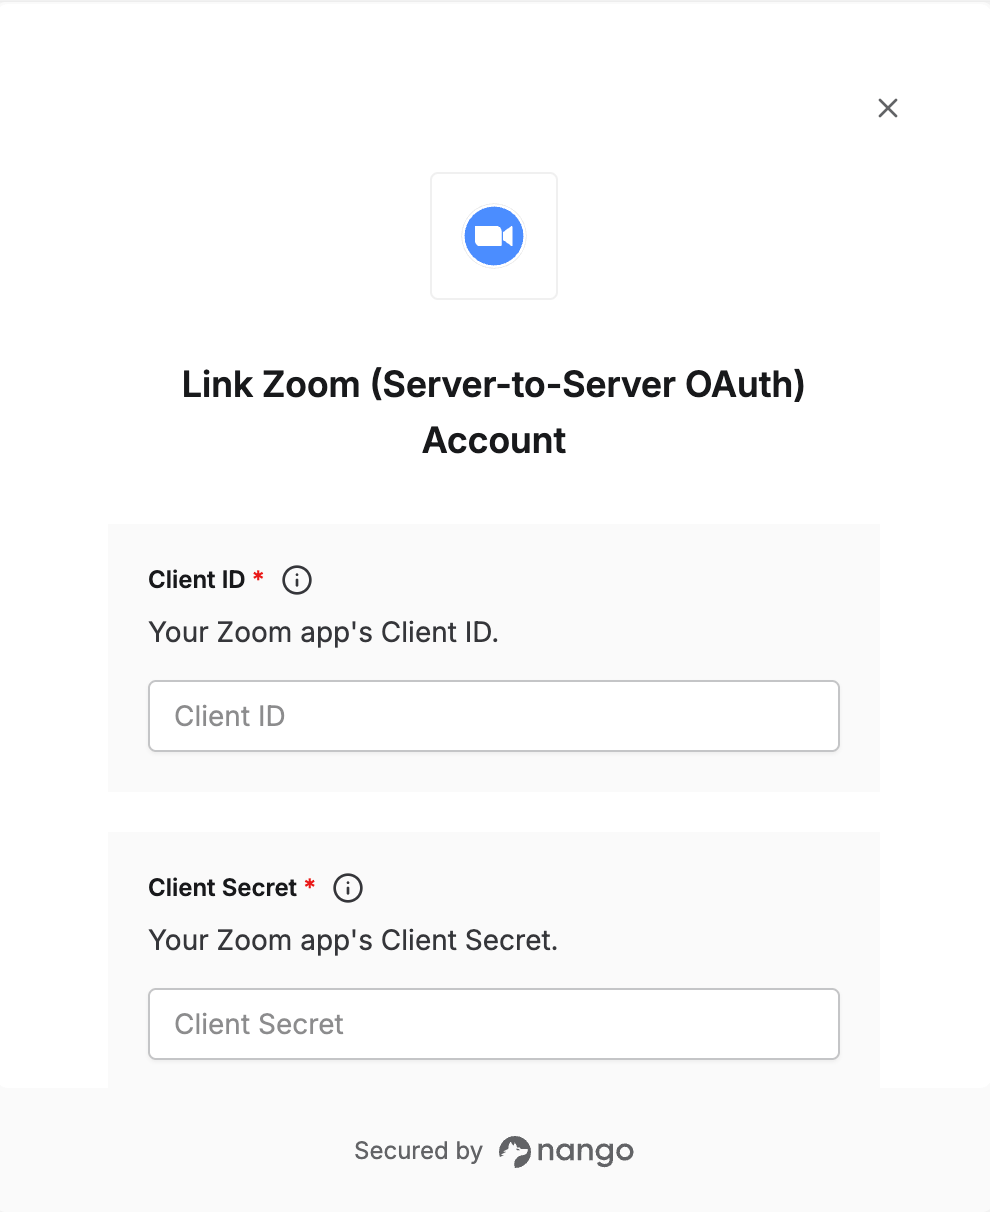
To authenticate with Zoom using Server-to-Server OAuth, you need the Account ID, Client ID, and Client Secret from a Server-to-Server OAuth app. This guide walks you through creating the app and finding these values.Prerequisites:
- A Zoom account with developer permissions on the Zoom App Marketplace.
Instructions:
Step 1: Creating a Server-to-Server OAuth app
- Sign in to the Zoom App Marketplace with an account that has developer permissions.
- In the lower-left navigation pane, click Developer. This link only appears if your account has developer permissions — check with your admin if you don’t see it.
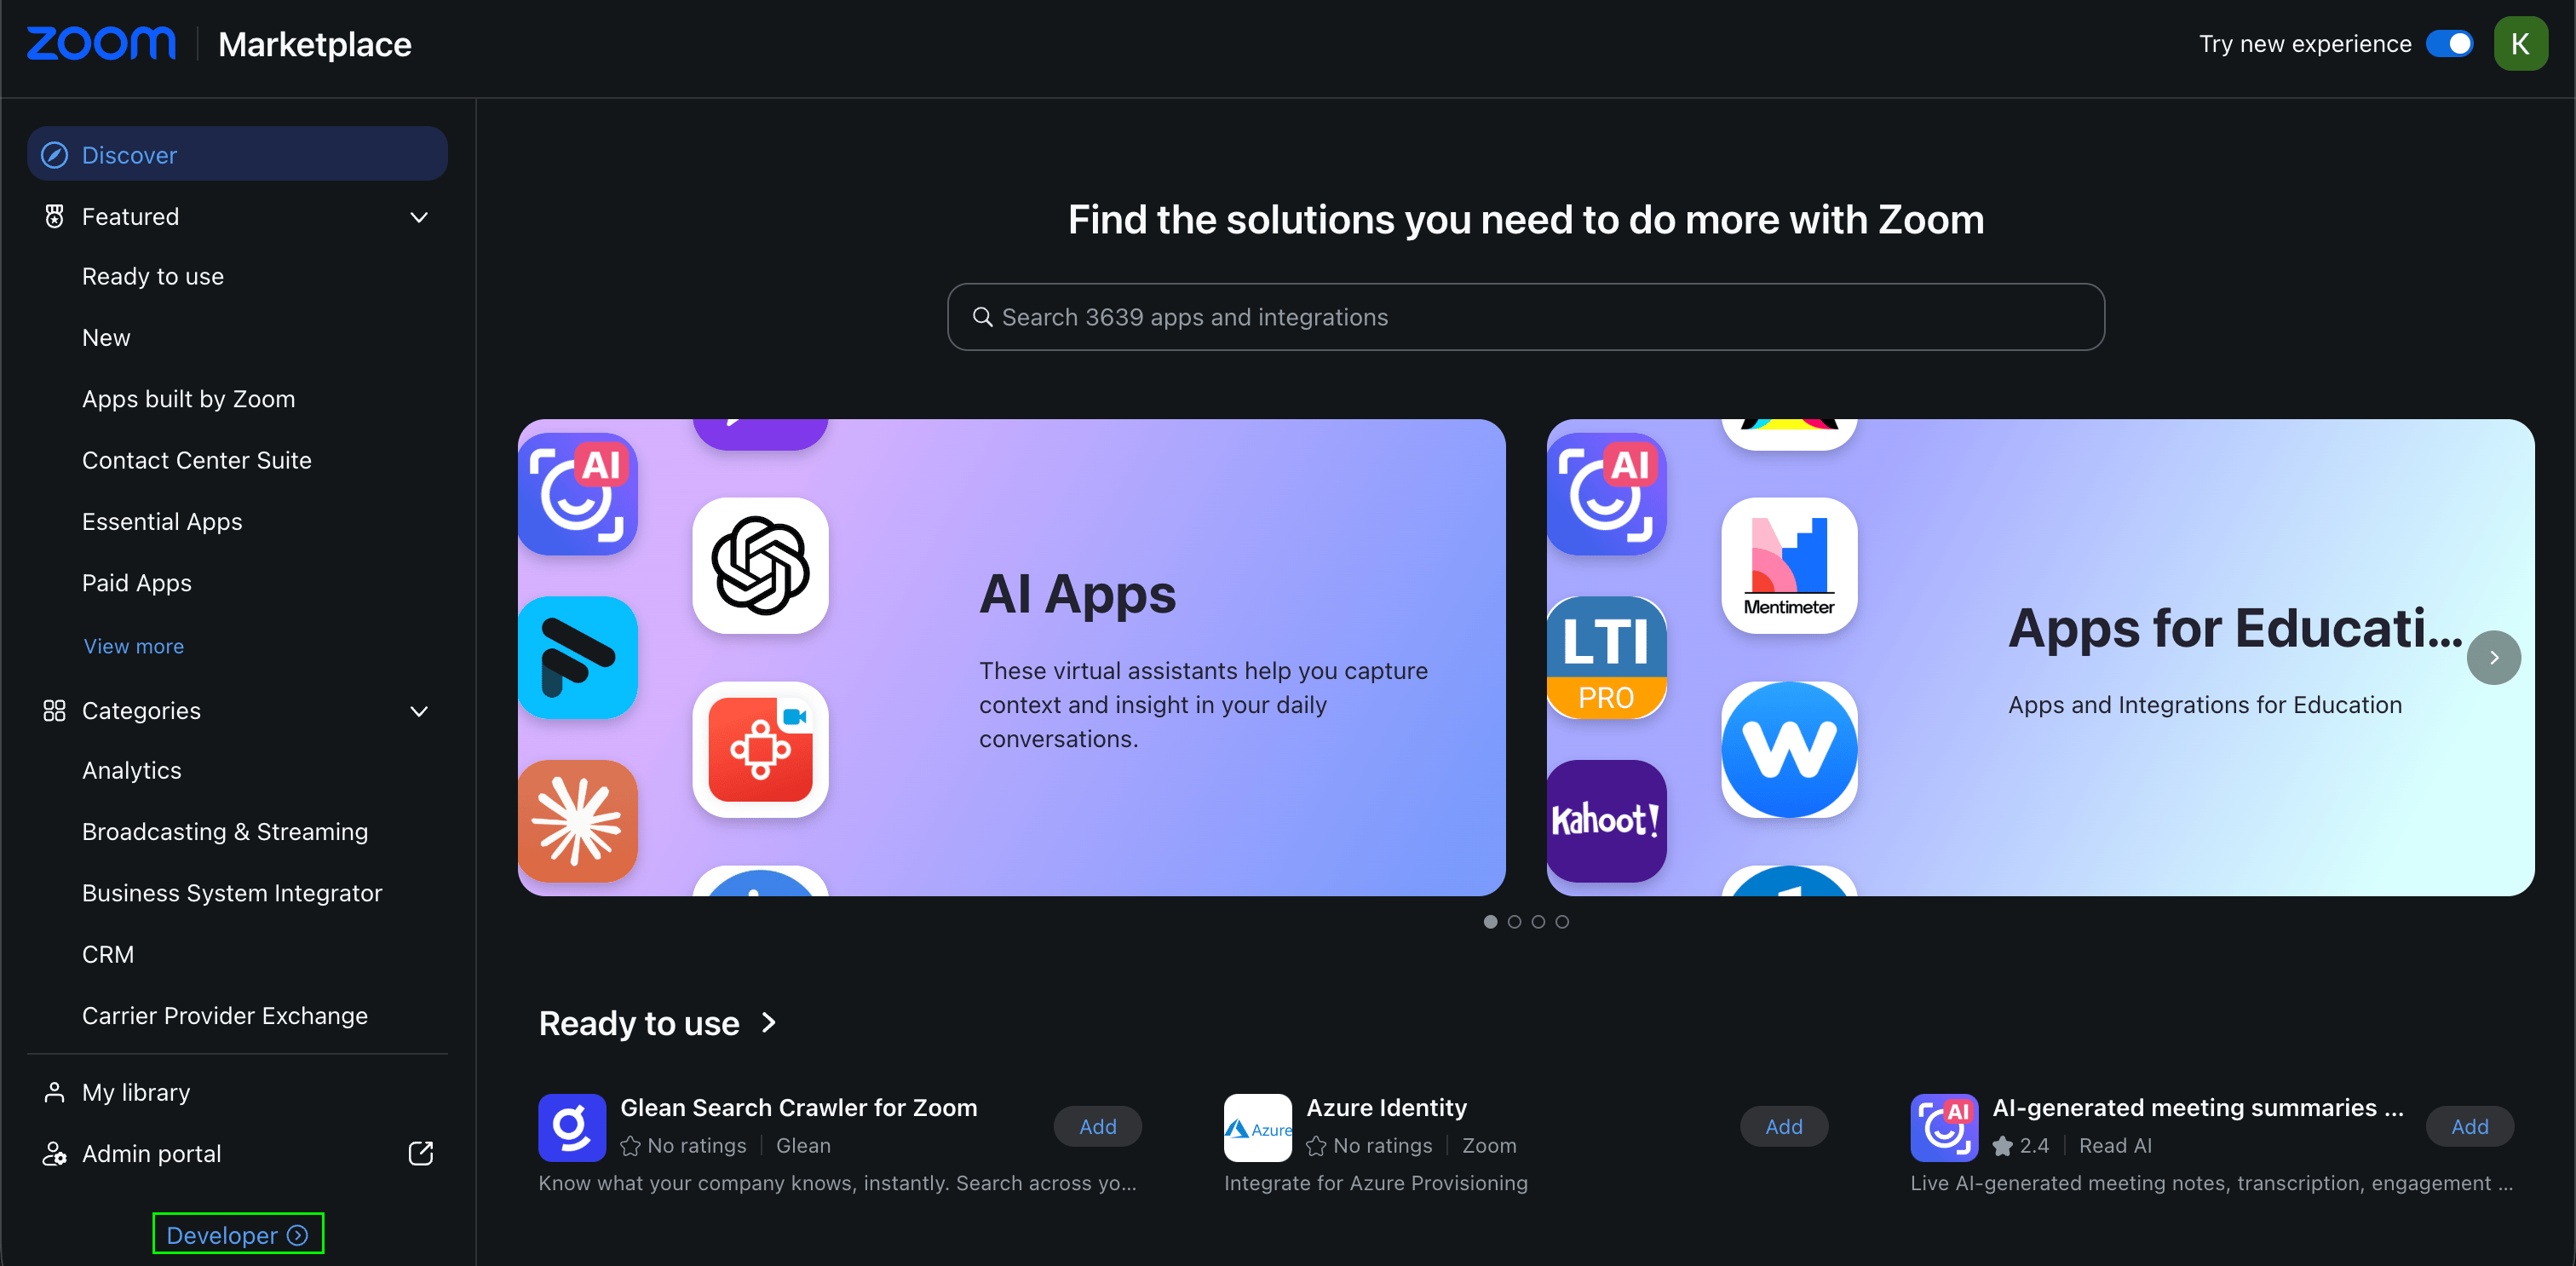
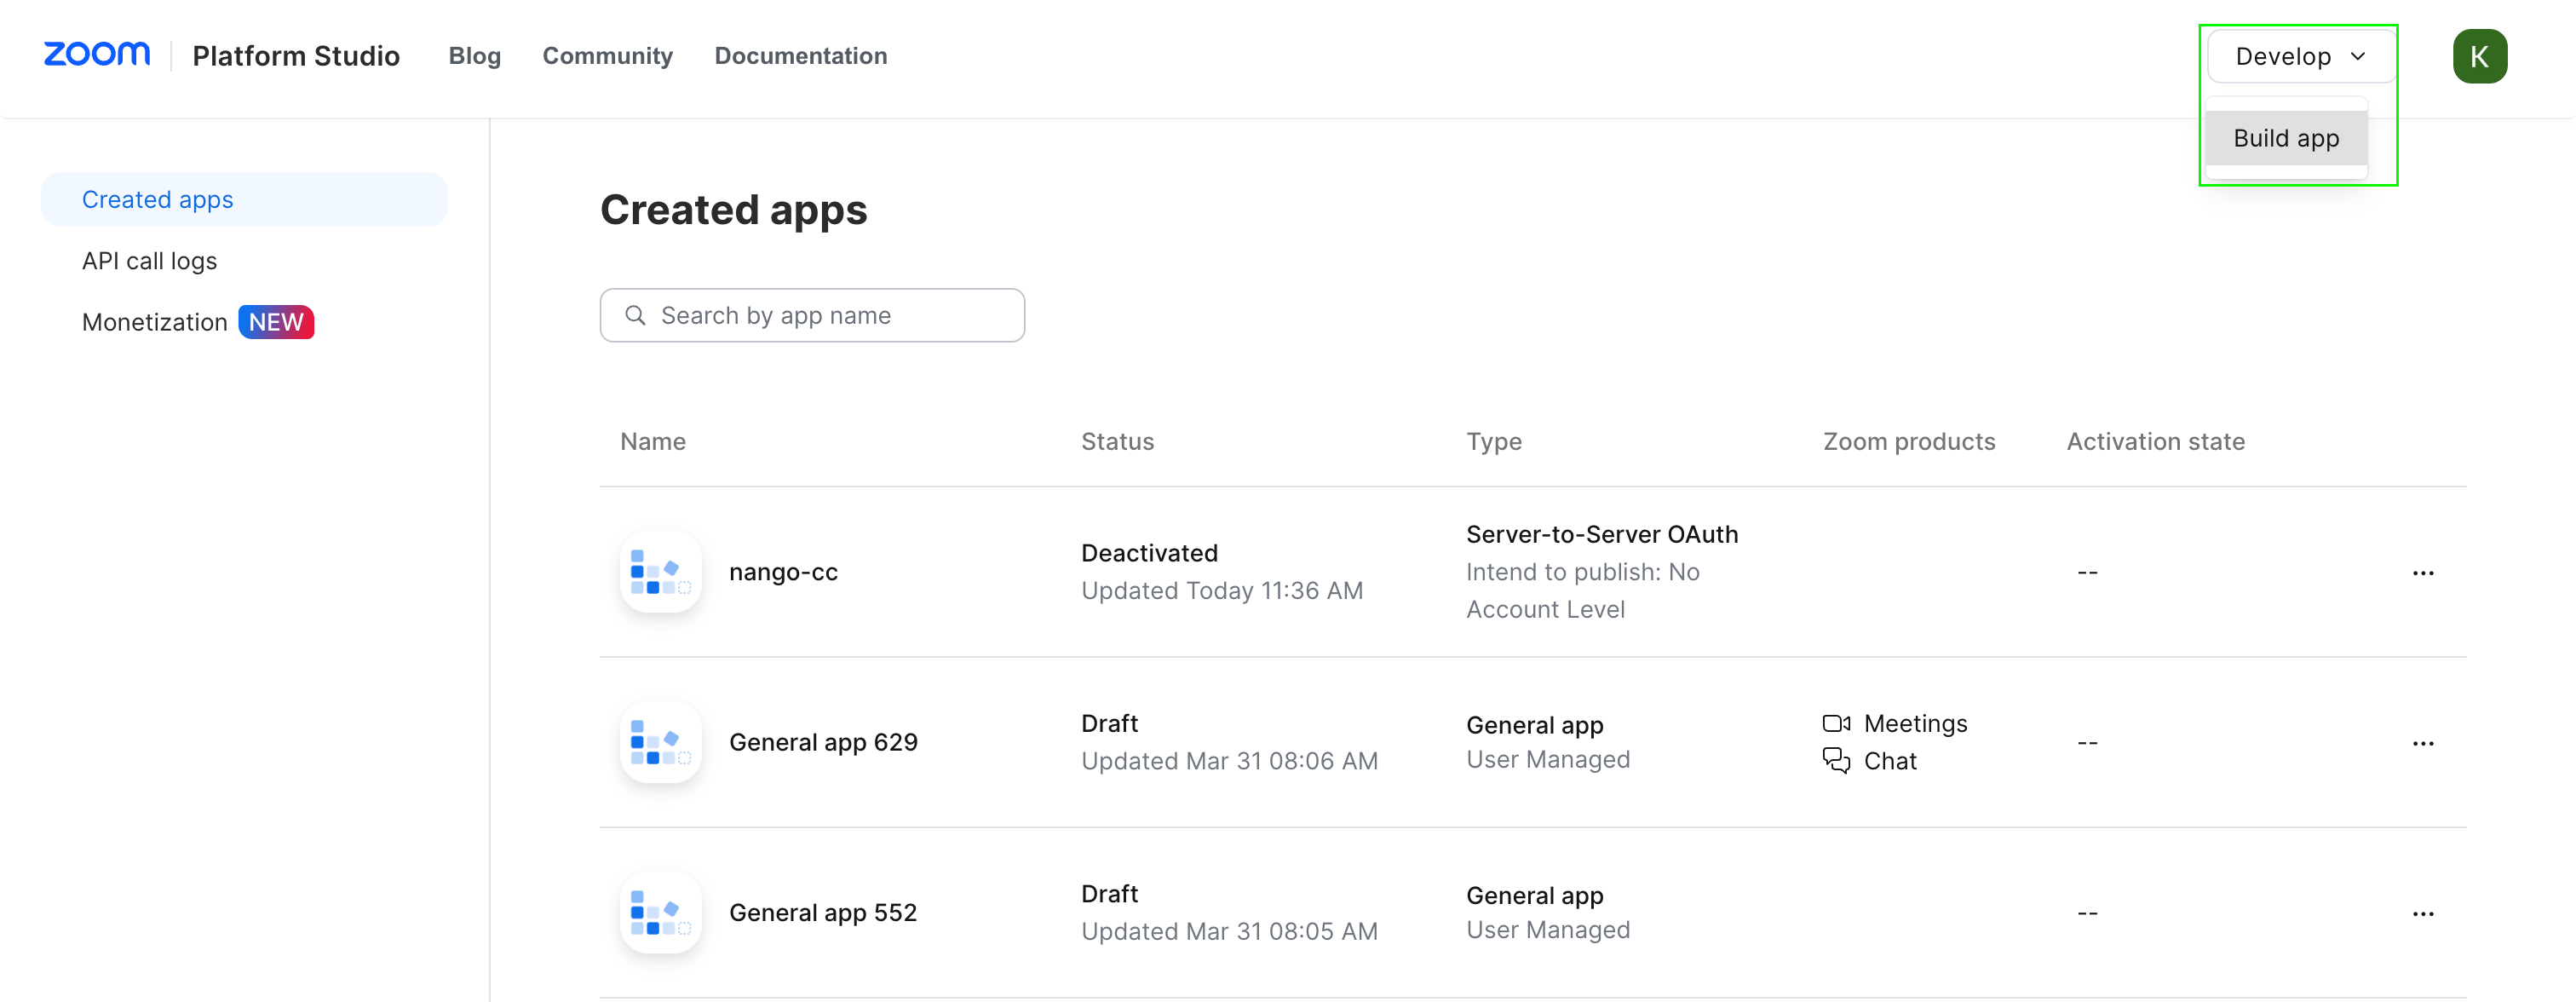
- On the Created apps page, click Develop and select Build an app.
- Select Server-to-Server OAuth app, enter a name and click Create.
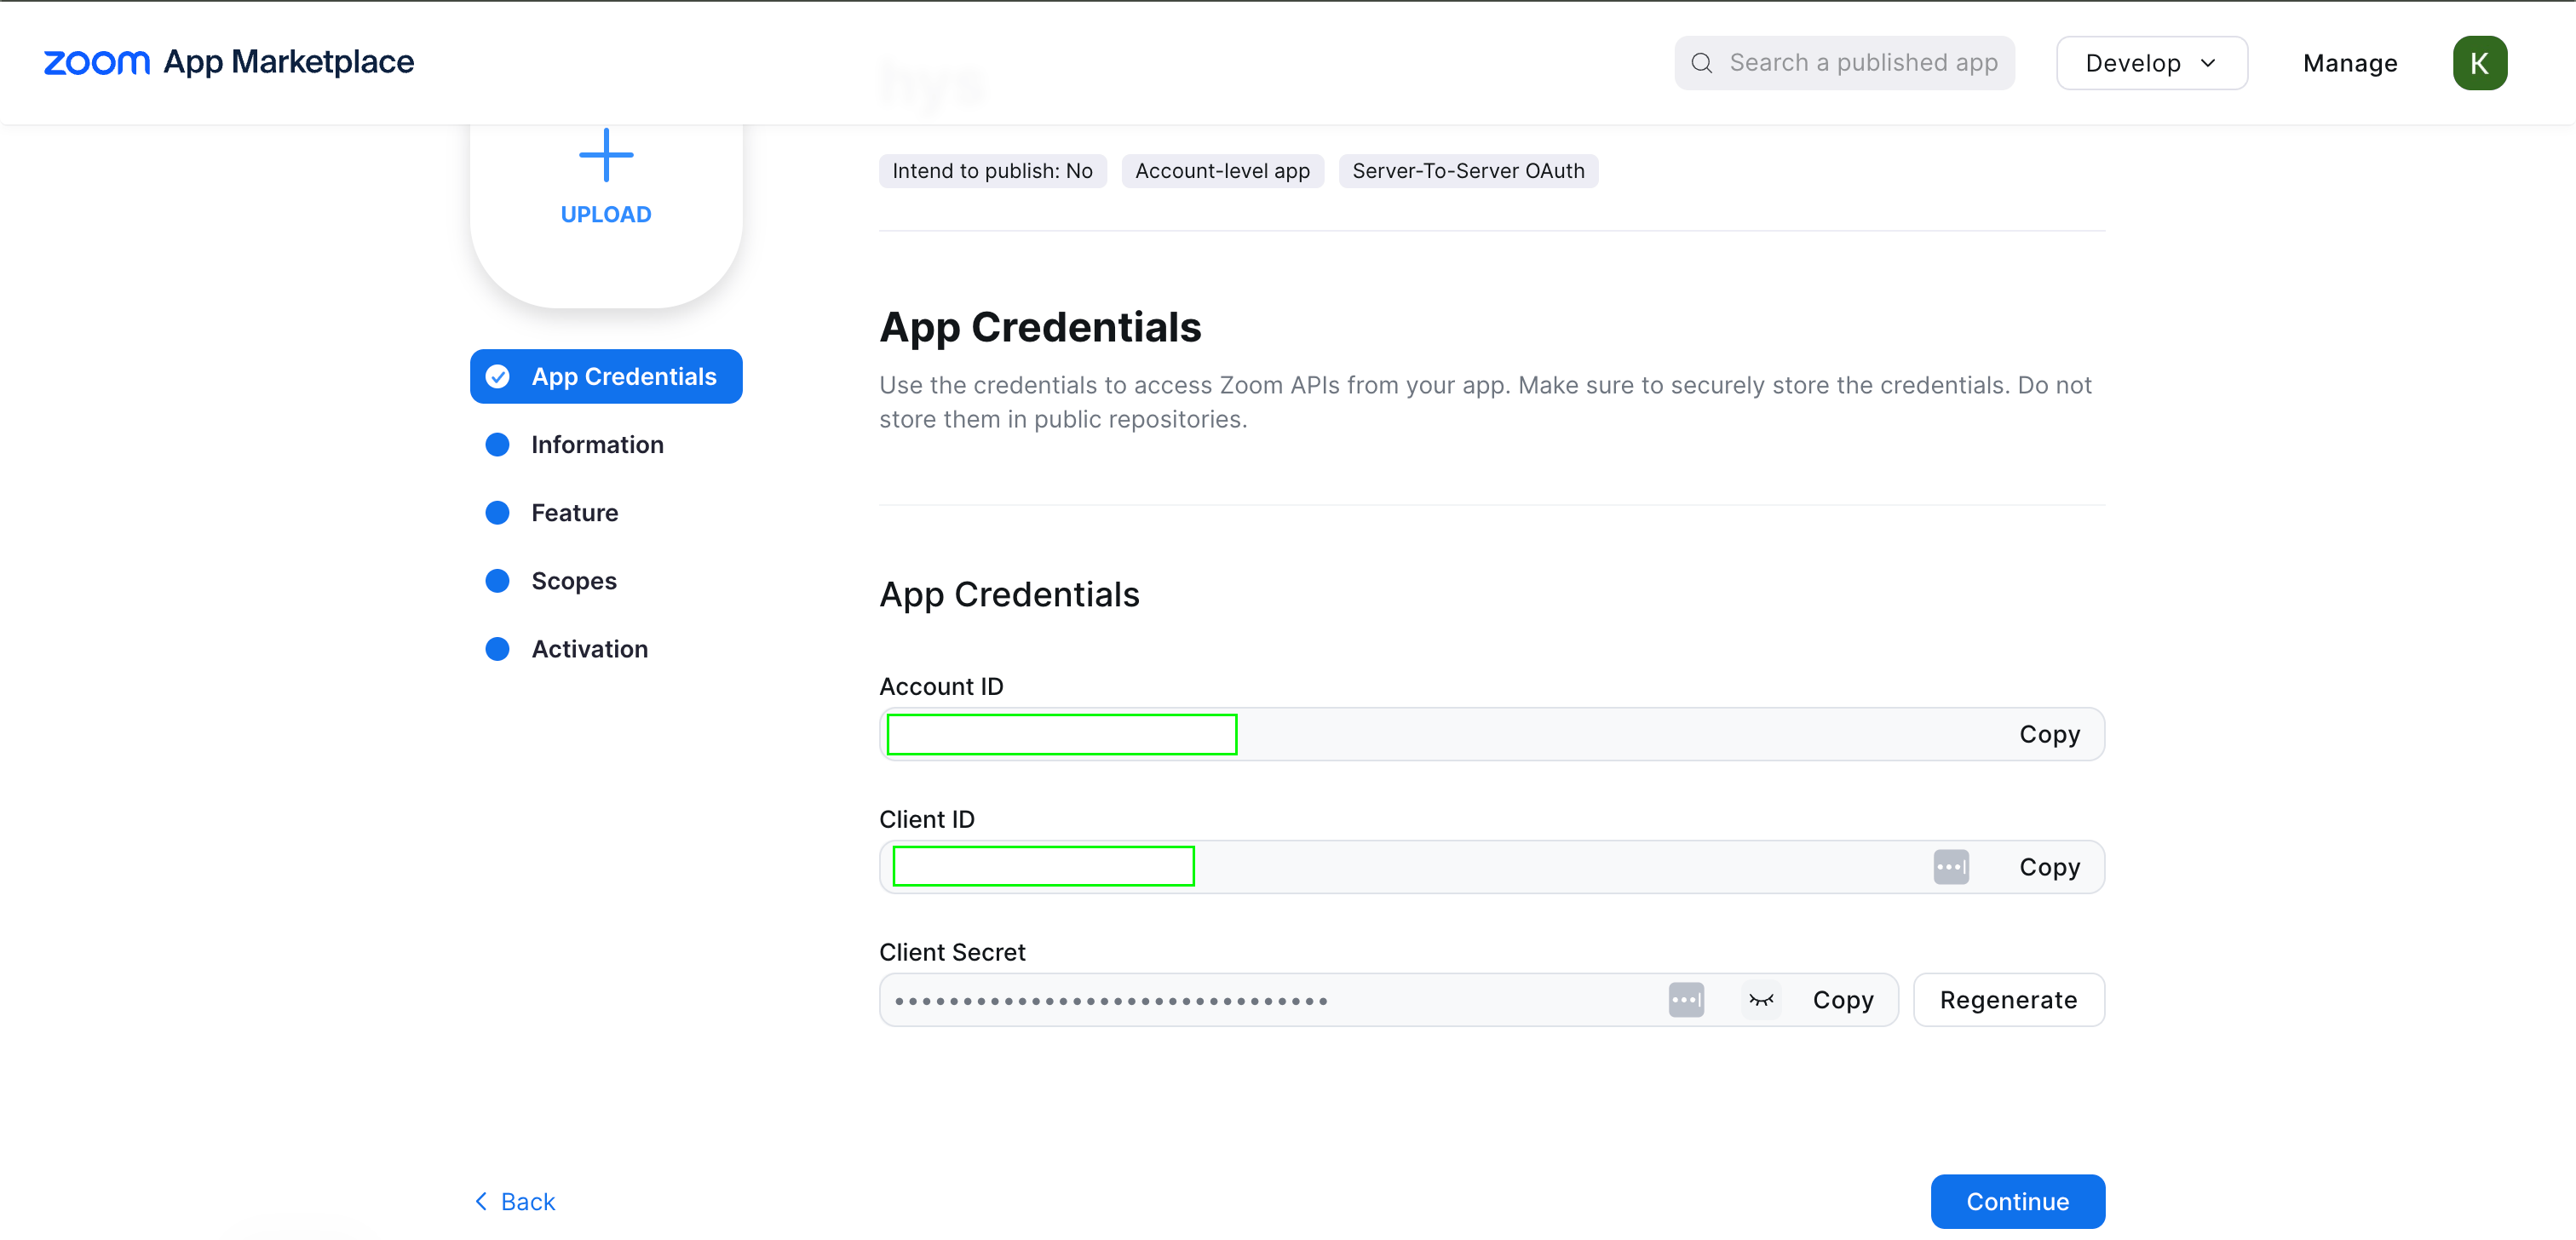
- On the App Credentials section, note your Account ID, Client ID, and Client Secret — you’ll enter all three in Nango.
- Under Information, add a description, company name, and developer contact name and email (required for activation).
- Under Scopes, click Add Scopes and add the API scopes your integration needs.
- Activate the app. You can’t generate an access token until it’s activated — if activation fails, resolve any errors shown before continuing.
Step 2: Enter credentials in the Connect UI
- Open the form where you need to authenticate with Zoom.
- Enter your Account ID, Client ID, and Client Secret in their designated fields.
- Submit the form, and you should be successfully authenticated.