Overview
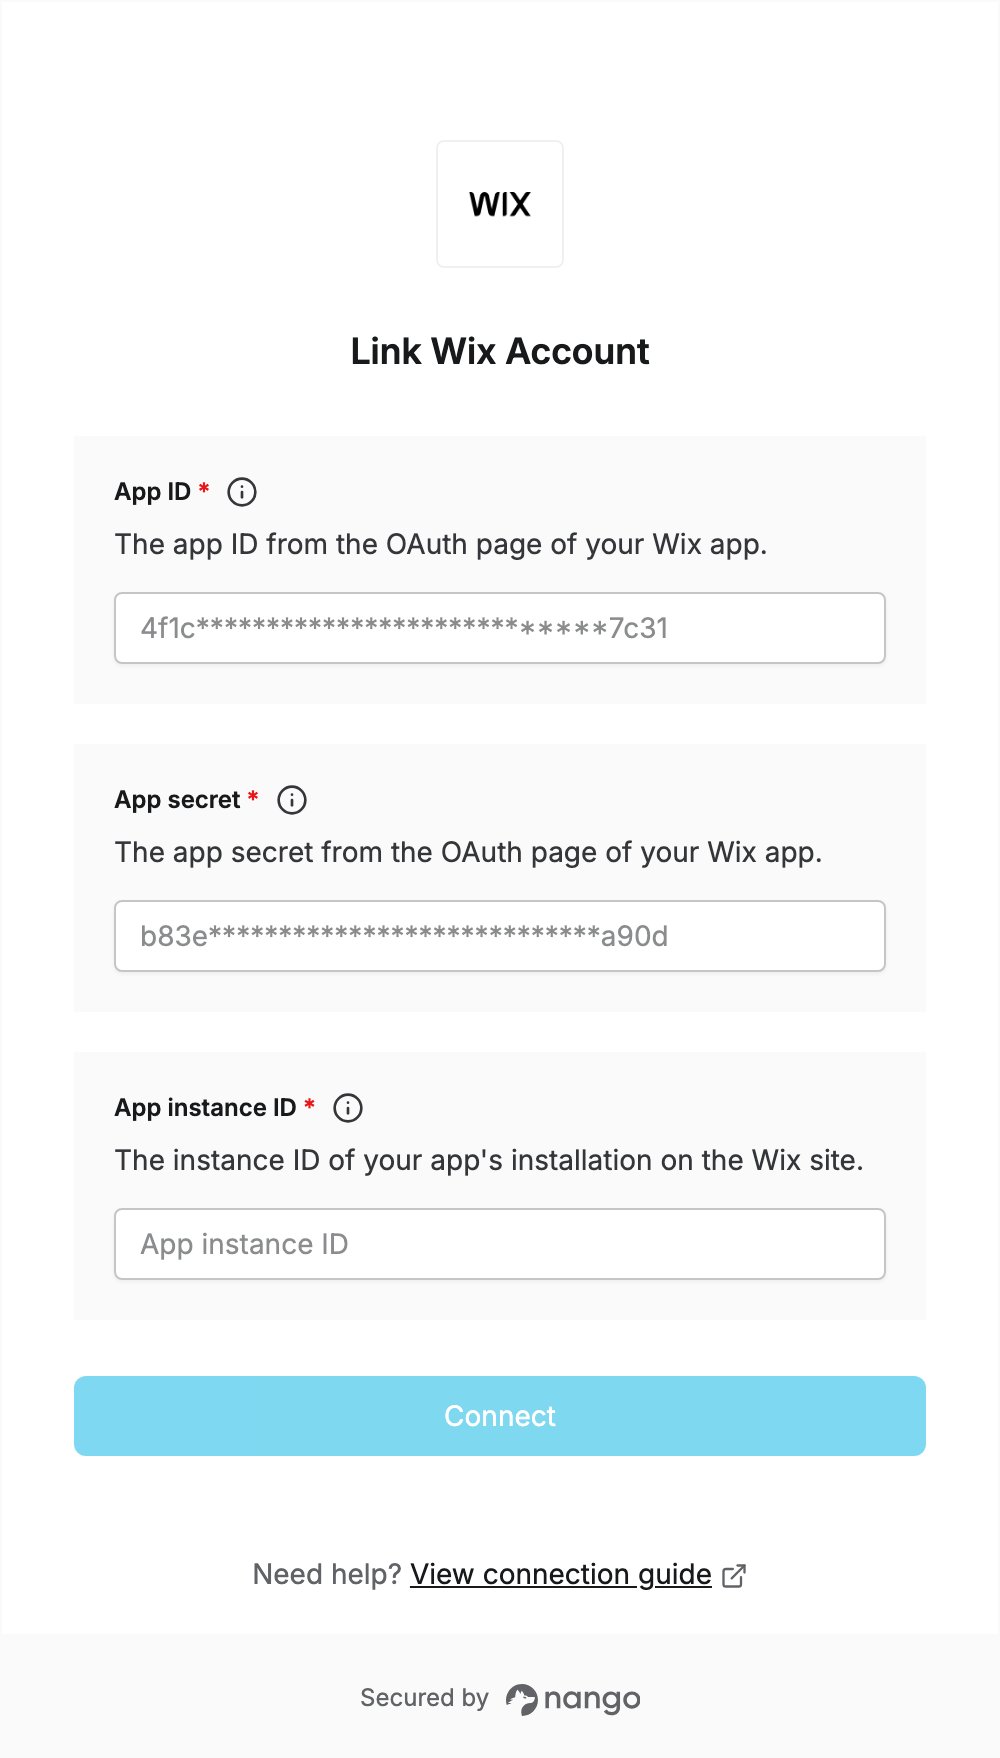
To authenticate with Wix, you need:- App ID - The ID of your self-managed Wix app.
- App secret - The secret of that app.
- App instance ID - The
instanceIdof your app’s installation on the Wix site to connect.
Prerequisites
- A Wix Studio account. If you don’t have one, sign up.
- Your app installed on the Wix site you want to connect.
Instructions
Step 1: Create a Wix app
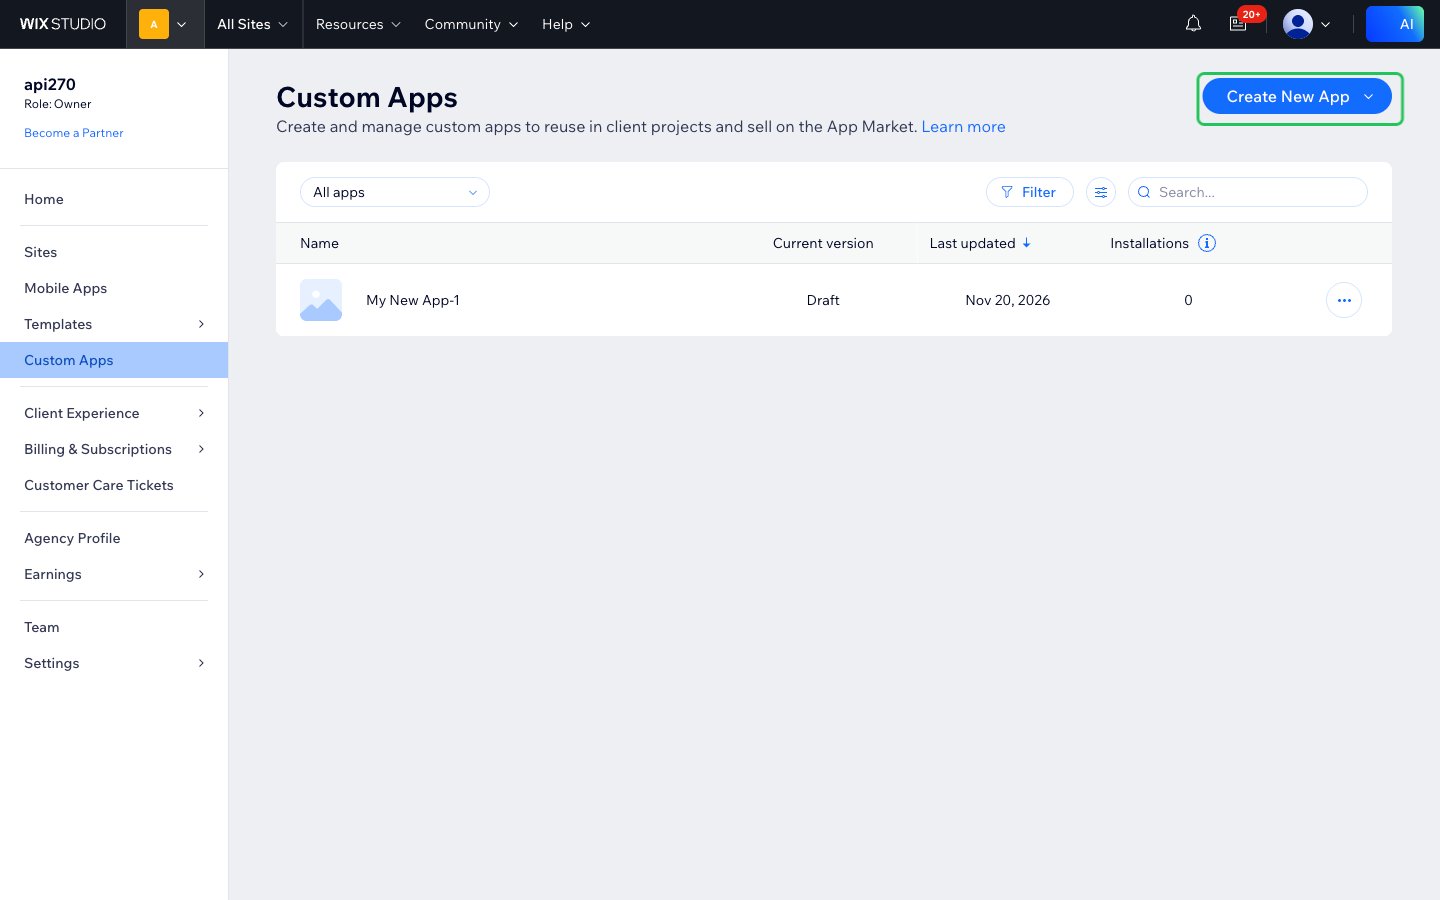
- Log in to Wix Studio and open Custom Apps.
- Click Create New App, then under Self-managed choose Start From Scratch and click Create App. To use an existing app, open it from the list instead.
- On your app’s Permissions page, add the permissions your API calls need. For example, getting the app instance needs Manage Your App.
Step 2: Copy your app ID and app secret
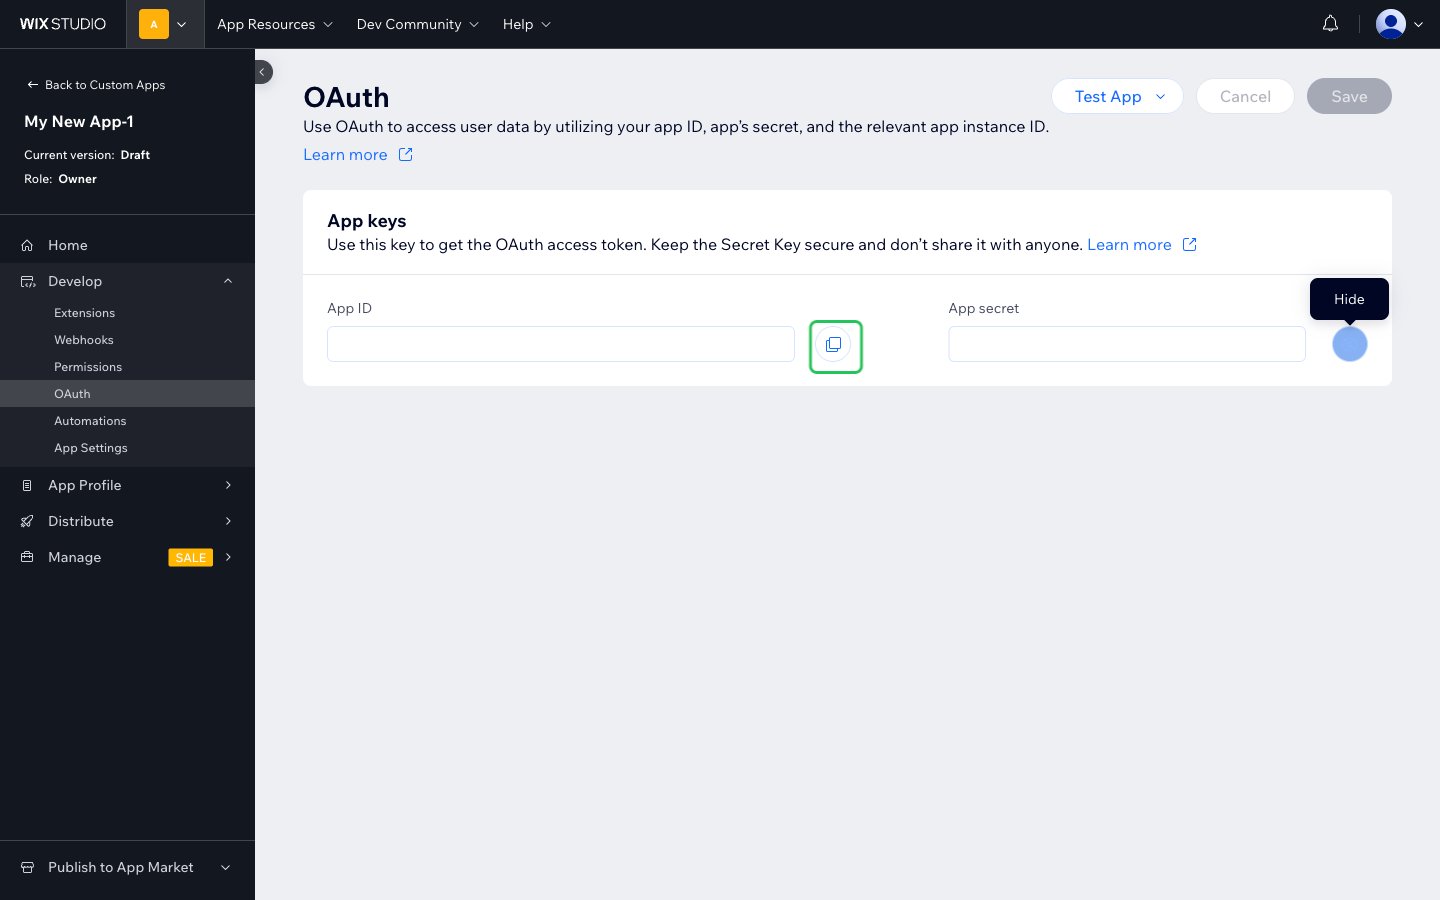
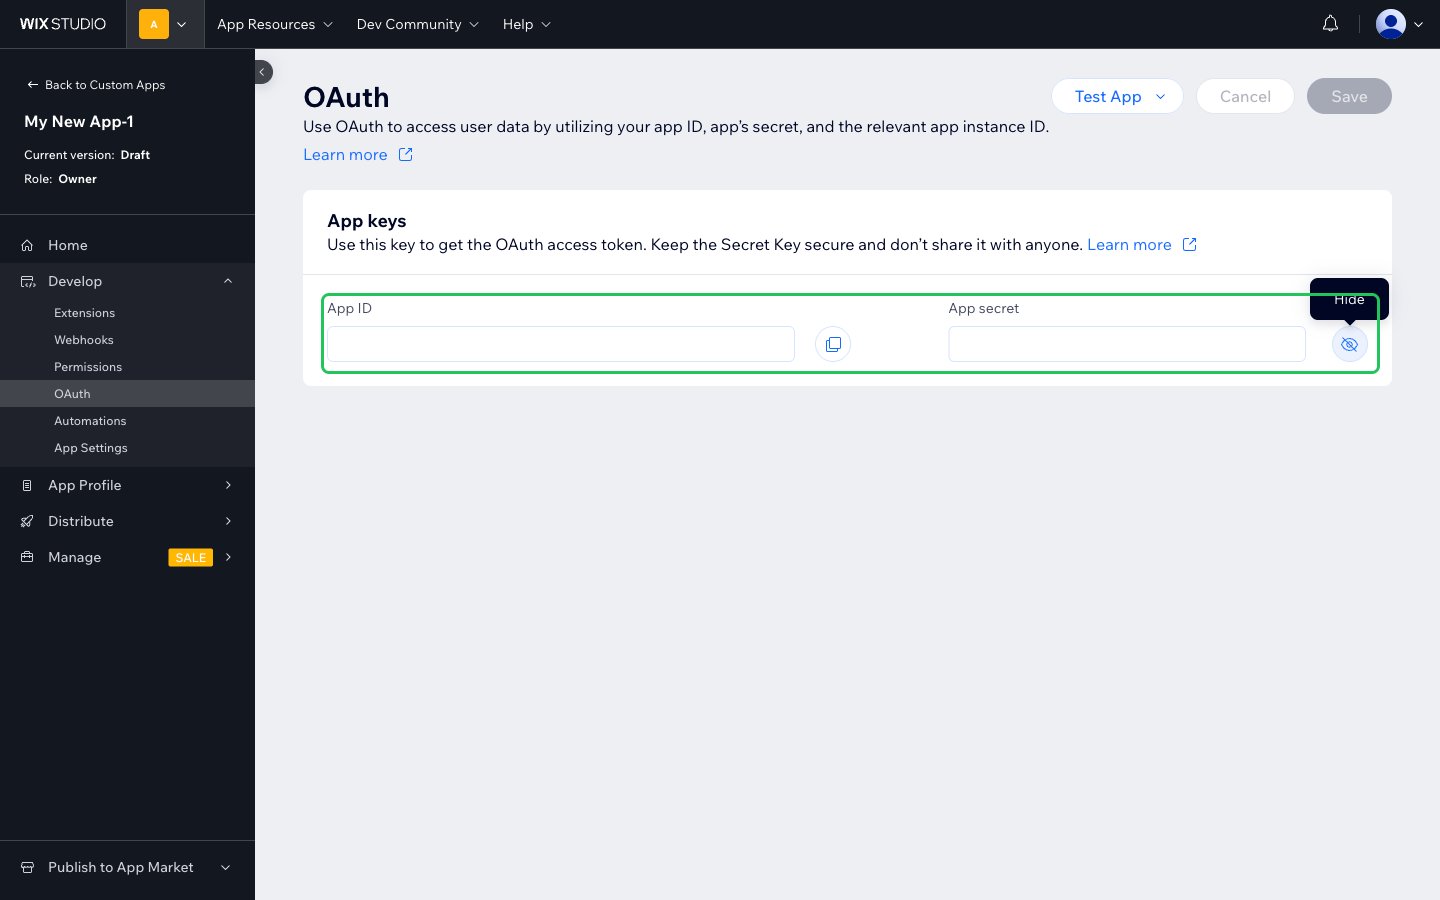
- In your app’s dashboard, go to Develop -> OAuth.
- Copy the App ID with the copy button next to it.
- Click the eye icon next to App secret to reveal it, then copy it. Keep the secret confidential.
Step 3: Get the app instance ID
The app instance ID identifies your app’s installation on one site. Install the app on the site (to test on a development site, click Test App -> Test on dev site), then get itsinstanceId from one of these:
- The App Instance Installed event, sent when your app is installed on a site. Wix suggests subscribing to it to save the
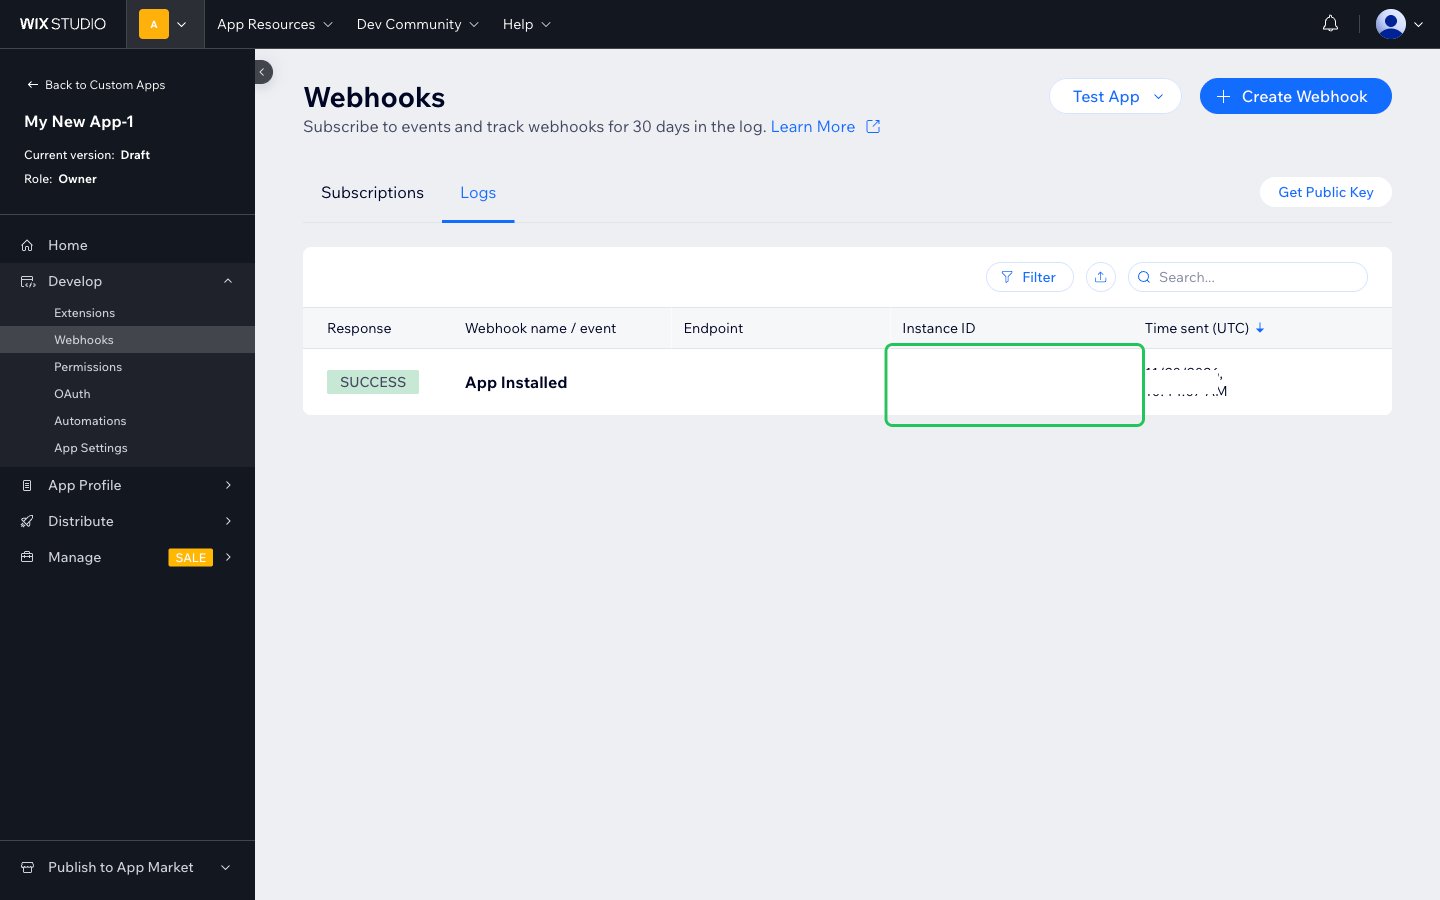
instanceId. If your app subscribes to it, go to Develop -> Webhooks -> Logs: the App Installed row shows the Instance ID. - The payloads of other events Wix sends your app.
- The app instance query parameter that Wix passes to your app’s iframes and external pages.
Step 4: Enter your credentials in the Connect UI
- Open the form where you need to authenticate with Wix.
- Enter your App ID, App secret, and App instance ID.
- Click Connect. Nango requests an access token from Wix with these values, so wrong credentials are rejected.