Overview
To authenticate with Wistia, you need:- API Token — a Wistia API token, or an expiring access token created from one.
Prerequisites
- A Wistia account. You can sign up for free.
- Account Owner access. Only the Account Owner can open the API tokens page.
Step 1: Create an API token
- Log in to Wistia as the Account Owner.
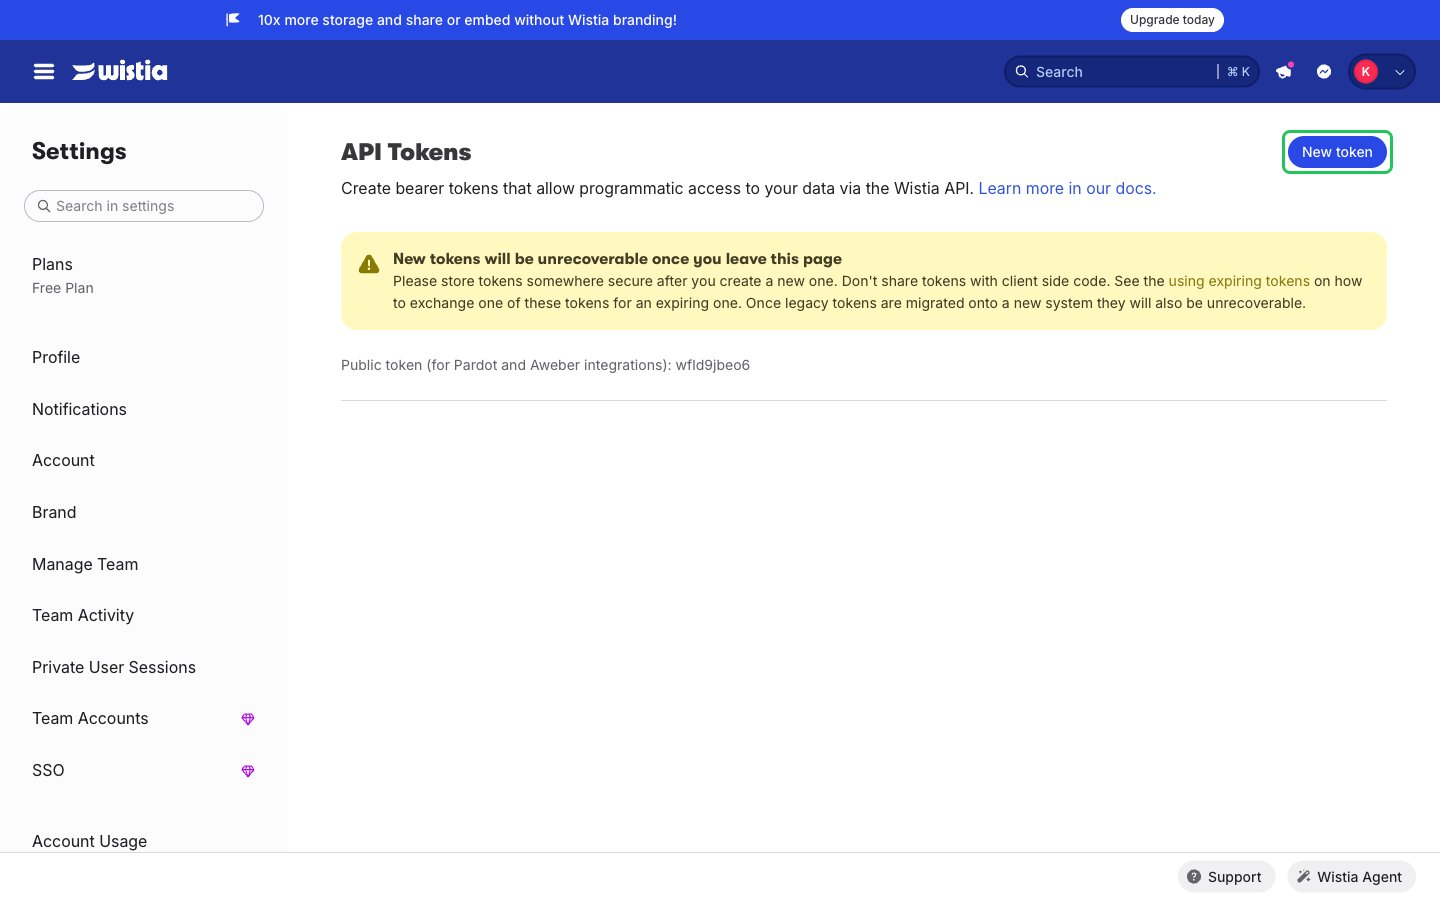
- Open Settings from the account menu and select API Home in the left sidebar, or go to Account Settings > API. Click New token.
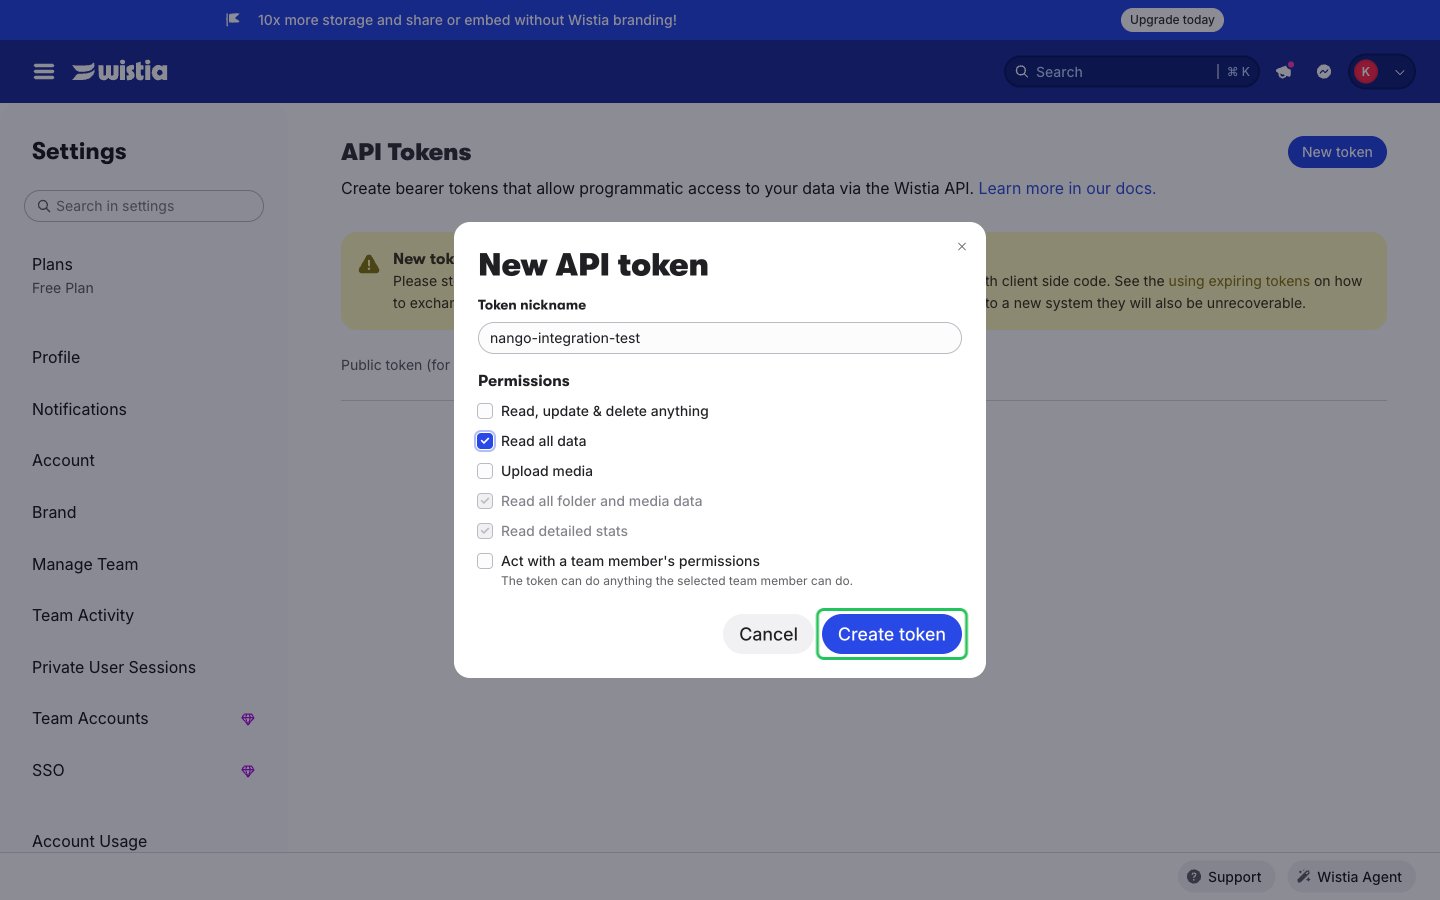
- Enter a Token nickname and select the permissions you need. Read all data is enough for read-only access. Click Create token.
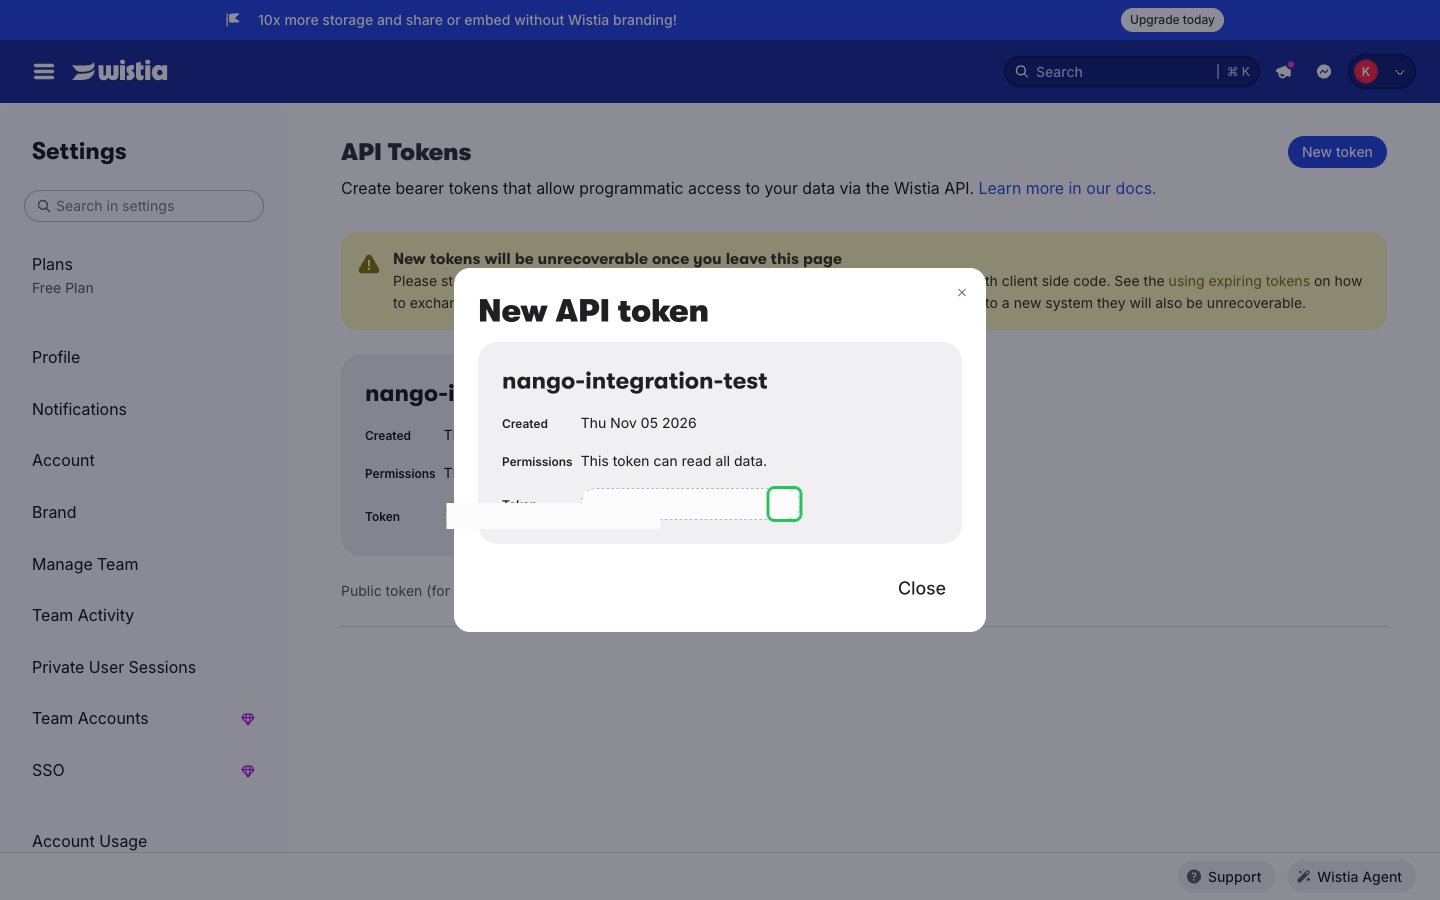
- Click the copy button next to the token and store it securely. You can’t copy it again after you leave or refresh the page.
POST /modern/expiring_token with an API token that has Read, update & delete anything, and grant it the all:delegate_to_contact_permissions scope so it works for REST API requests. It expires two days after creation by default, so use a permanent API token for a lasting connection.
Step 2: Enter your credentials in the Connect UI
- Open the form where you need to authenticate with Wistia.
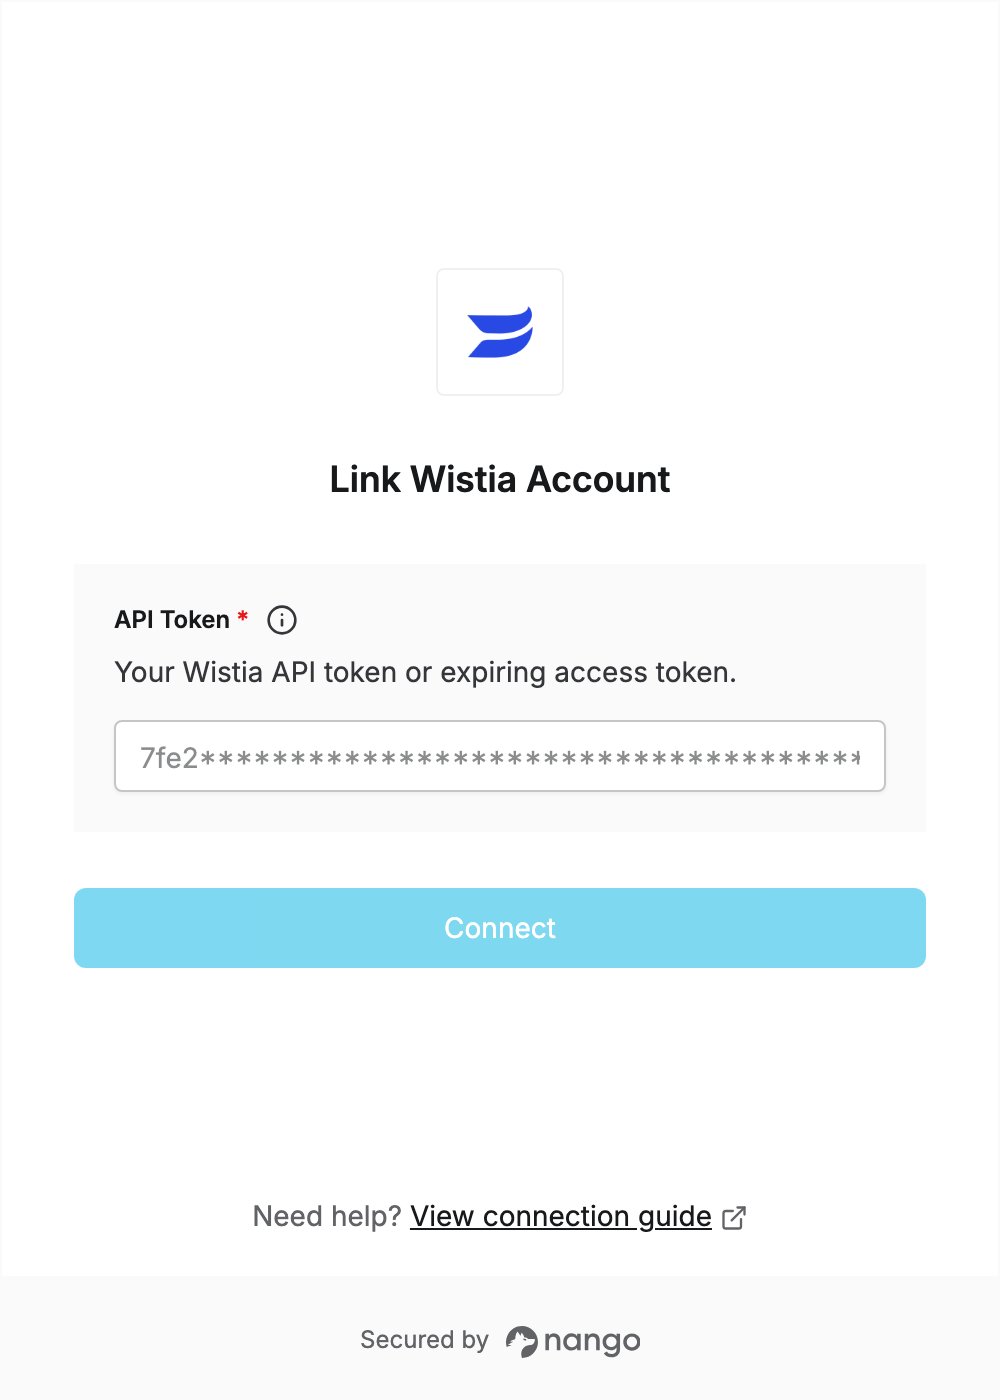
- Enter your API Token in the designated field.
- Submit the form, and you should be successfully authenticated.