Overview
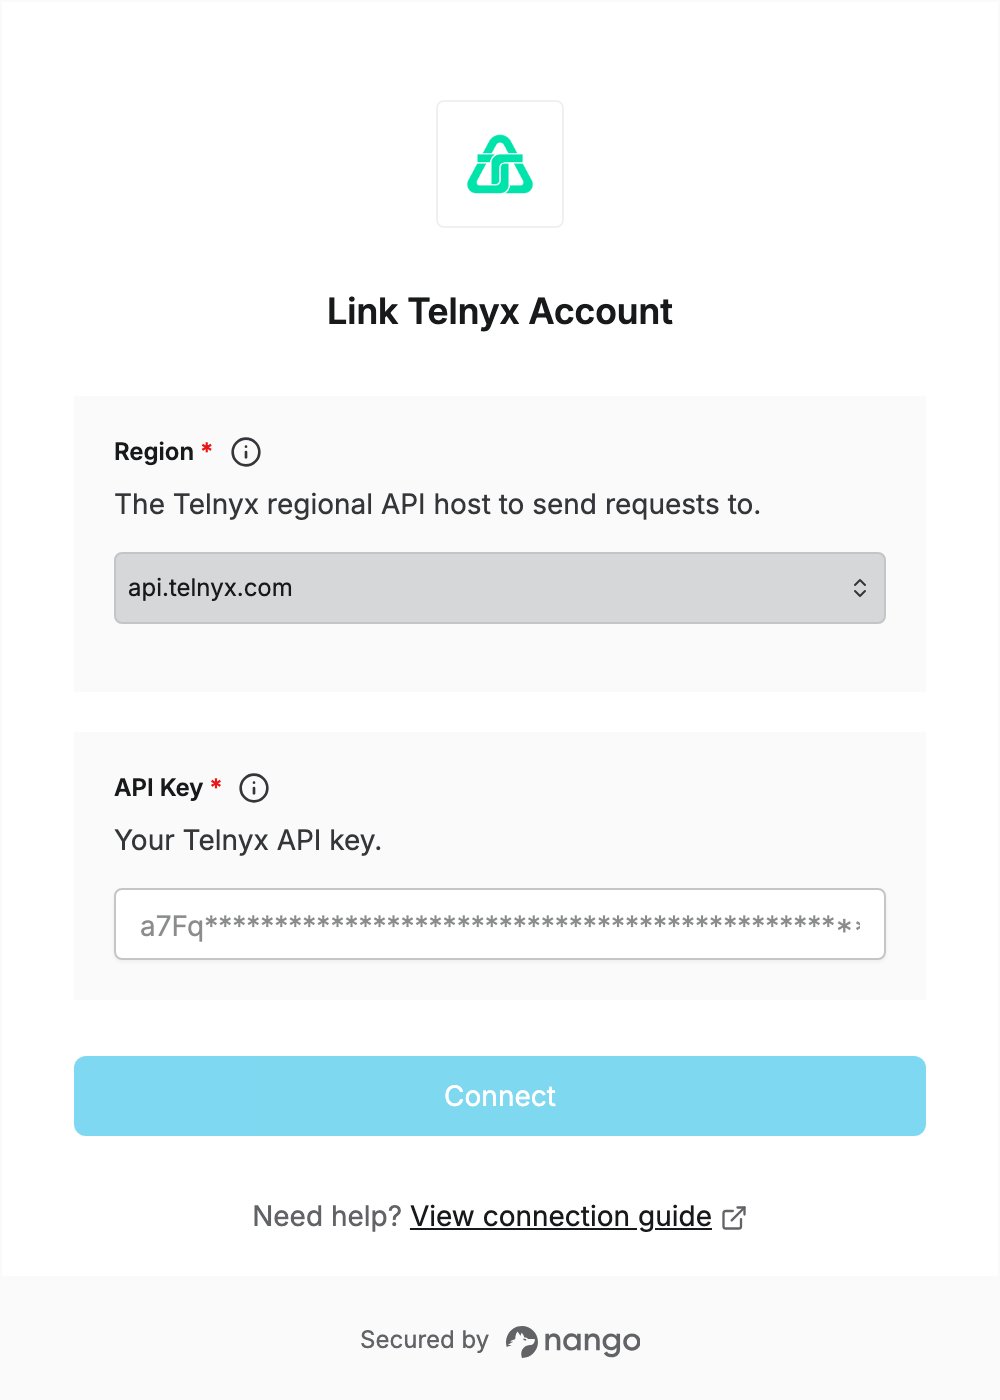
To authenticate with Telnyx, you need:- Region — the Telnyx regional API host to send requests to.
- API Key — a Telnyx API key.
Prerequisites
- A Telnyx account. You can sign up at telnyx.com/sign-up. New accounts come with free testing credits.
Step 1: Choose your region
Regional endpoints work with the same API key, so pick the one you want your requests to go through. If you are not sure, chooseapi.telnyx.com.
See Regional endpoints for details.
Step 2: Create an API key
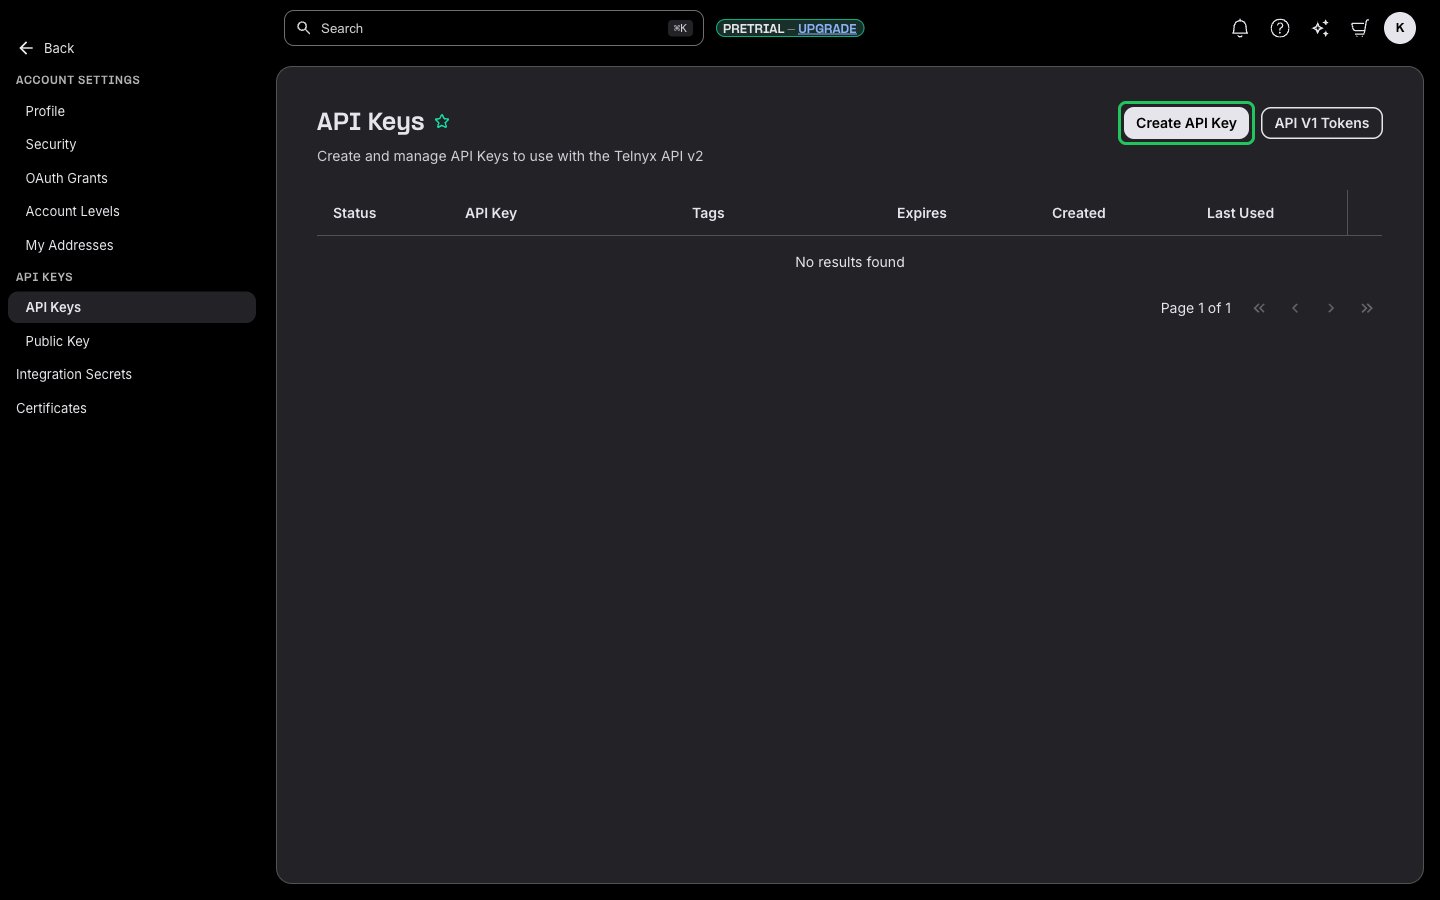
- Sign in to the Telnyx Mission Control Portal and open Account settings → API Keys. Click Create API Key.
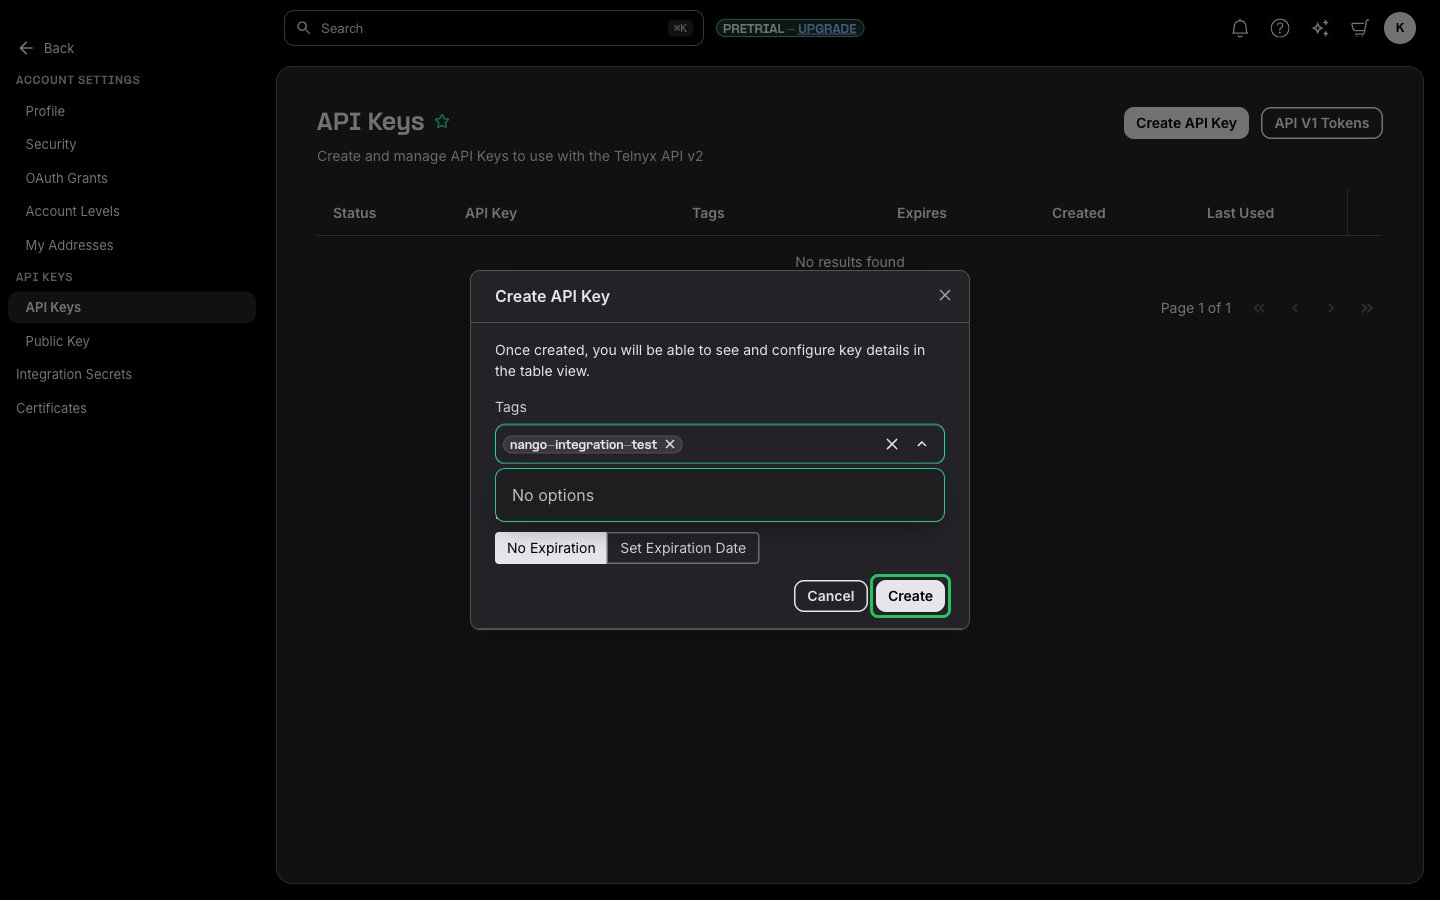
- Under Tags, add a descriptive label for the key. Under expiration, choose No Expiration or Set Expiration Date, then click Create.
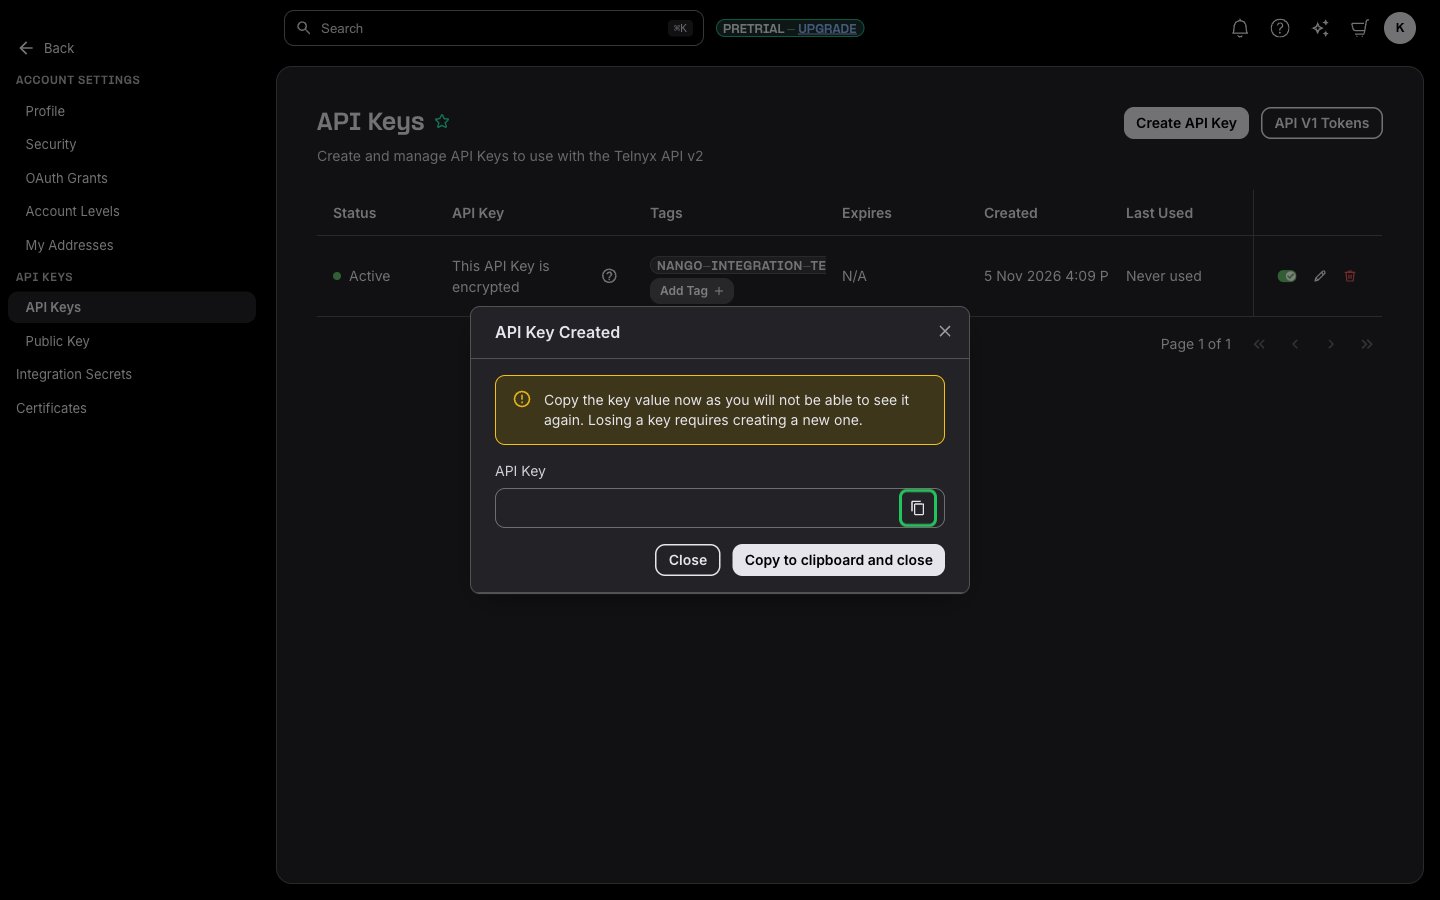
- In the API Key Created dialog, copy the key right away. It is shown only once.
Step 3: Enter your credentials in the Connect UI
- Open the form where you need to authenticate with Telnyx.
- Select your Region and enter your API Key in the designated fields.
- Submit the form, and you should be successfully authenticated.