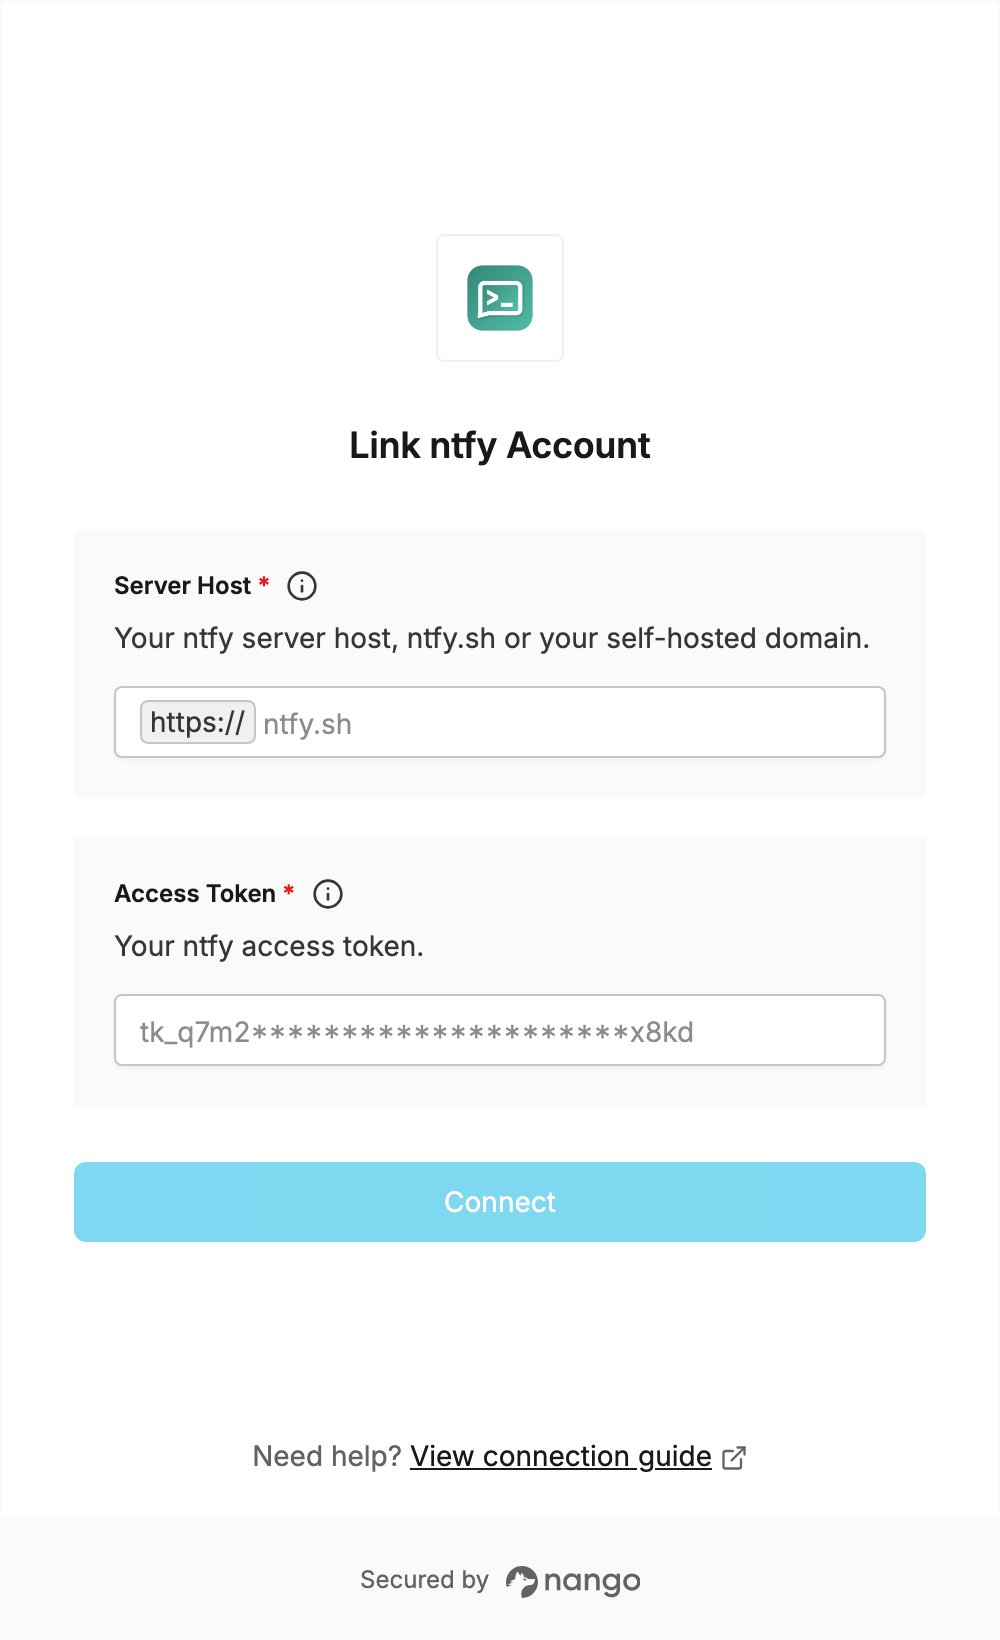
Overview
To authenticate with ntfy, you need:- Server Host — the host of your ntfy server:
ntfy.shor your self-hosted domain. - Access Token — a token that starts with
tk_.
Prerequisites
- A user account on ntfy.sh or on your self-hosted ntfy server.
Step 1: Find your ntfy server host
- On the public server, your host is
ntfy.sh. - On a self-hosted server, copy the host from the address bar of your ntfy web app, without
https://or any path, for examplentfy.example.com.
Step 2: Create an access token
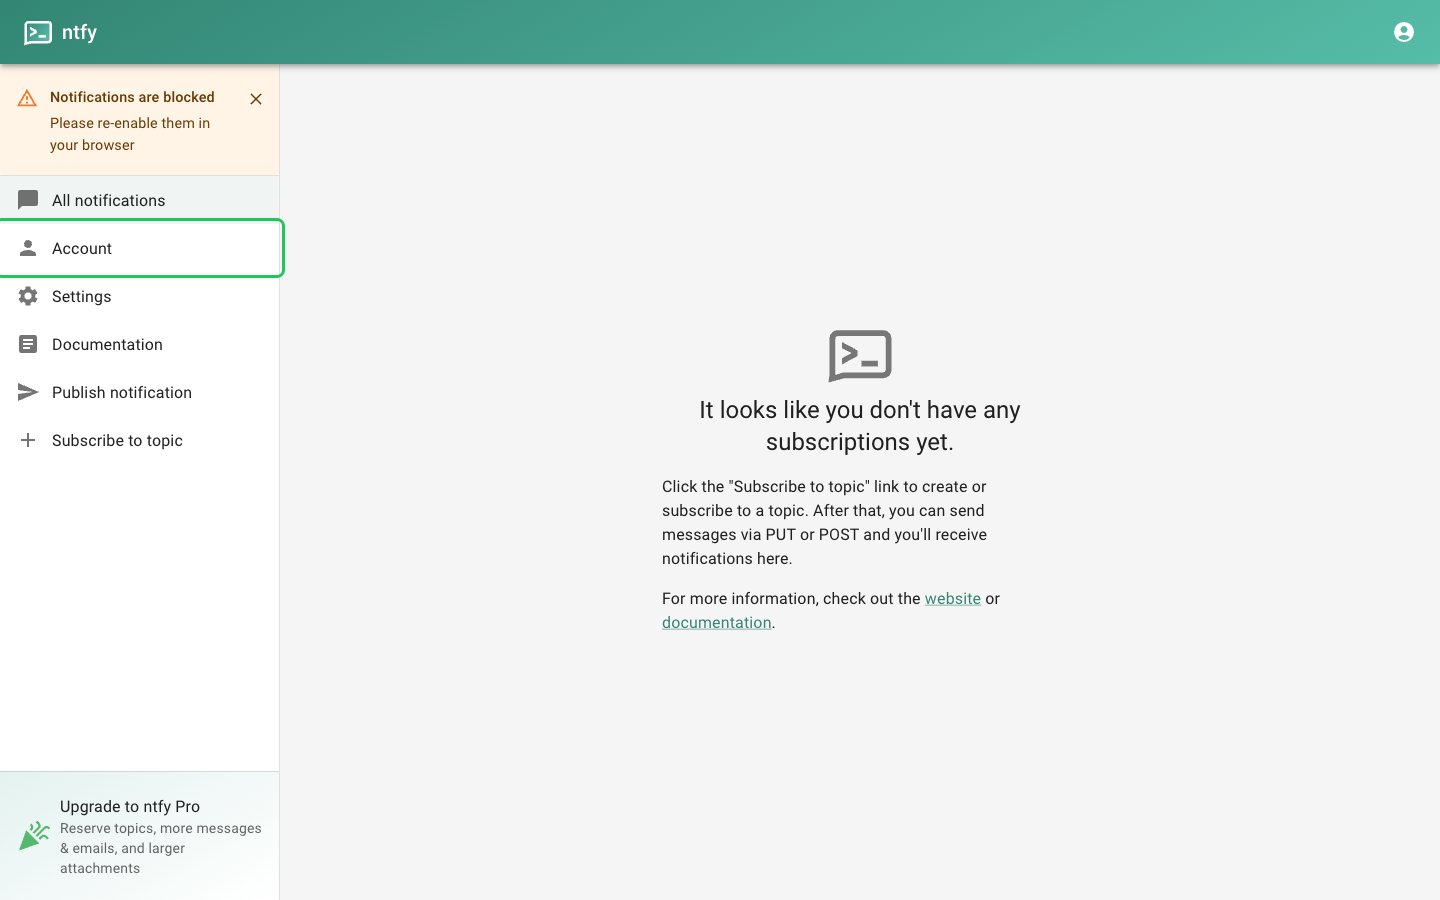
- Sign in to the ntfy web app (for example ntfy.sh/app) and click Account in the left sidebar.
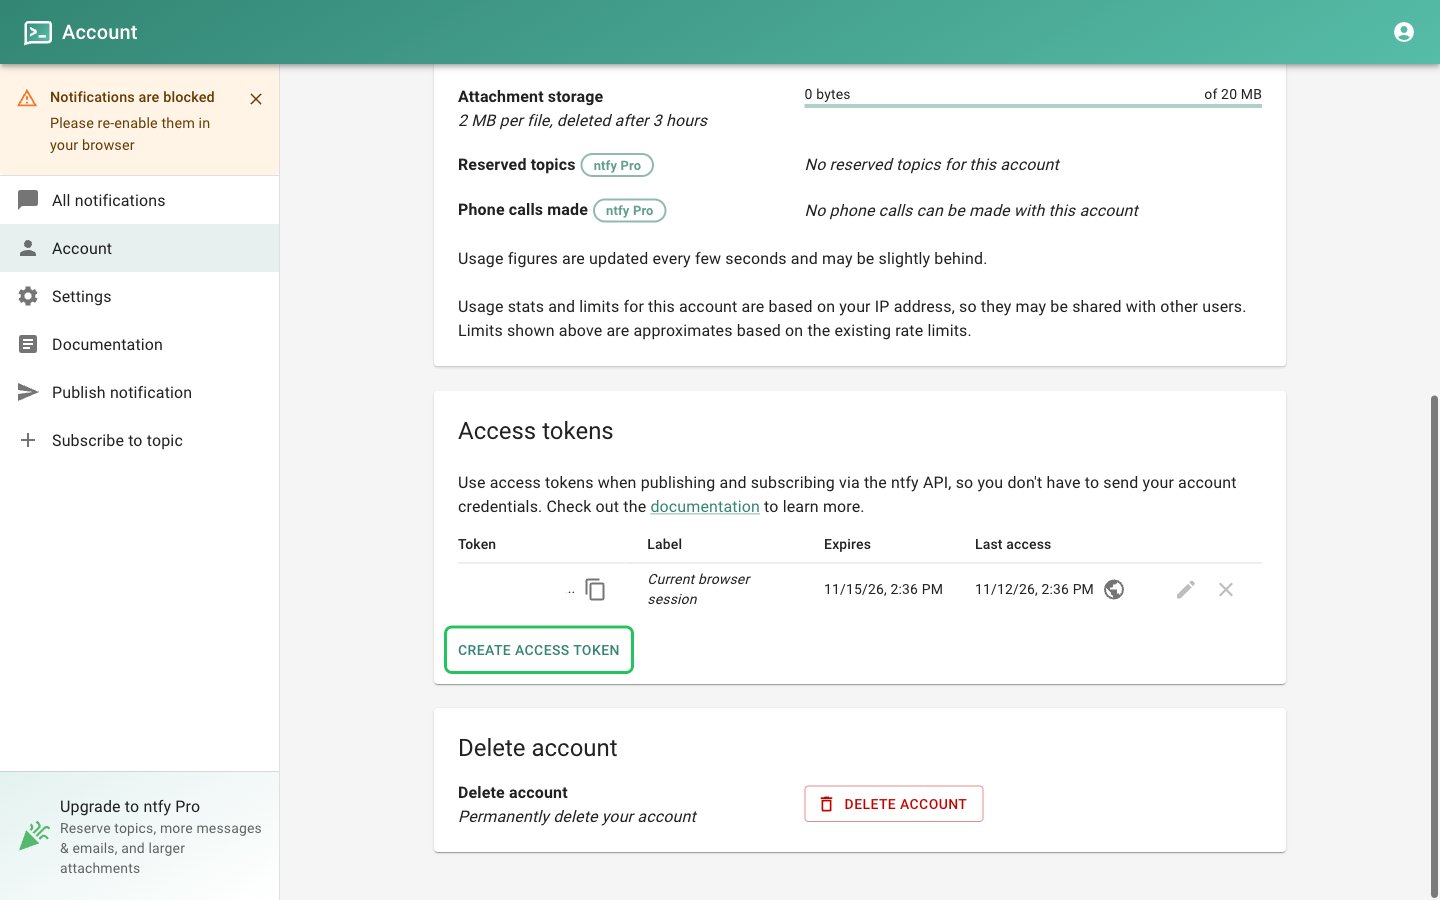
- Scroll to Access tokens and click Create access token.
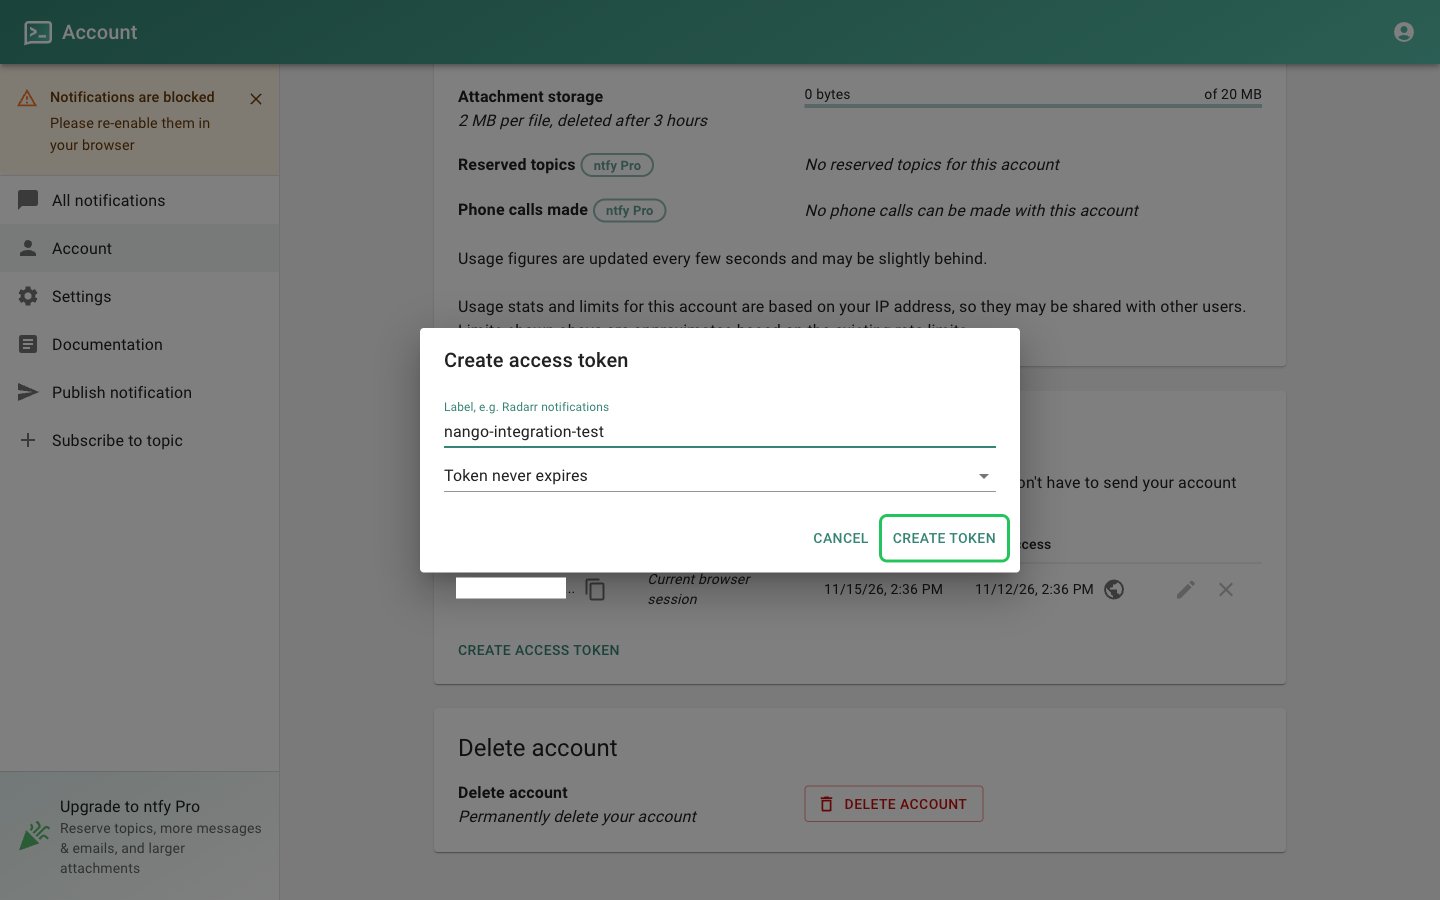
- Enter a label, choose an expiry, and click Create token.
- In the Access tokens table, click the copy icon next to the new token to copy it.
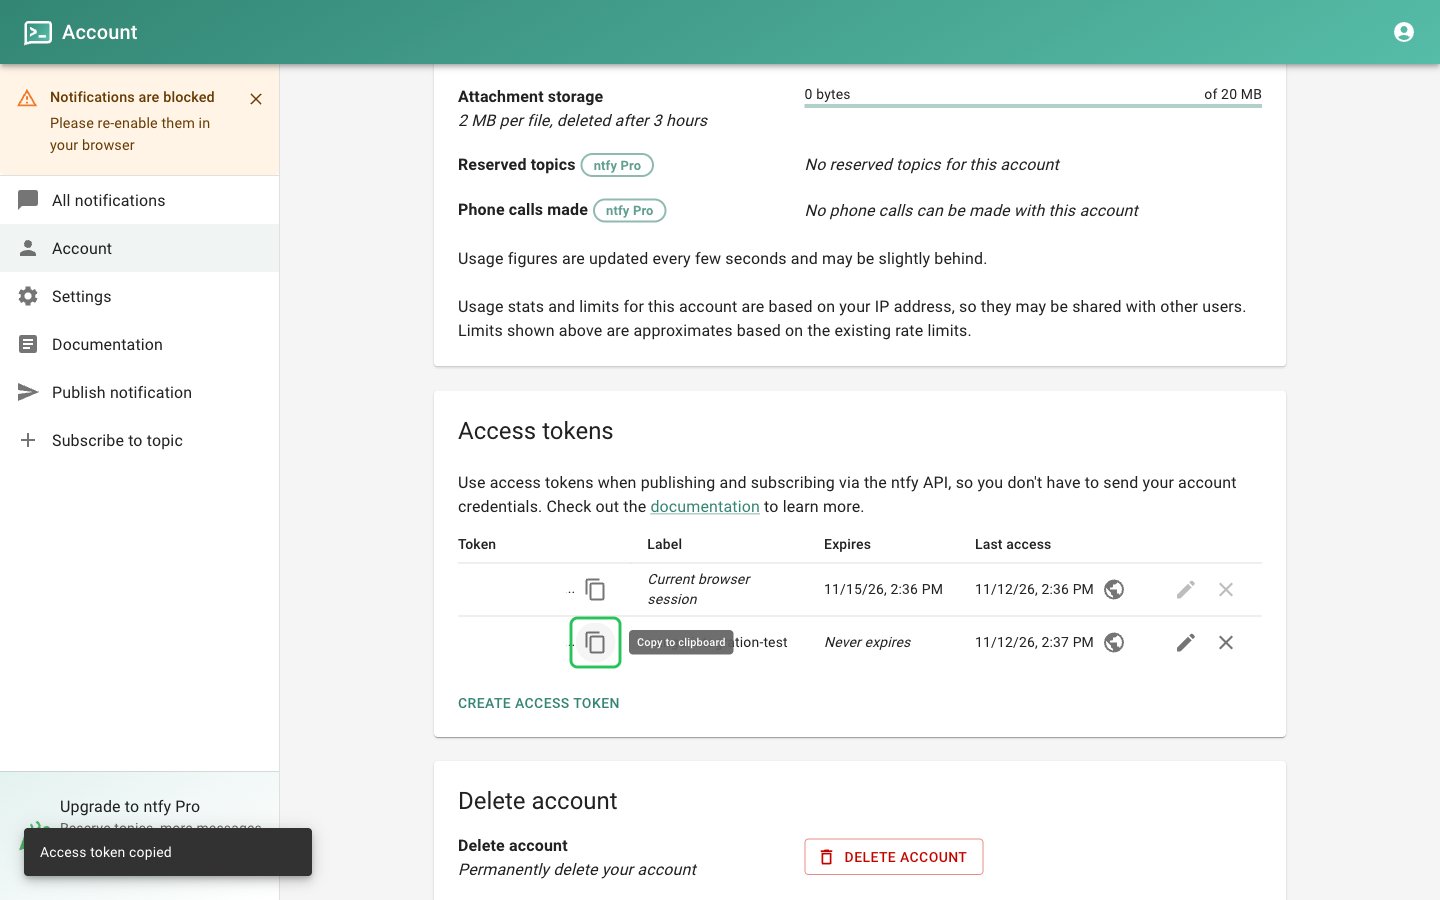
ntfy token add --expires=30d --label="nango" <username>. See Access tokens for details.
Step 3: Enter your server host and access token in the Connect UI
- Open the form where you need to authenticate with ntfy.
- Enter your Server Host and your token in the Access Token field.
- Submit the form, and you should be successfully authenticated.