Overview
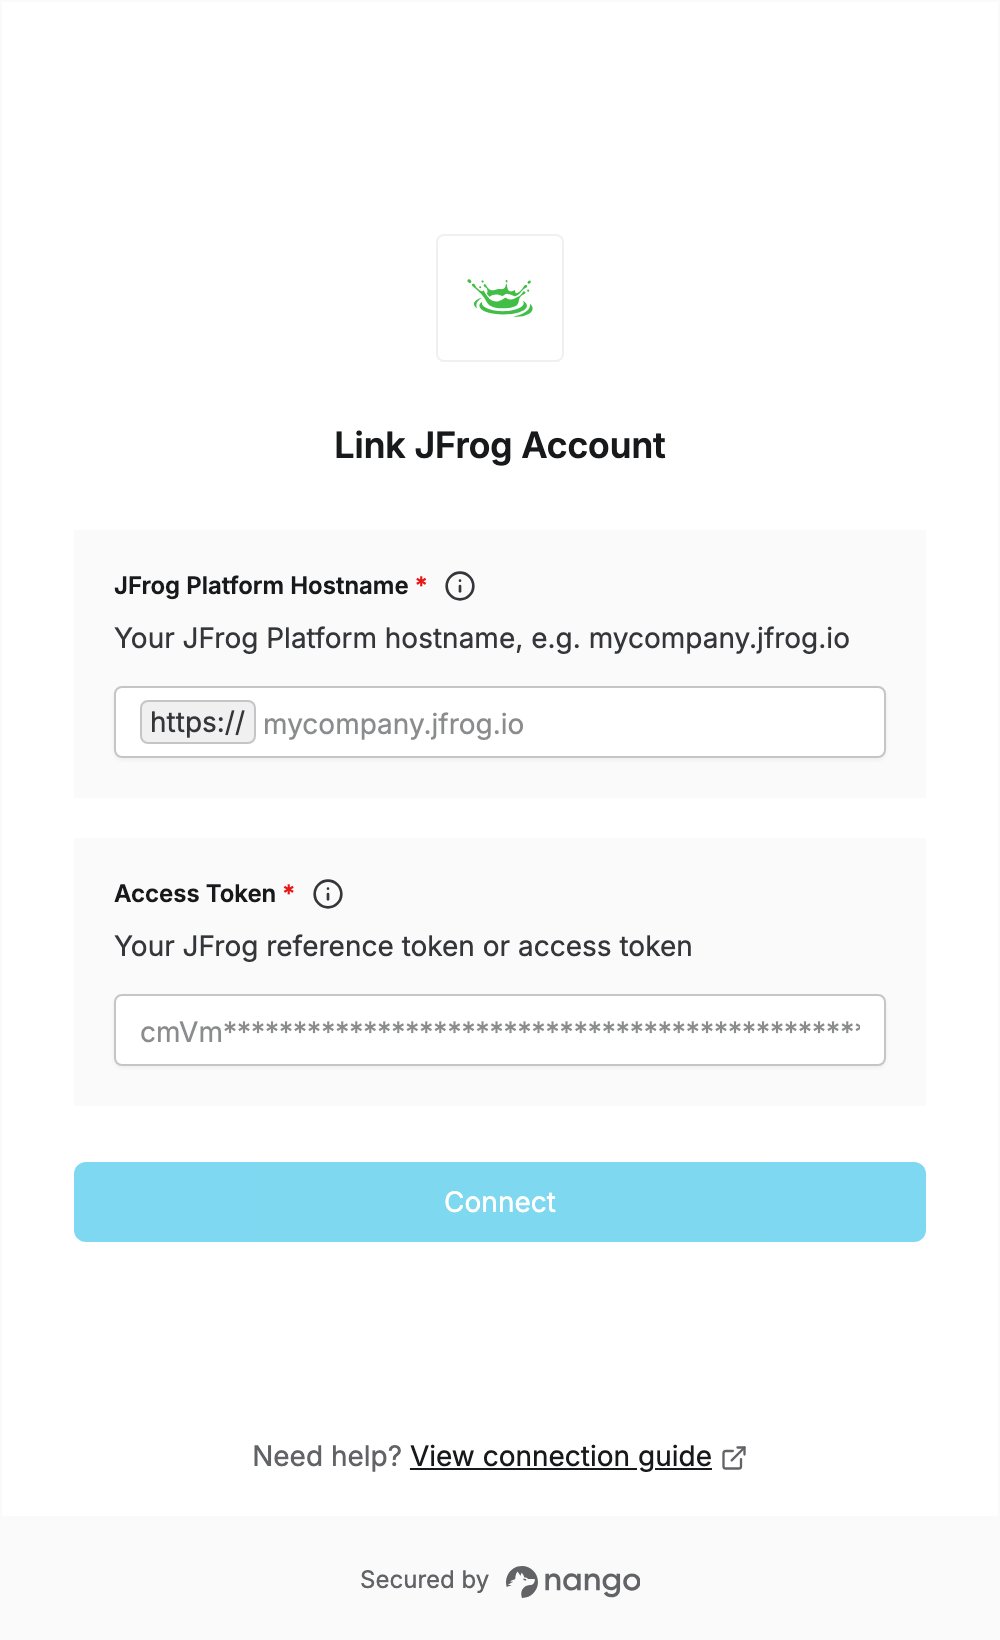
To authenticate with JFrog, you need:- JFrog Platform Hostname — the hostname of your JFrog Platform, for example
mycompany.jfrog.io. - Access Token — a reference token (identity token) or a full access token.
Prerequisites
- A JFrog Platform account, on JFrog Cloud or self-hosted.
Step 1: Find your JFrog Platform hostname
- Sign in to your JFrog Platform in your browser.
- Copy the hostname from the address bar, without
https://or any path. On JFrog Cloud it looks likemycompany.jfrog.io; on a self-hosted install it is your own domain.
Step 2: Generate an access token
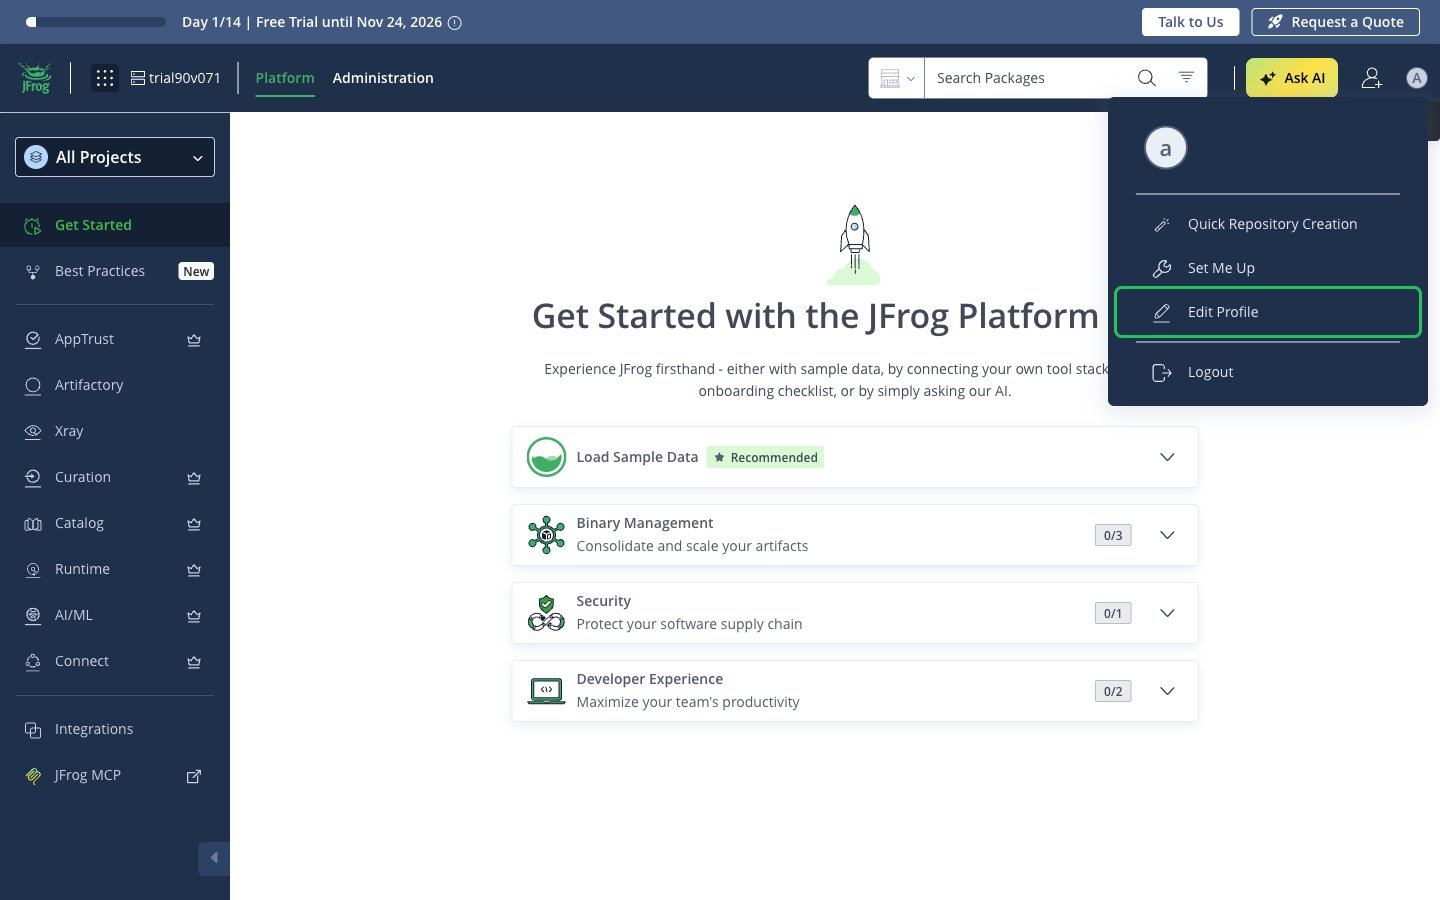
Any user can generate a reference token for themselves from their profile:- Click your profile icon in the top-right corner and choose Edit Profile.
- Enter your password and click Unlock to open your profile.
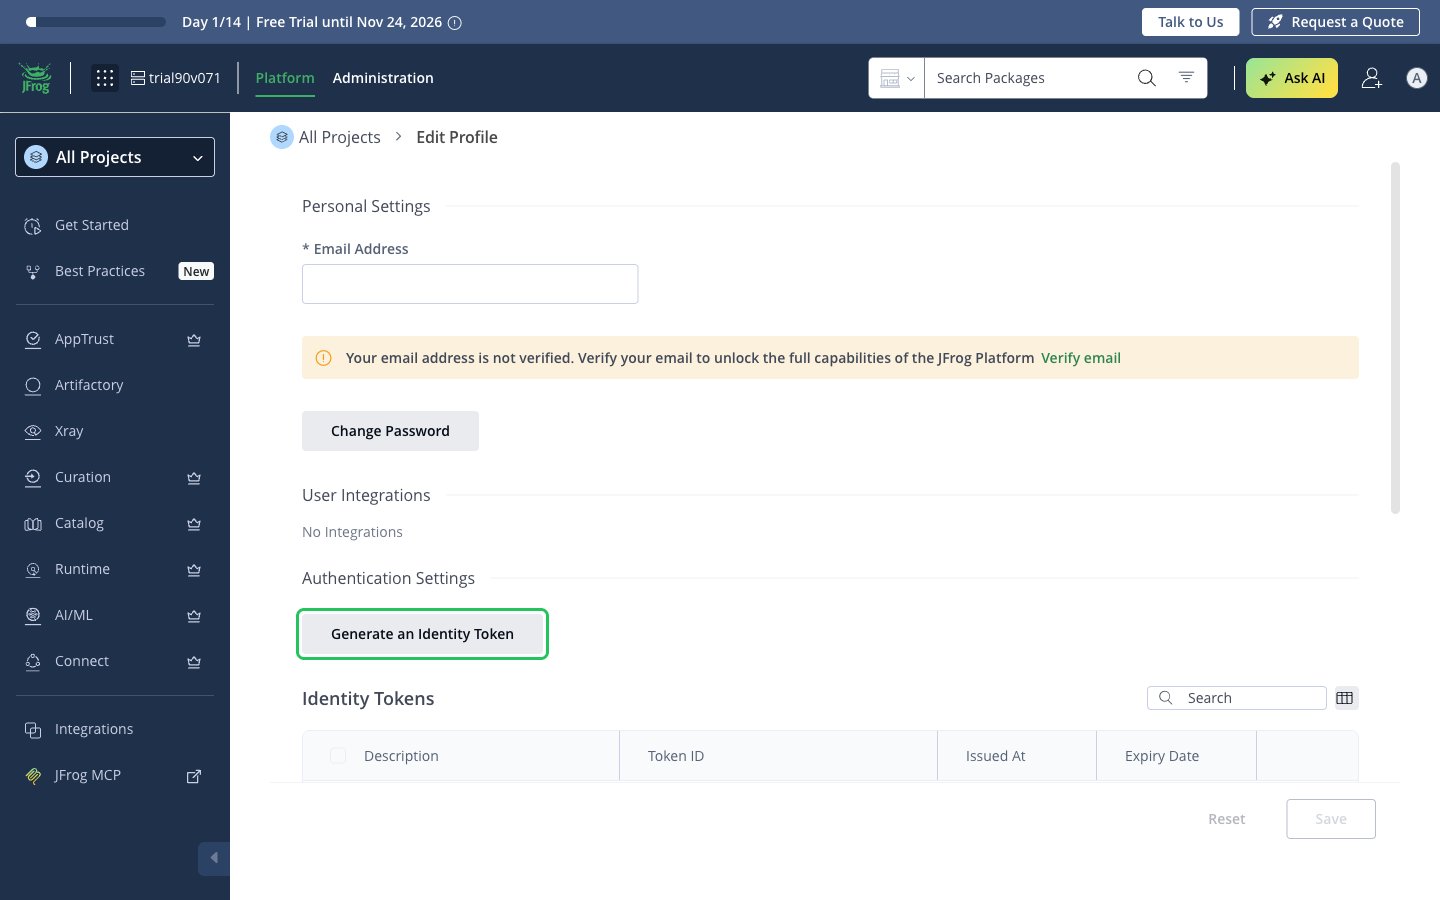
- Under Authentication Settings, click Generate an Identity Token, add a description, and click Next.
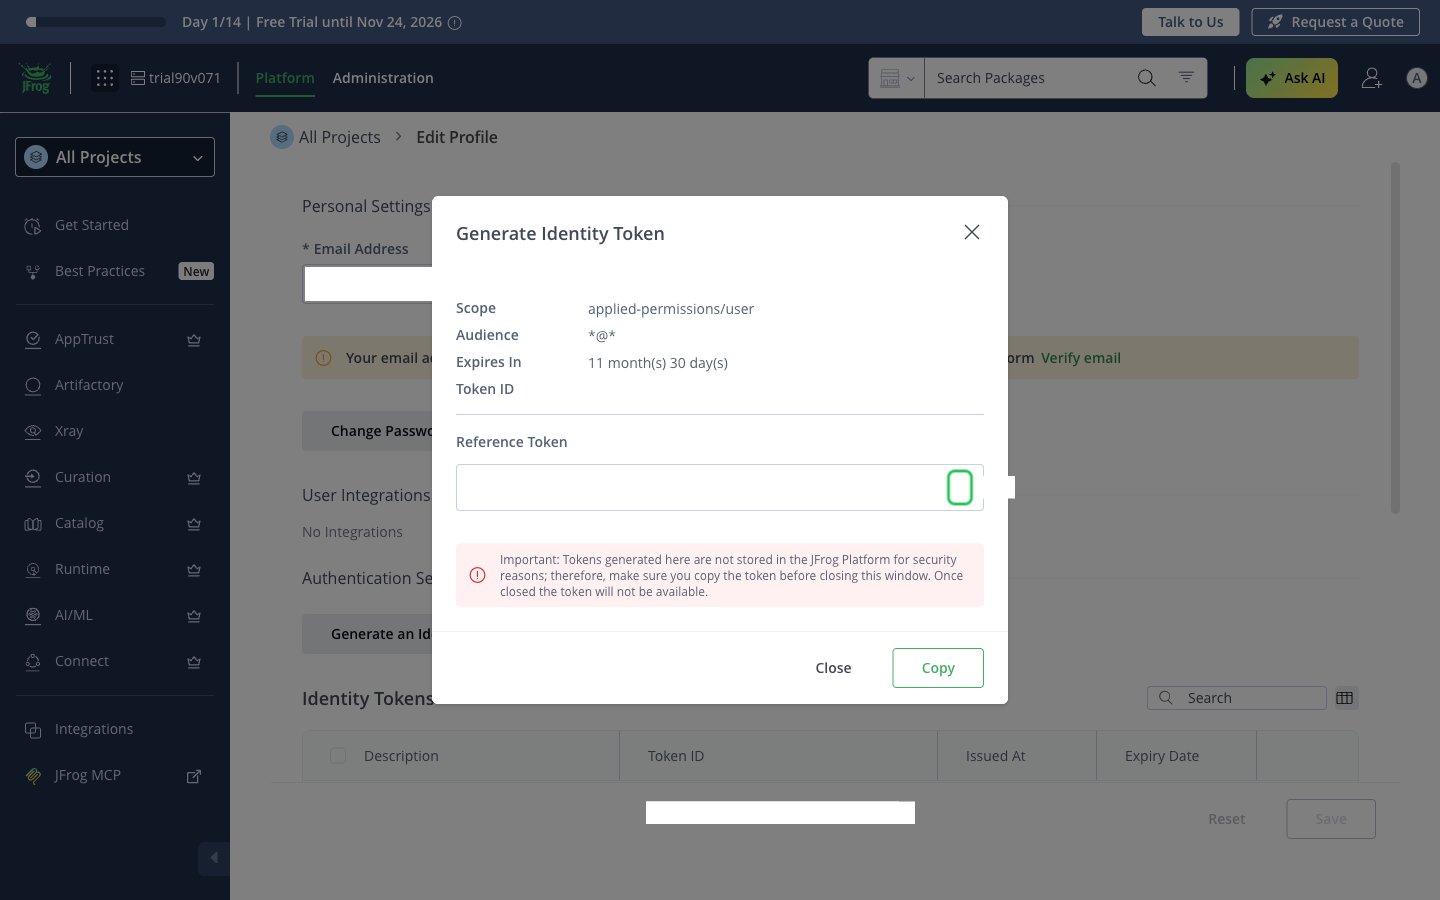
- Copy the Reference Token, then click Close. The token is shown only once.
- Go to Administration → User Management → Access Tokens and click Generate Token.
- Keep Scoped Token selected, choose the token scope (for example User) and the user, and set the expiration time.
- Leave Create Reference Token unchecked to get the full access token, then click Generate.
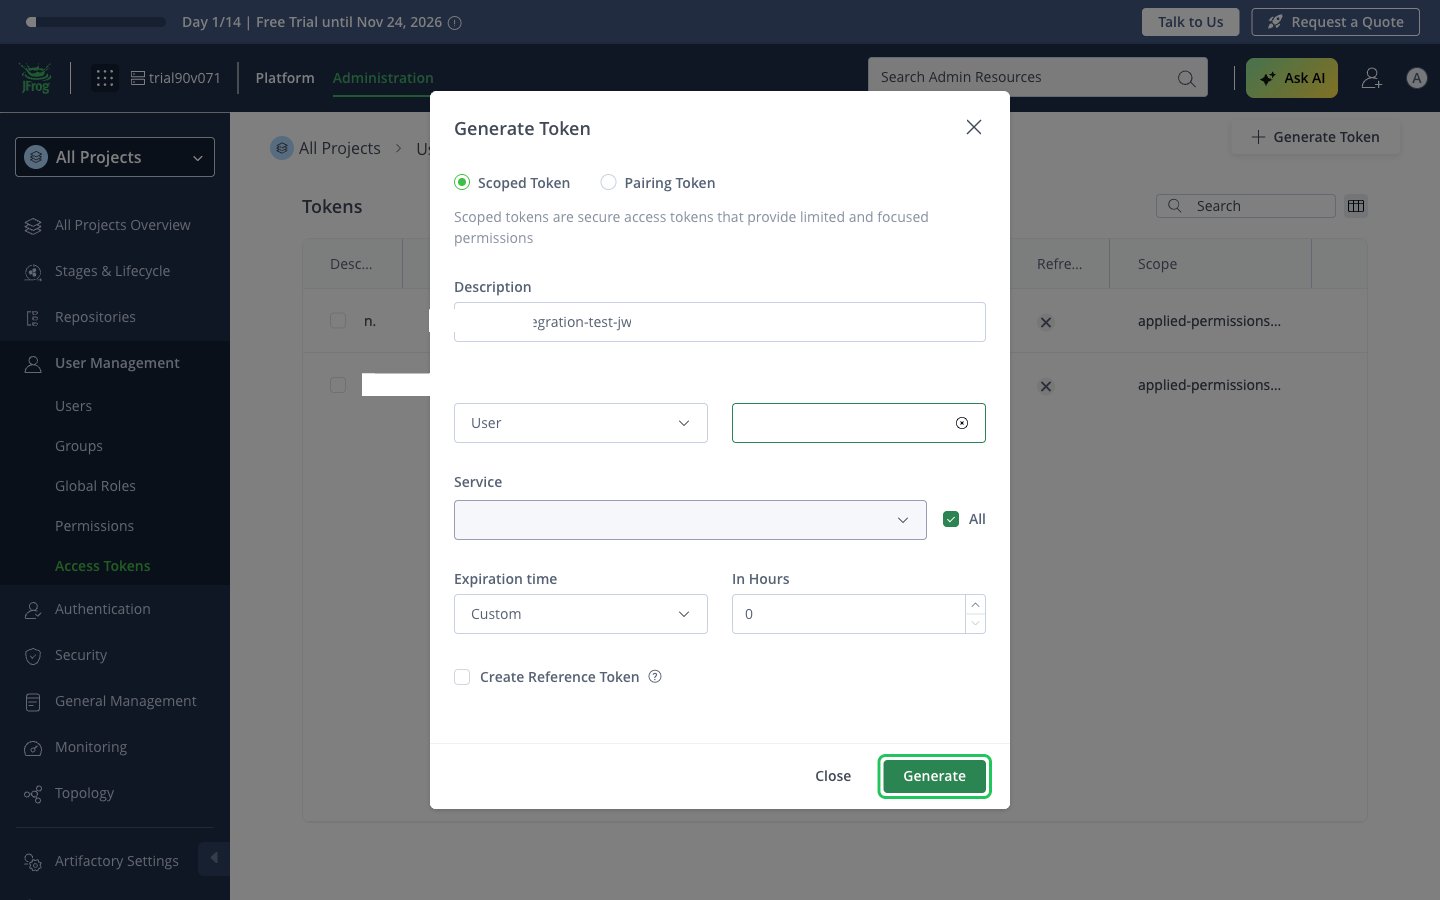
- Copy the token before closing the dialog. It is shown only once.
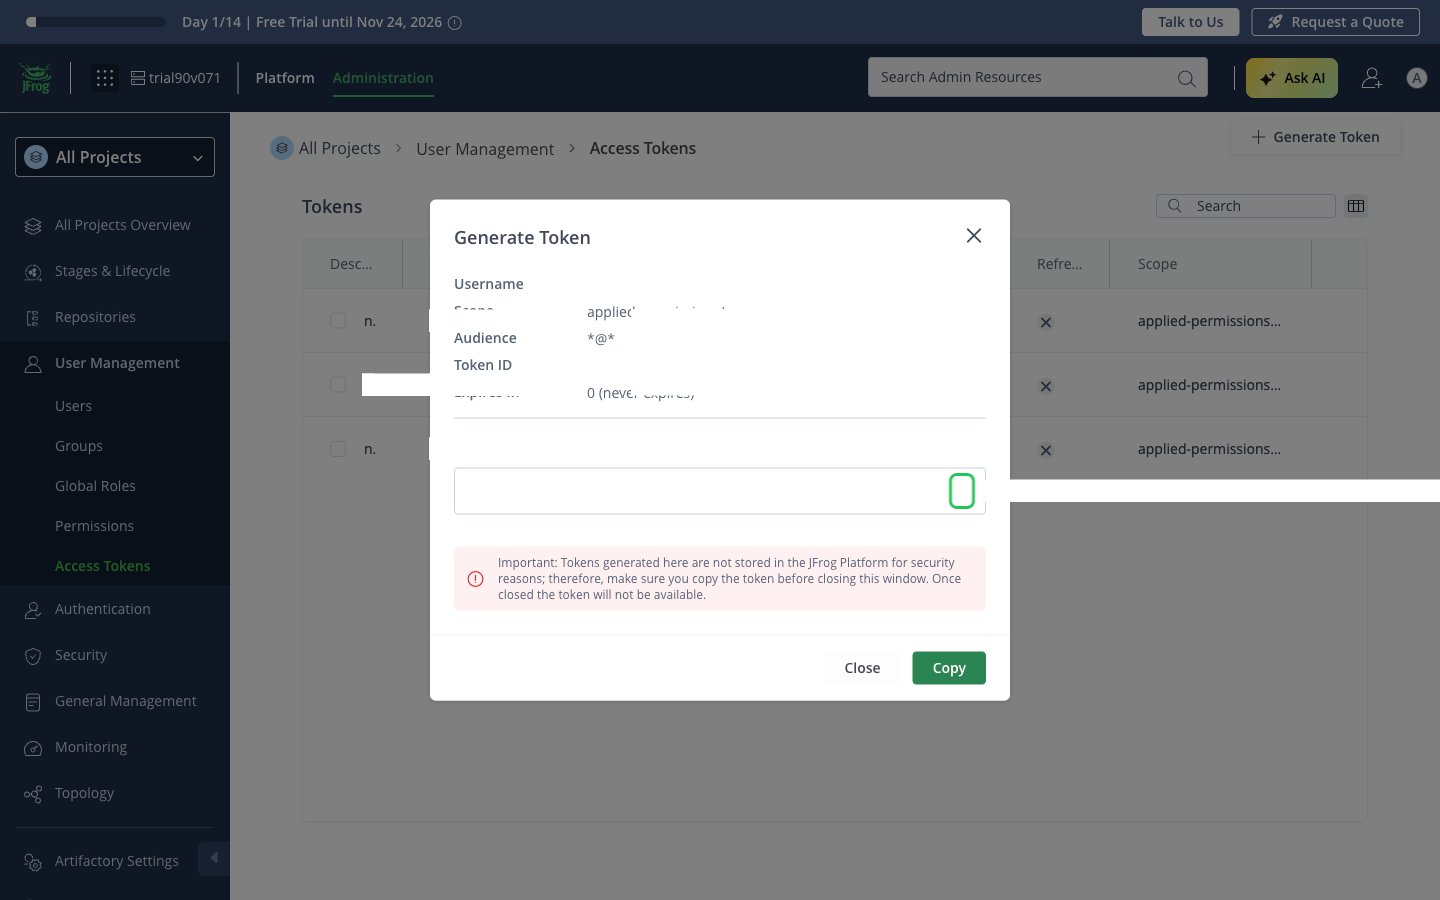
Step 3: Enter your hostname and access token in the Connect UI
- Open the form where you need to authenticate with JFrog.
- Enter your JFrog Platform Hostname and your token in the Access Token field.
- Submit the form, and you should be successfully authenticated.