Overview
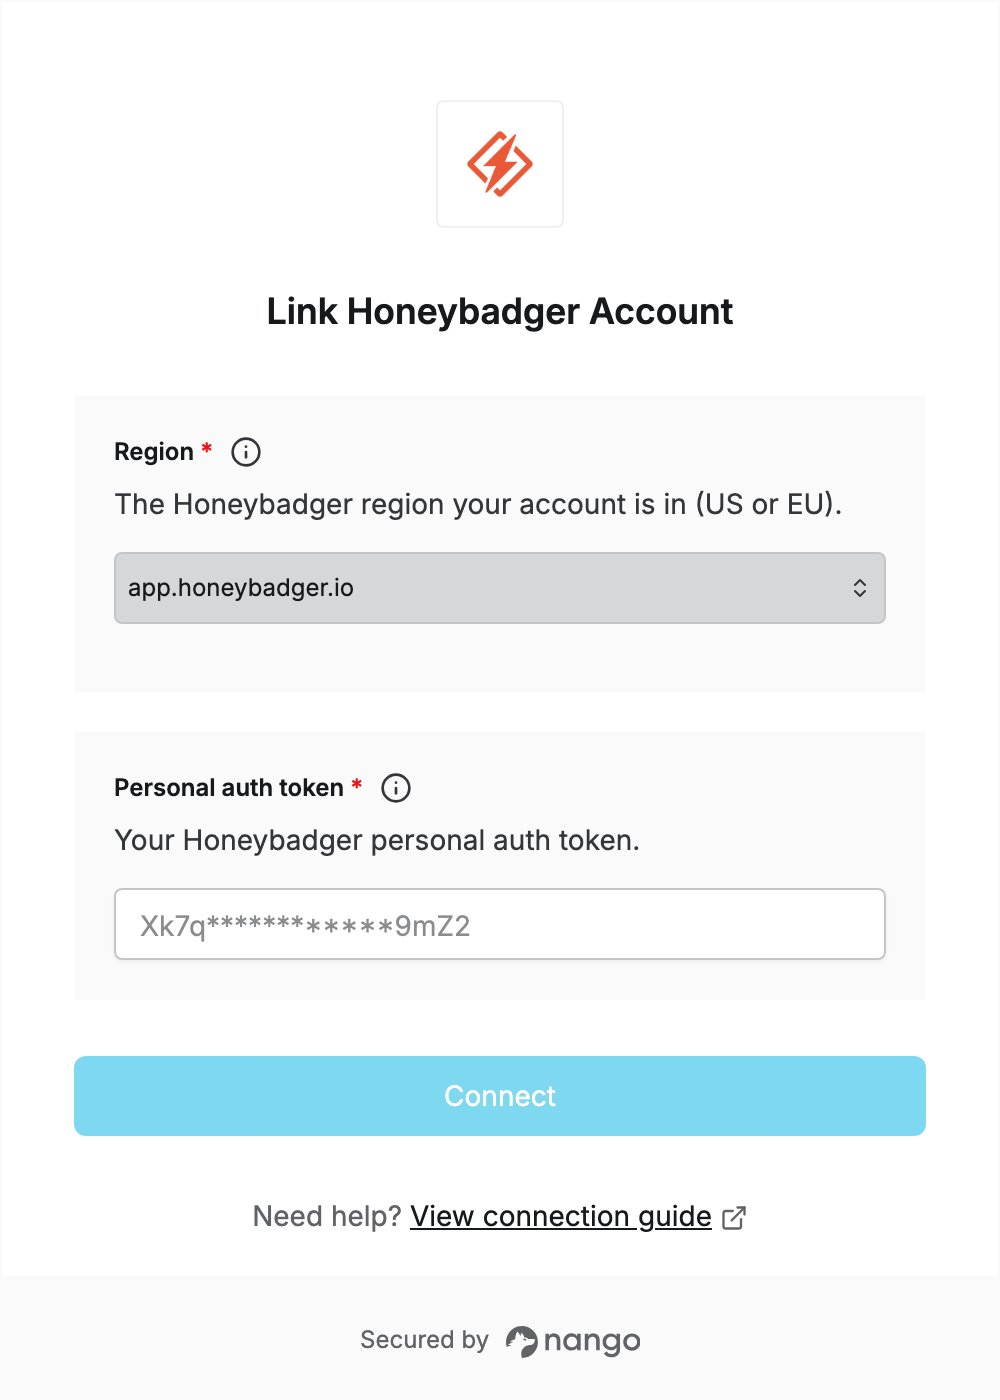
To authenticate with Honeybadger, you need:- Region — the Honeybadger region your account is in (US or EU).
- Personal auth token — the personal API key from the API Access tab of your Honeybadger user settings.
Prerequisites
- A Honeybadger account. If you don’t have one, sign up.
Step 1: Find your region
Check the address you use to sign in to Honeybadger:app.honeybadger.io: your account is in the US region. Chooseapp.honeybadger.io.eu-app.honeybadger.io: your account is in the EU region. Chooseeu-app.honeybadger.io.
Step 2: Copy your personal auth token
- Sign in to Honeybadger (US or EU). Click your name in the top-right corner and choose My settings.
- Open the API Access tab.
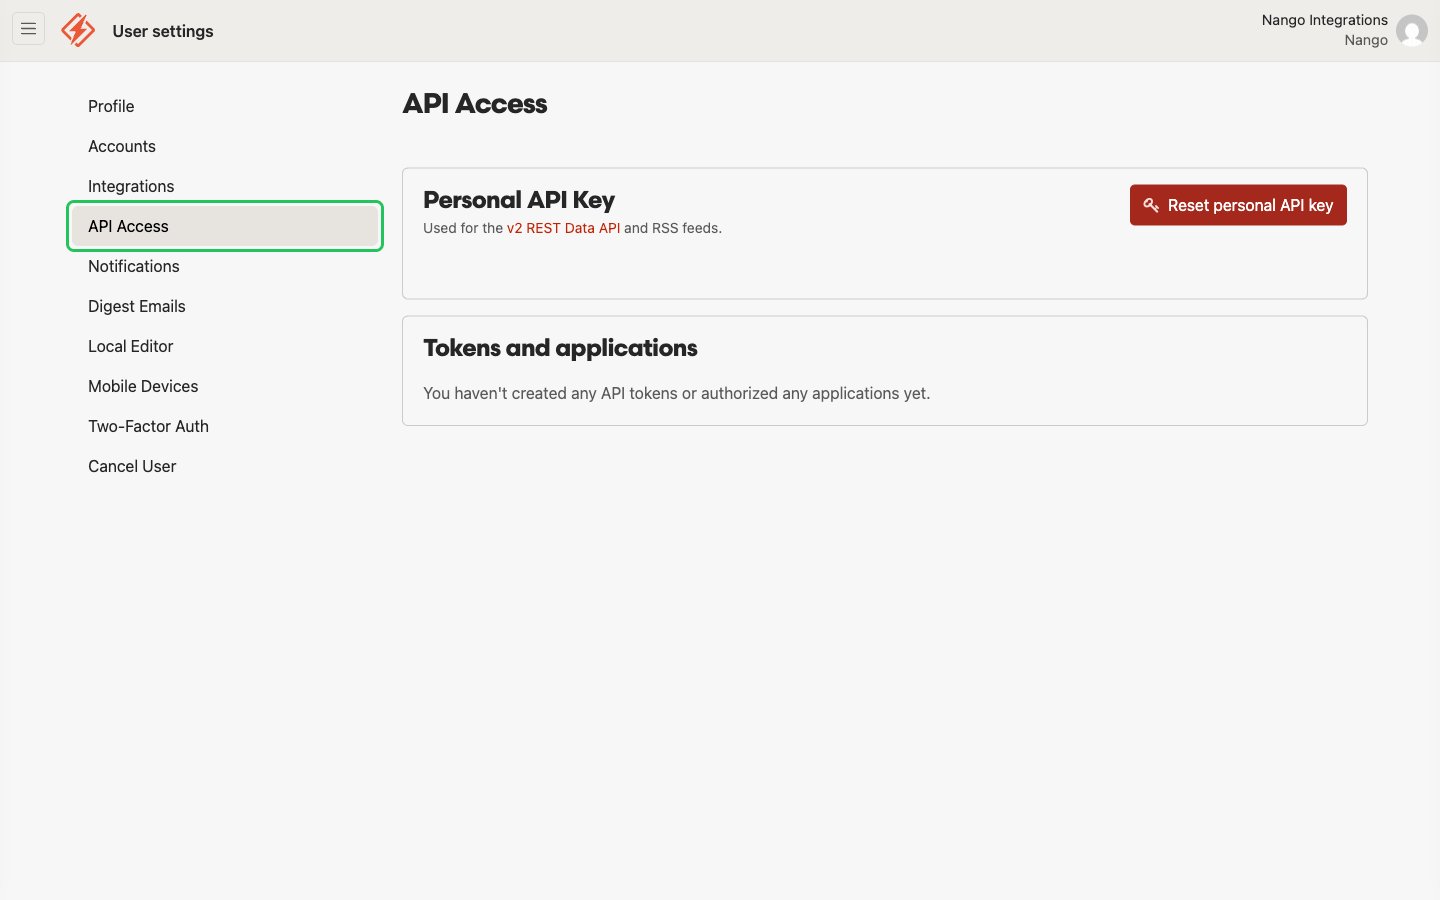
- Copy the value shown under Personal API Key. This is your personal auth token.
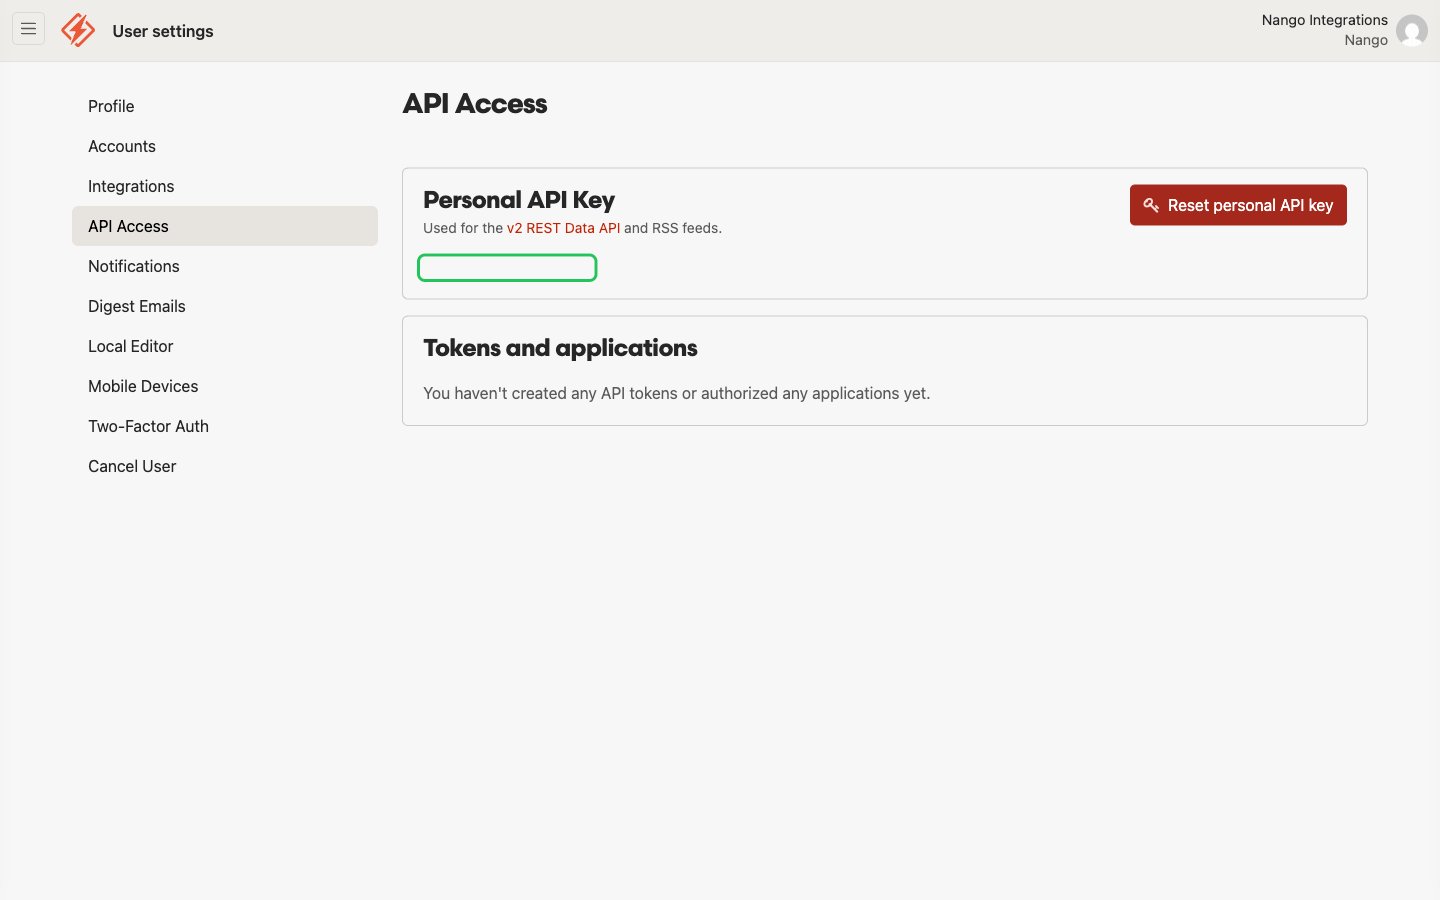
Use the Personal API Key, not a project API key or a token from the Tokens and applications section.
Step 3: Enter your credentials in the Connect UI
- Open the form where you need to authenticate with Honeybadger.
- Choose your region in the Region field.
- Paste your personal API key in the Personal auth token field.
- Submit the form, and you should be successfully authenticated.