Overview
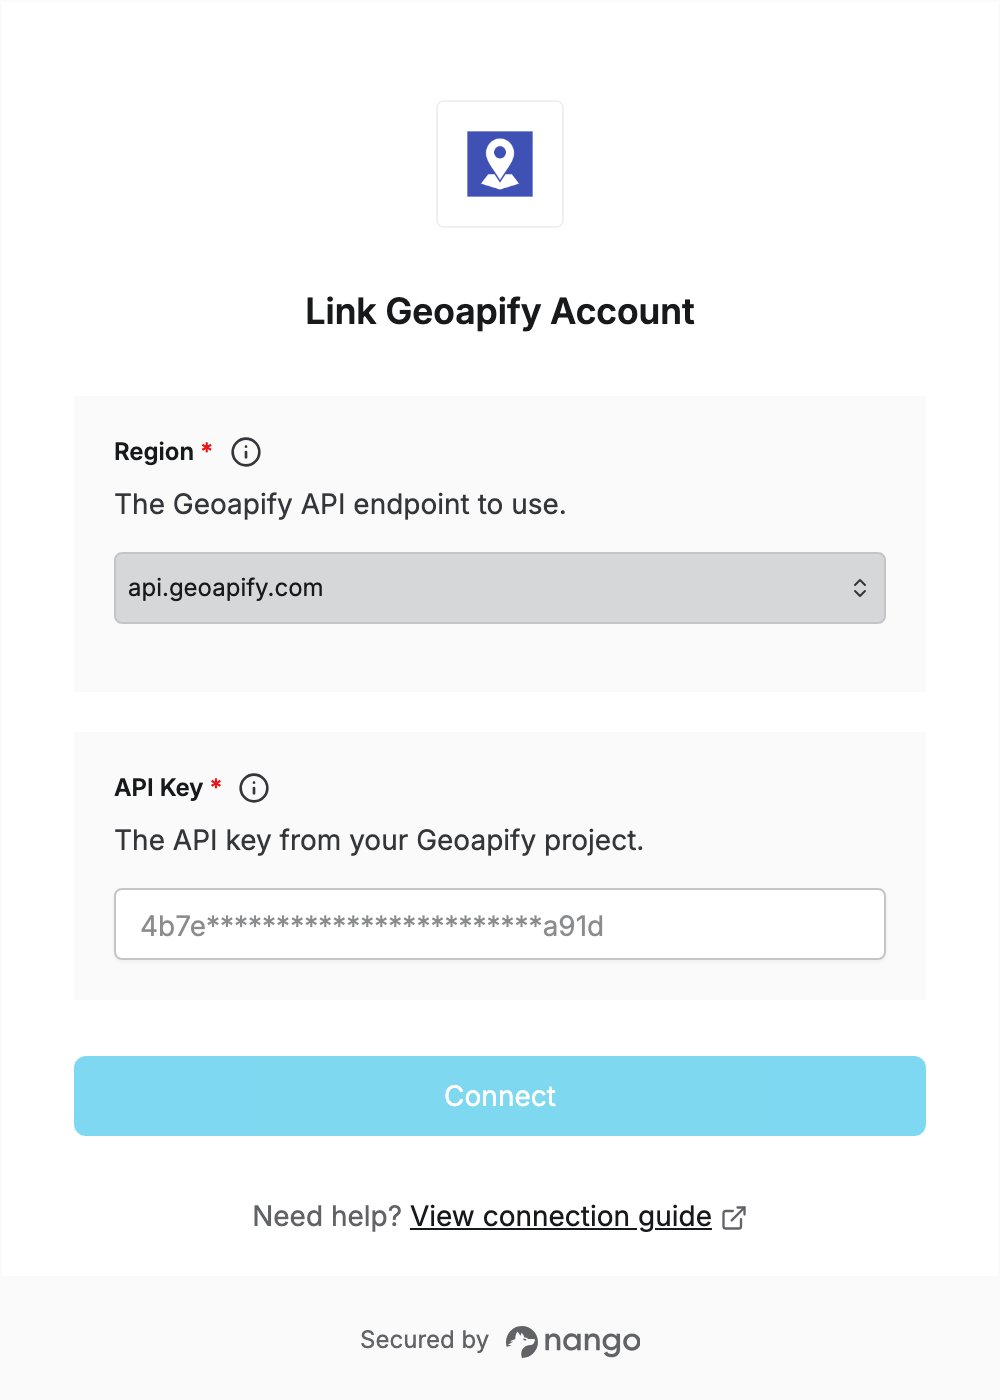
To authenticate with Geoapify, you need:- API Key — the API key of a Geoapify project.
- Region — the Geoapify API endpoint to use.
Prerequisites
- A Geoapify account. The Free plan needs no credit card. If you don’t have an account, sign up.
Step 1: Create a project
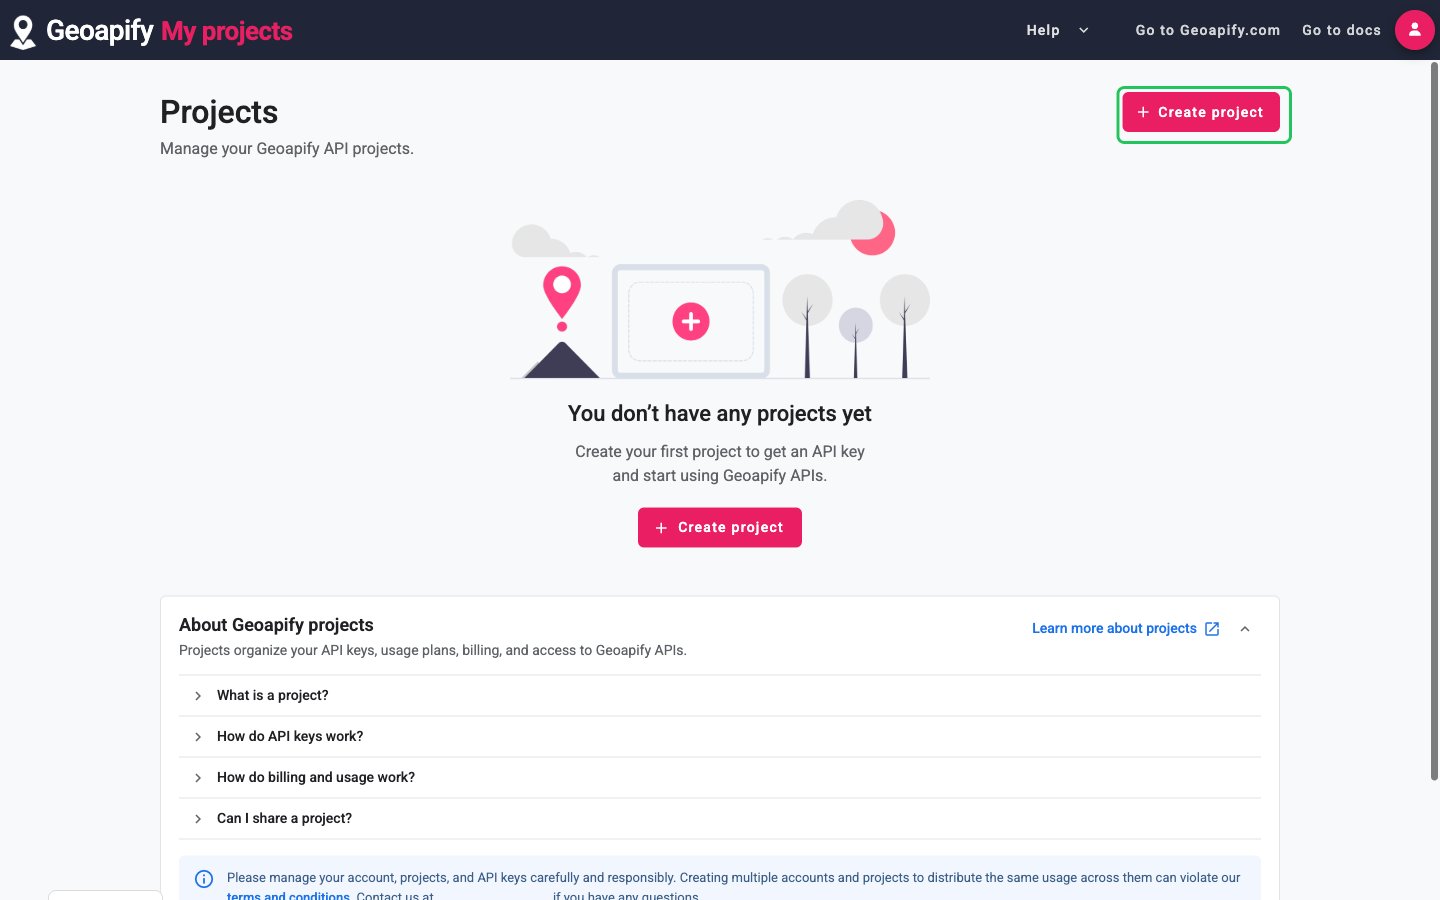
- Sign in to Geoapify MyProjects.
- On the Projects page, click Create project, enter a project name and click OK.
Step 2: Copy your API key
- After you create the project, Geoapify opens its API keys page, where an API key has already been created.
- Click the Copy API key button next to the masked key.
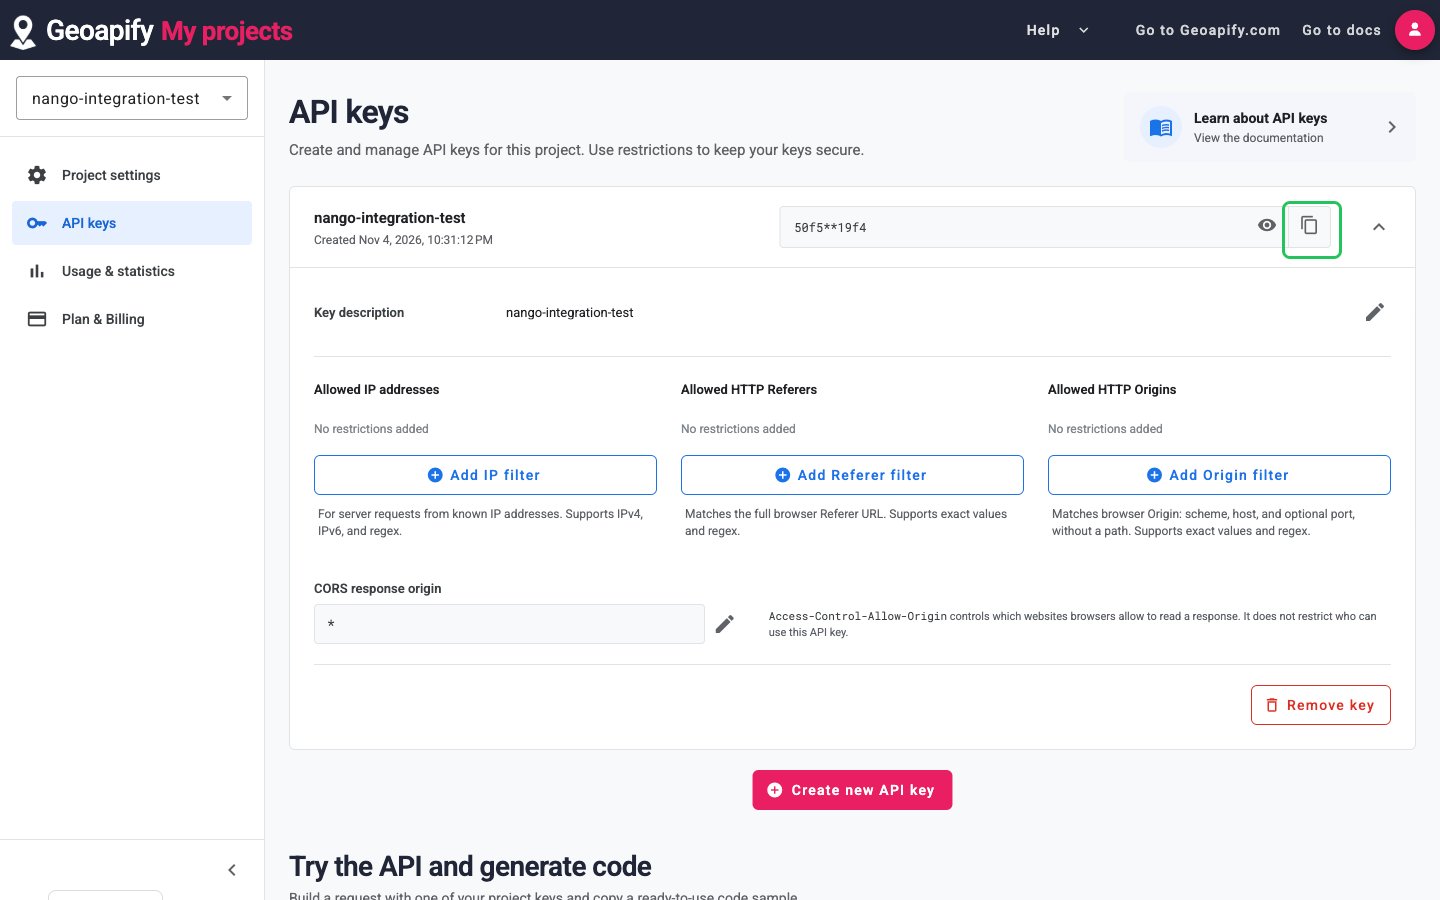
You can restrict a key to allowed IP addresses, HTTP referrers and origins by expanding it on the API keys page.
Step 3: Choose your region
Geoapify accounts have no region setting: the same API key works on both endpoints. Pick the one your application should call:api.geoapify.com— the default endpoint.api-eu.geoapify.com— use it when your application requires Geoapify’s EU-focused service-processing configuration.
Step 4: Enter your credentials in the Connect UI
- Open the form where you need to authenticate with Geoapify.
- Select your region in the Region field.
- Enter your API key in the API Key field.
- Submit the form, and you should be successfully authenticated.