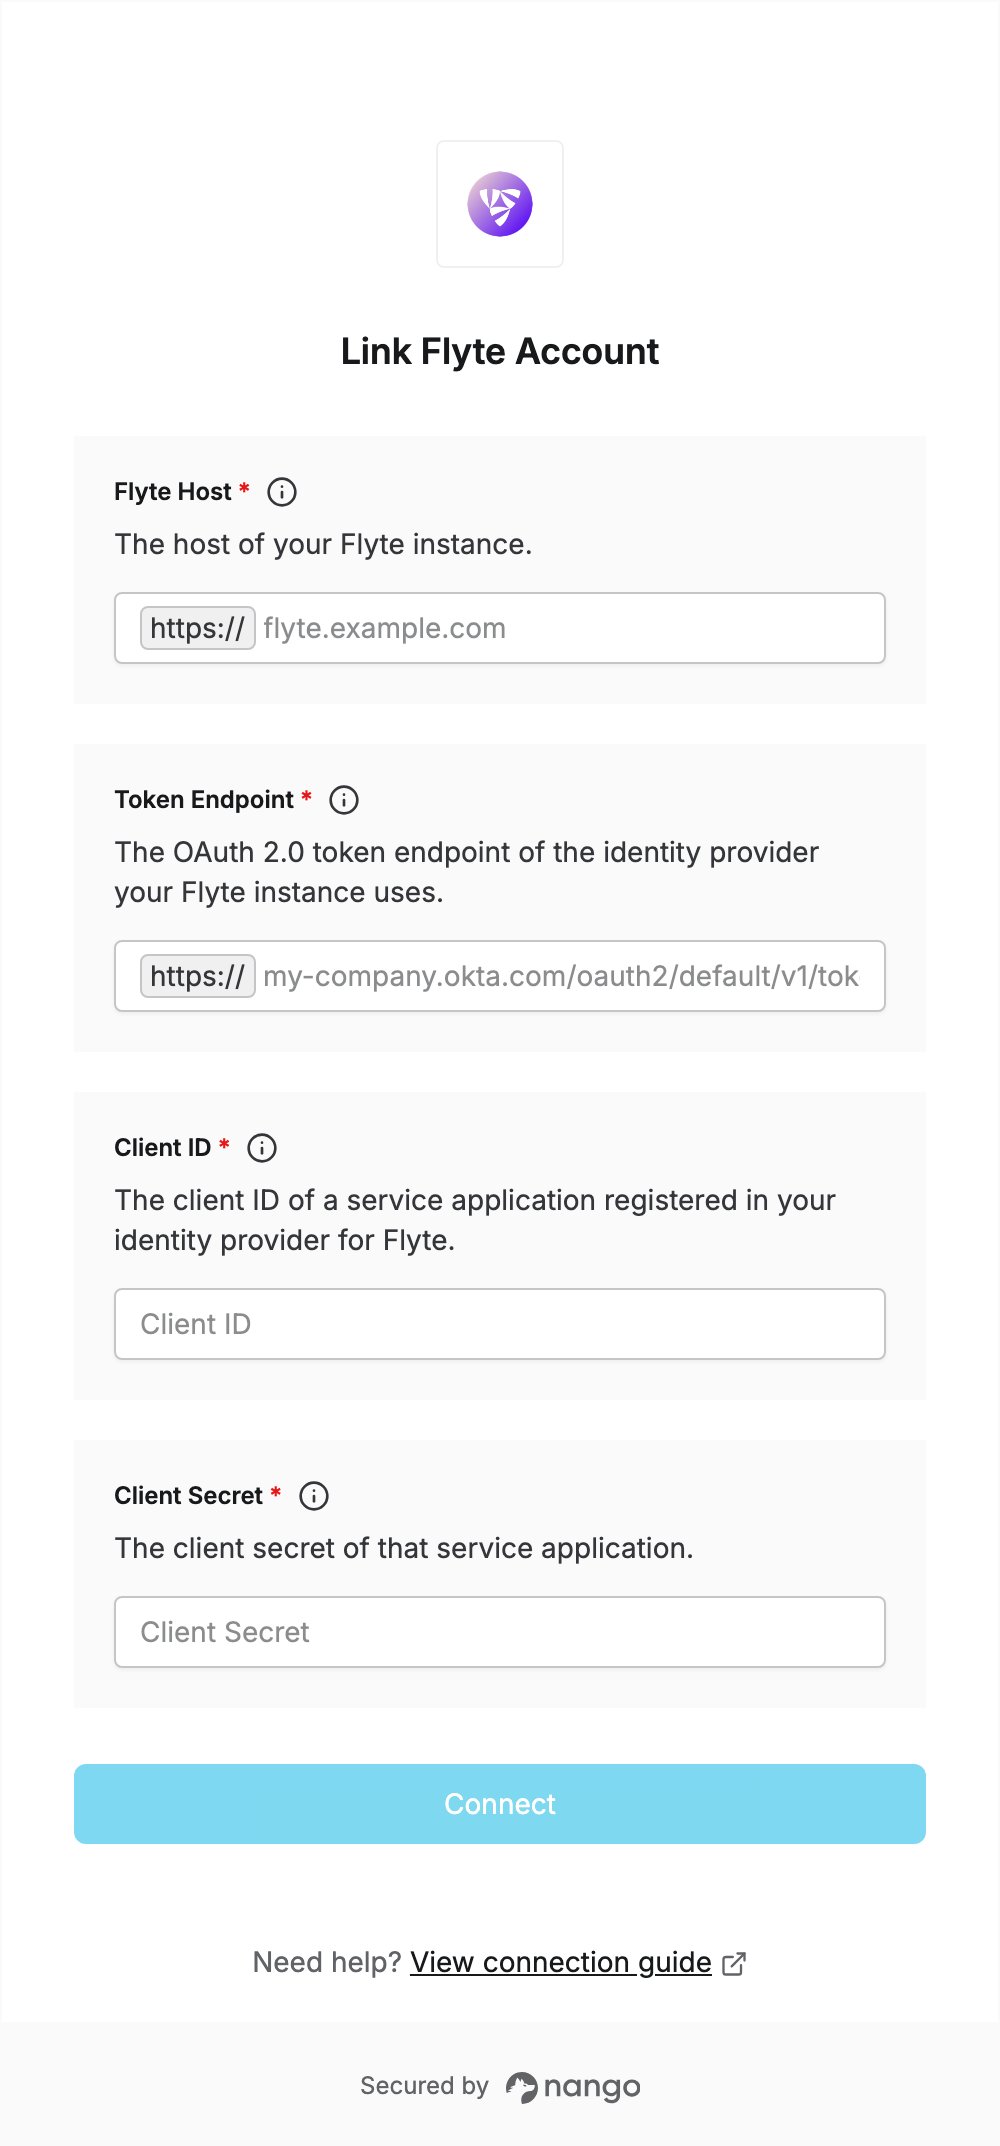
Overview
To authenticate with Flyte, you need:- Flyte Host — the host of your Flyte instance.
- Token Endpoint — the OAuth 2.0 token endpoint of the identity provider your instance uses.
- Client ID and Client Secret — a service application registered in that identity provider.
Prerequisites
- A Flyte instance that accepts
Authorization: Bearertokens on its API.
Step 1: Find your Flyte host and token endpoint
- Your Flyte host is the endpoint in your Flyte config, without
dns:///orhttps://. For example, enterflyte.example.comforendpoint: dns:///flyte.example.com. - Open
https://<your-flyte-host>/.well-known/oauth-authorization-serverin a browser. If your administrator has configured it, Flyte serves your identity provider’s authorization server metadata there. - Copy the
token_endpointvalue withouthttps://, for examplemy-company.okta.com/oauth2/default/v1/token. Nango addshttps://itself. - If that page returns an error, ask your Flyte administrator for the token endpoint of your identity provider. It usually looks like one of these:
- Okta:
<your-org>.okta.com/oauth2/default/v1/token - Keycloak:
<your-keycloak-host>/realms/<realm>/protocol/openid-connect/token - Microsoft Entra ID:
login.microsoftonline.com/<tenant-id>/oauth2/v2.0/token
- Okta:
Step 2: Get client credentials
Ask the administrator of your Flyte instance for the client ID and client secret of a service application authorized to use the Flyte API. Client credentials applications are created in your identity provider, not in Flyte.Step 3: Enter your details in the Connect UI
- Open the form where you need to authenticate with Flyte.
- Enter your Flyte Host, Token Endpoint, Client ID and Client Secret.
- Submit the form, and you should be connected.