Overview
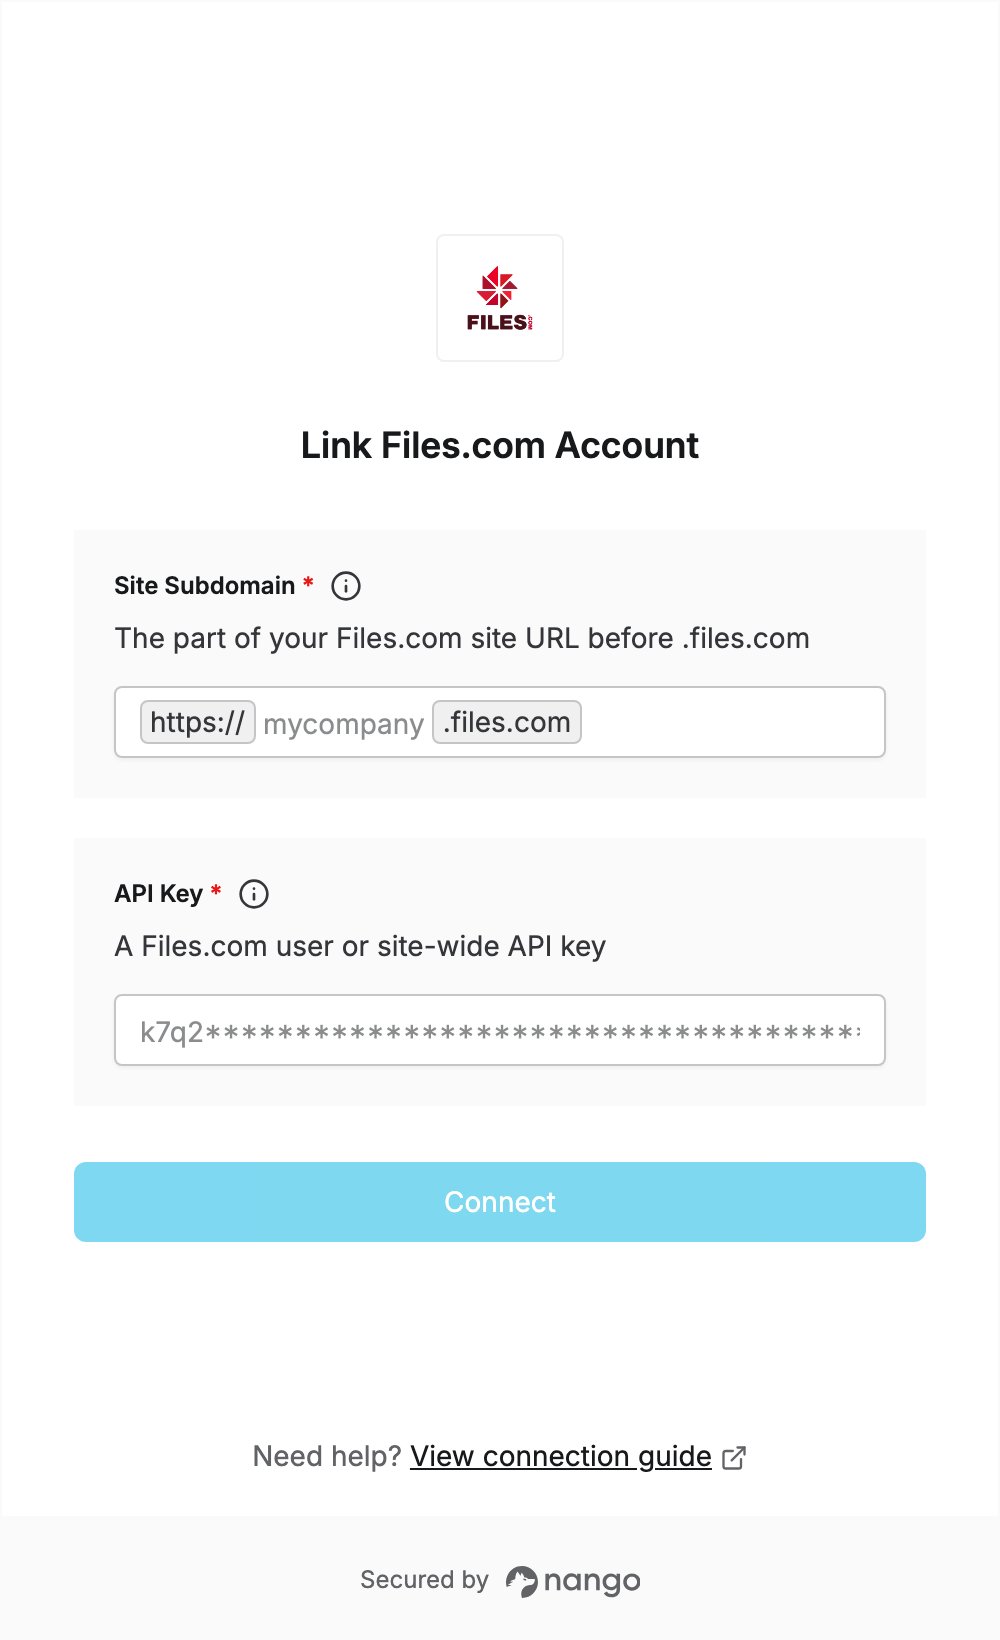
To authenticate with Files.com, you need:- Site Subdomain — the part of your Files.com site URL before
.files.com. - API Key — a user or site-wide API key created in your Files.com site.
Prerequisites
- A Files.com site. New sites start with a 7-day free trial, no credit card needed.
Step 1: Find your site subdomain
Your Files.com site URL looks likehttps://SUBDOMAIN.files.com. Your subdomain is the part before .files.com. For example, for https://mycompany.files.com it is mycompany.
Step 2: Create an API key
- Sign in to your Files.com site as a Site Administrator.
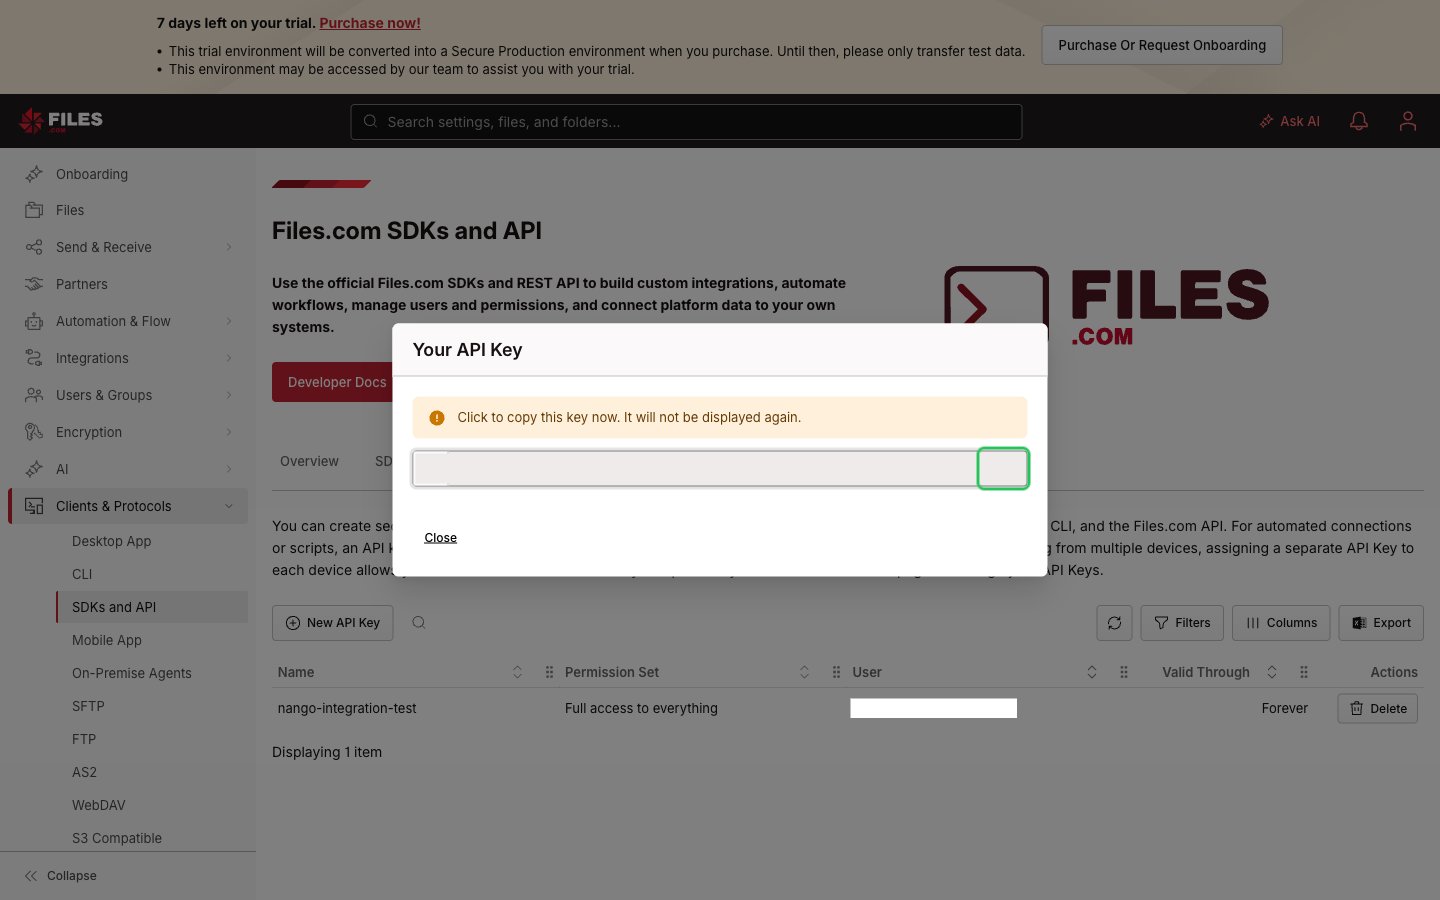
- In the left menu, expand Clients & Protocols and click SDKs and API.
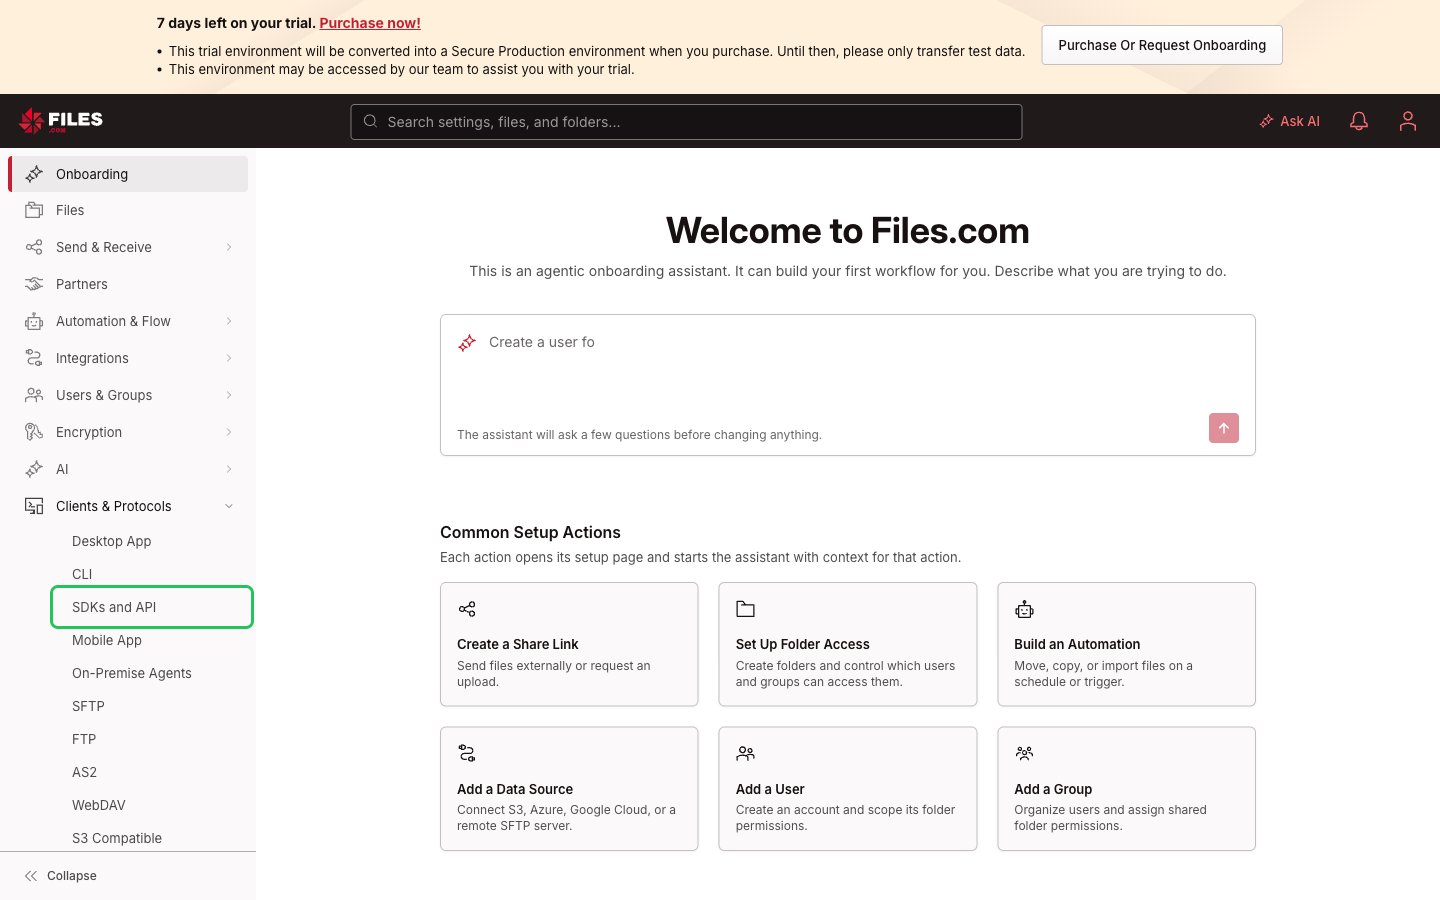
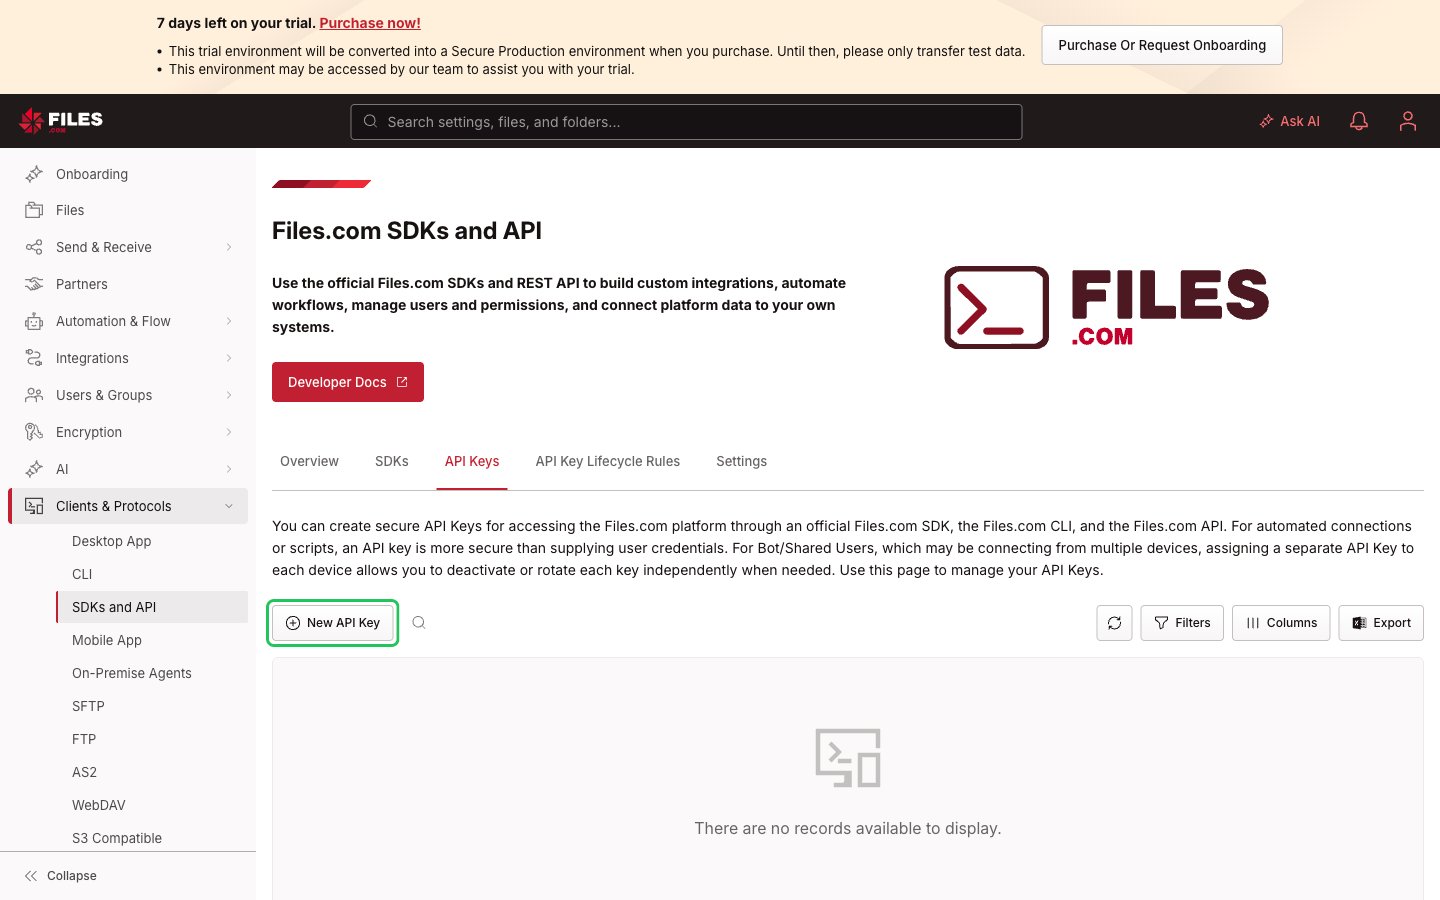
- Open the API Keys tab and click New API Key.
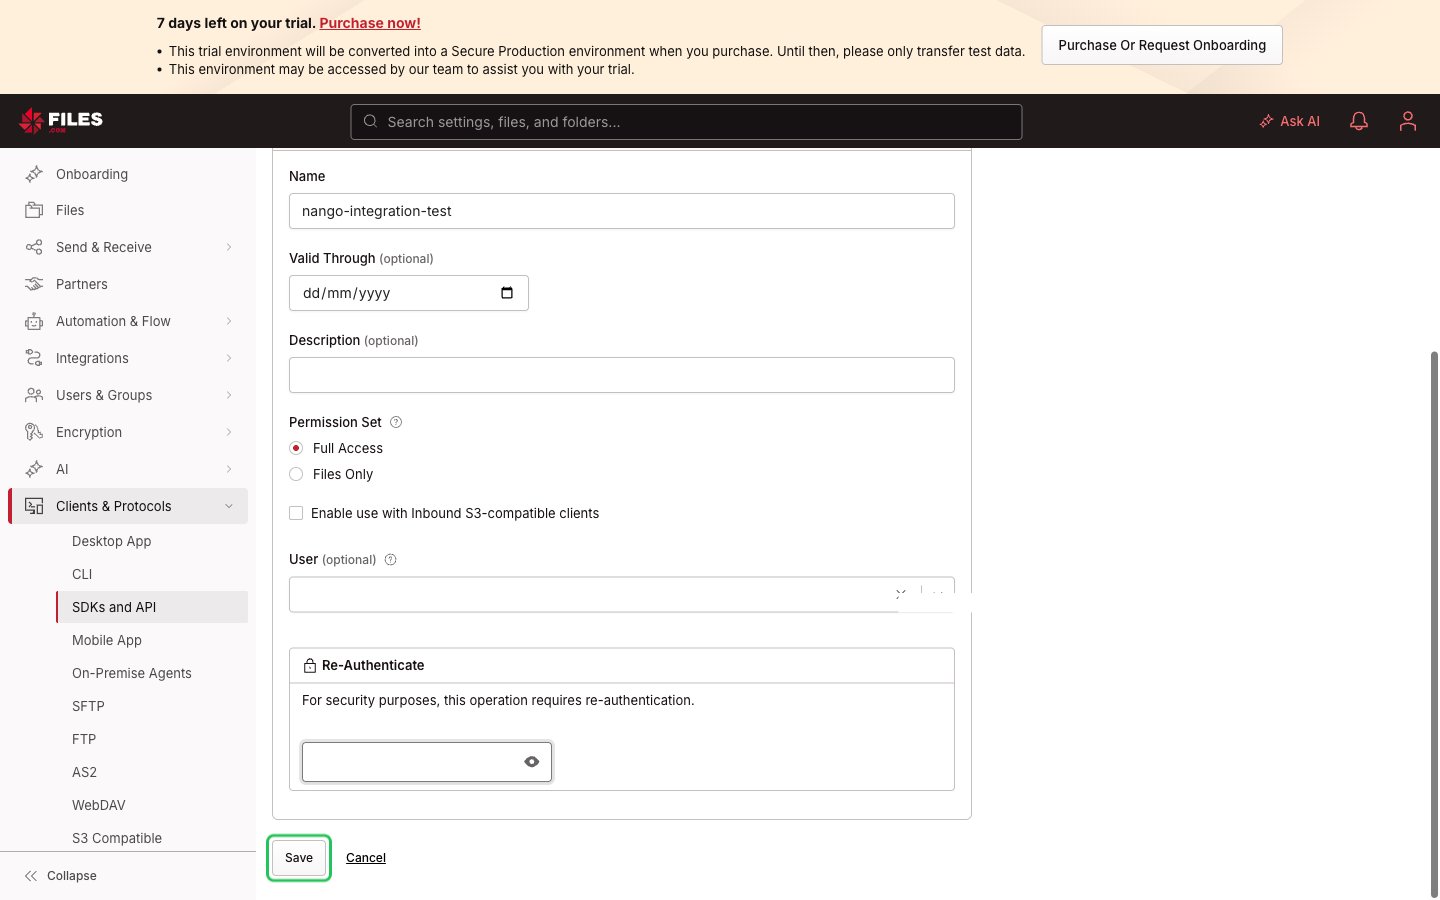
- Enter a Name and choose a Permission Set (Full Access or Files Only). Leave User blank to create a site-wide key, or pick a user to create a user key. Both kinds of key work with Nango. Re-enter your password under Re-Authenticate, then click Save.
- Copy the key from the Your API Key dialog. Files.com shows it only once.
Step 3: Enter your credentials in the Connect UI
- Open the form where you need to authenticate with Files.com.
- Enter your subdomain in the Site Subdomain field and your key in the API Key field.
- Submit the form, and you should be successfully authenticated.