Overview
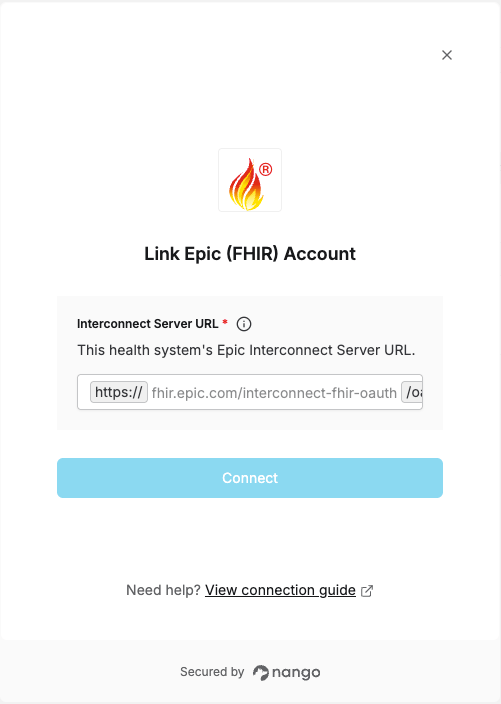
To authenticate with Epic, you need:- Interconnect Server URL — Epic builds both the OAuth2 token endpoint (
<Interconnect Server URL>/oauth2/token) and the FHIR API base (<Interconnect Server URL>/api) off this value, so Nango derives both automatically.
Prerequisites
- The health system has activated/installed your app from Epic’s App Market, and their Epic administrator has mapped your Client ID to a local account.
Step 1: Finding your Interconnect Server URL
Epic (or the health system’s IT/Epic team) provides this when the health system activates your app from the App Market — it’s specific to that health system’s Epic environment, e.g.fhir.epic.com/interconnect-fhir-oauth.
Step 2: Enter your Interconnect Server URL in the Connect UI
Once you have it:- Open the form where you need to authenticate with Epic.
- Enter your Interconnect Server URL in the designated field.
- Submit the form, and you should be successfully authenticated.