Overview
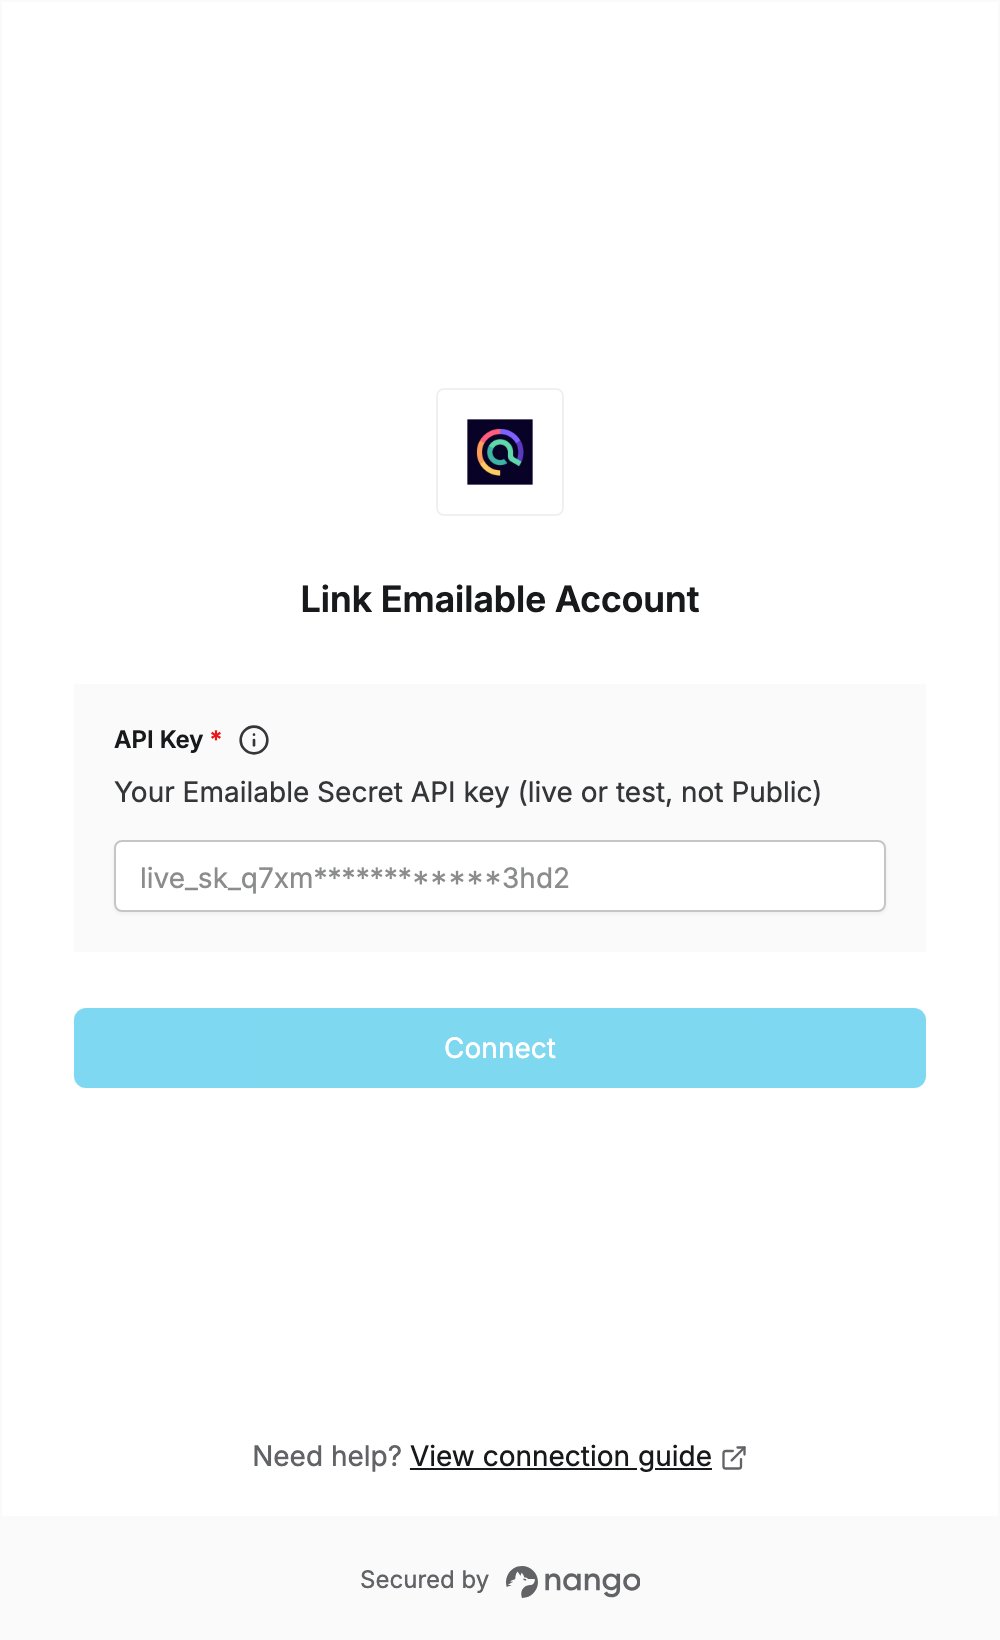
To authenticate with Emailable, you need:- API Key - an Emailable Secret (private) API key, live or test. Public keys are rejected.
Prerequisites
- An Emailable account. A free account can create API keys; sign up here.
Step 1: Create a Secret API key
- Sign in to Emailable and click API in the top navigation.
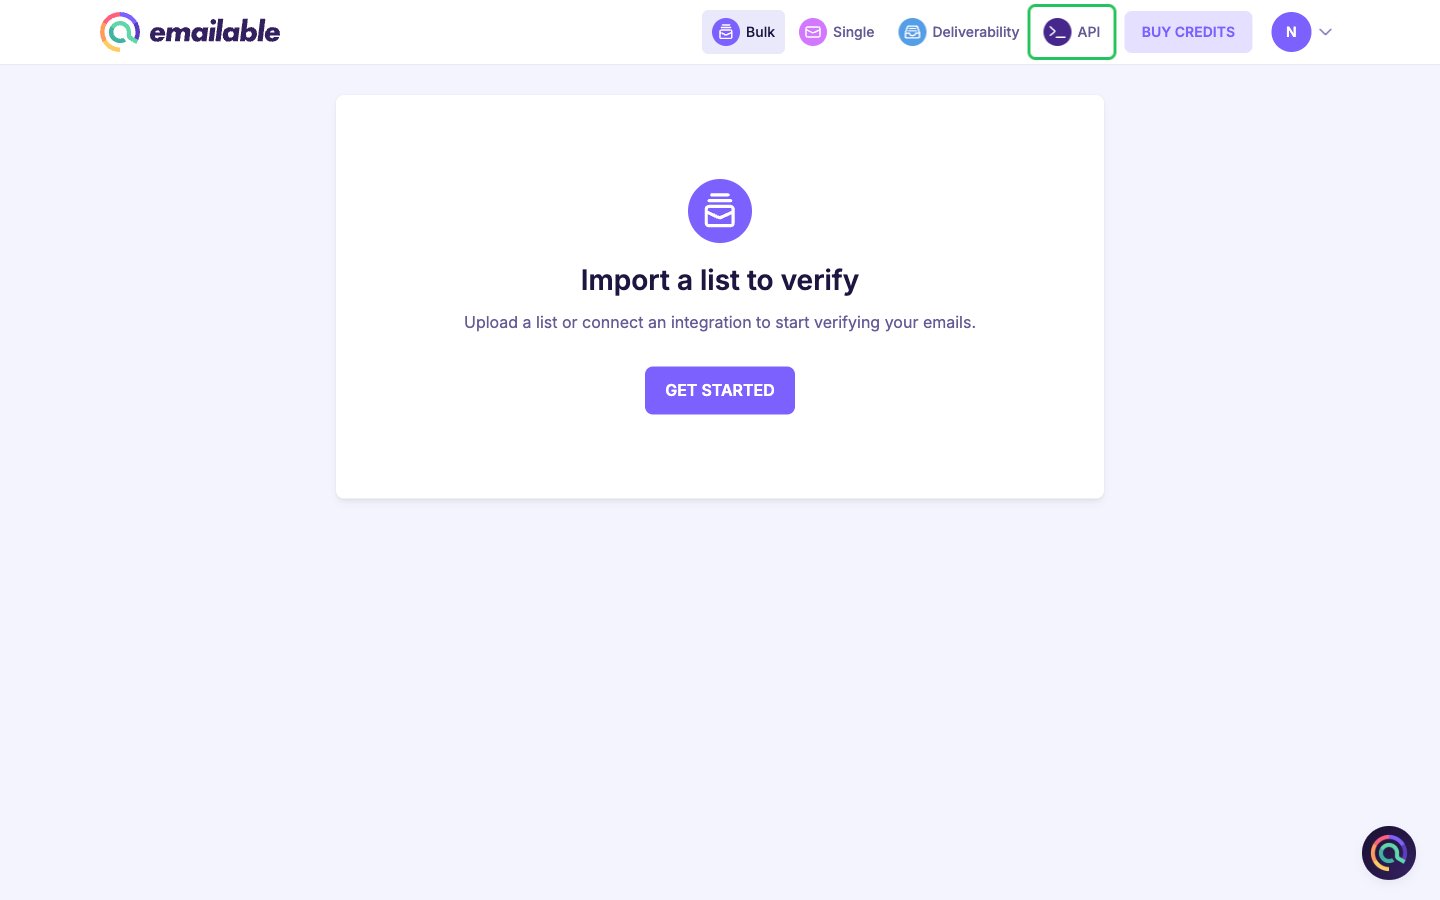
- Click Get Started, or New Key if you already have keys.
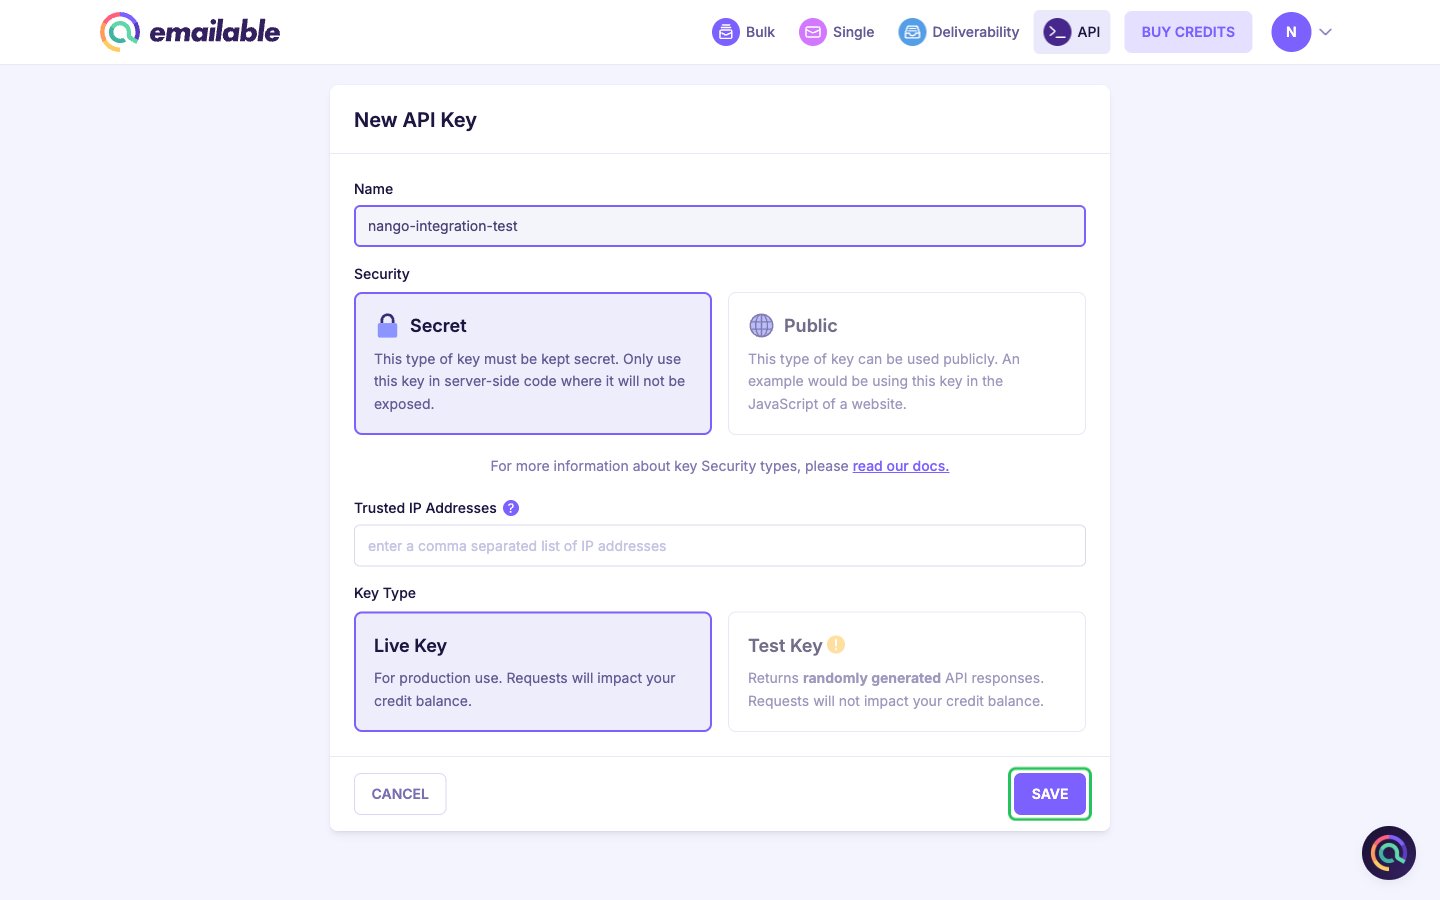
- Enter a Name for the key.
- Under Security, choose Secret. Public keys are for browser use and only work with the verify endpoint, so they cannot connect.
- Under Key Type, choose Live Key for real verifications that use credits, or Test Key for simulated responses that use no credits.
- Optionally add Trusted IP Addresses.
- Click Save.
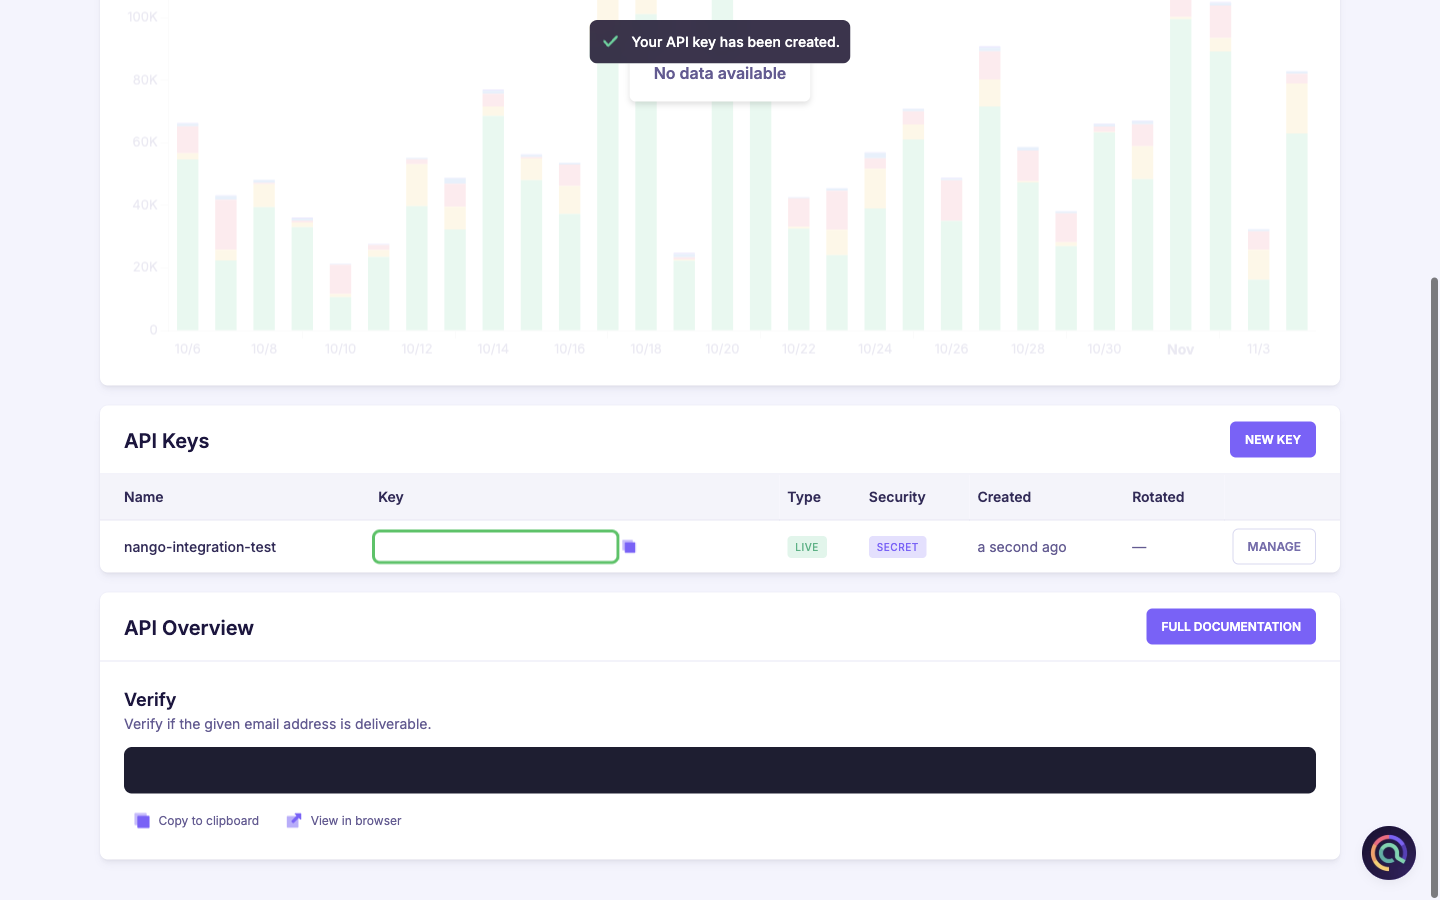
- Copy the new key from the Key column of the API Keys table. Live keys start with
live_and test keys withtest_.
Step 2: Enter your API key in the Connect UI
- Open the form where you need to authenticate with Emailable.
- Enter your API Key in the designated field.
- Click Connect. Nango checks the key with Emailable and rejects it if it is wrong.