Overview
To authenticate with Elastic Email, you need:- API Key — an API key from your Elastic Email settings.
Prerequisites
- An Elastic Email account. You can sign up for free.
Step 1: Create an API key
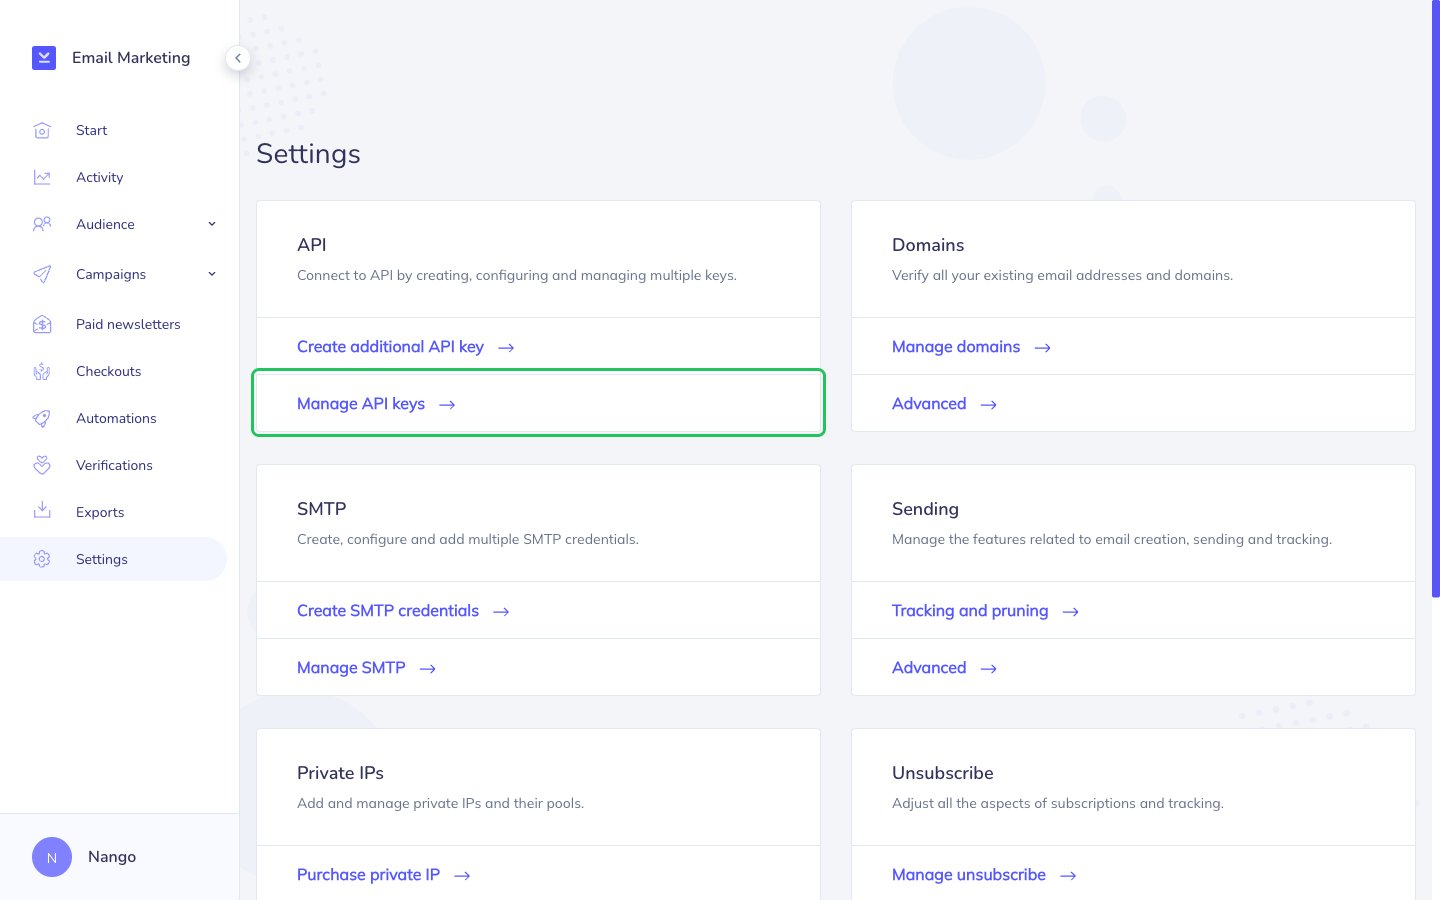
- Log in to Elastic Email and click Settings in the left sidebar.
- In the API section, click Manage API keys.
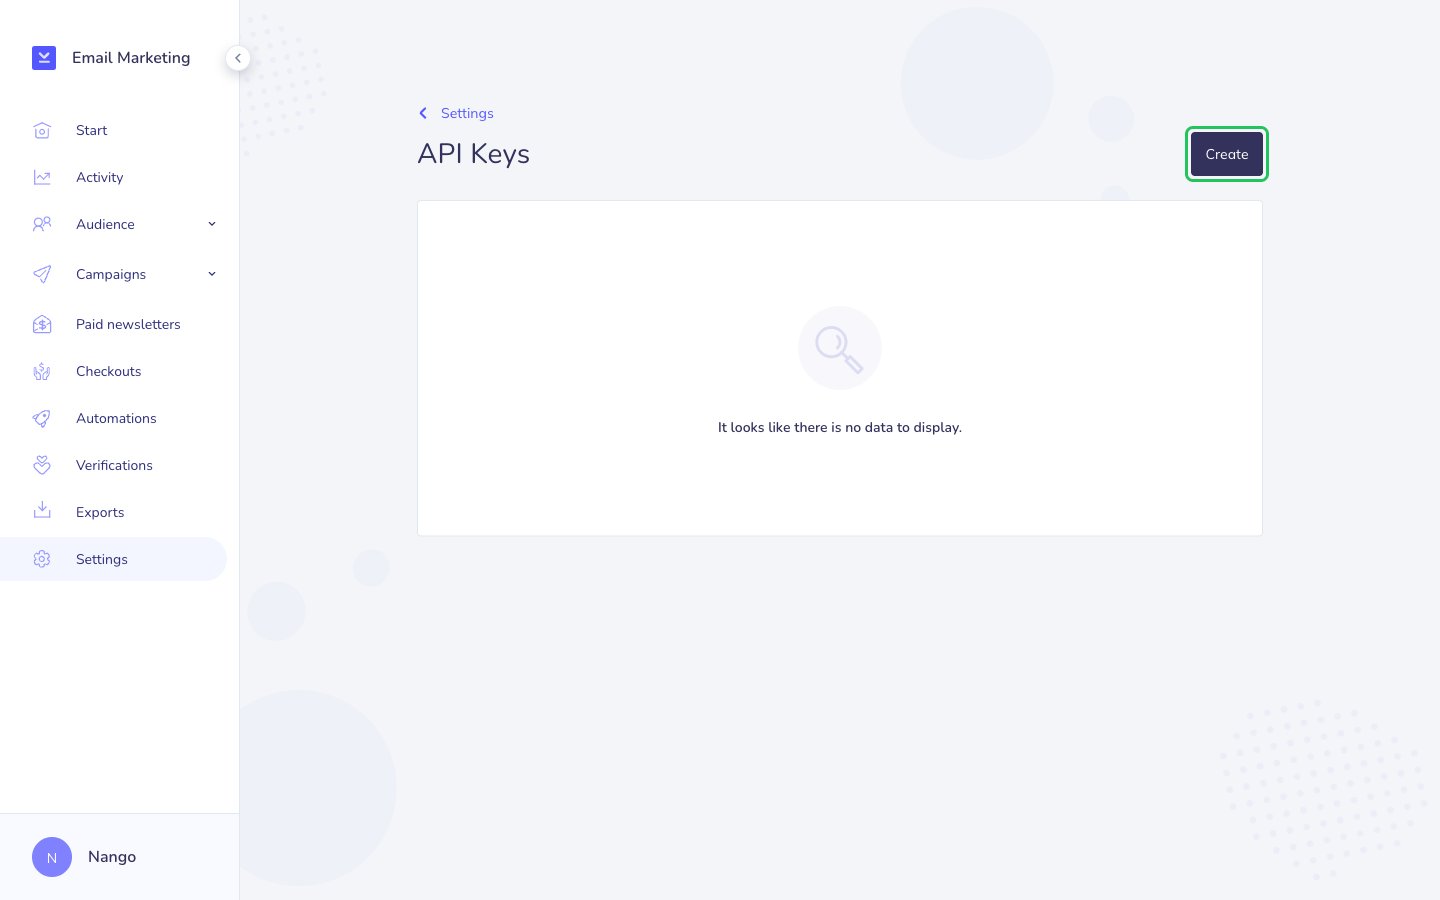
- On the API Keys page, click Create.
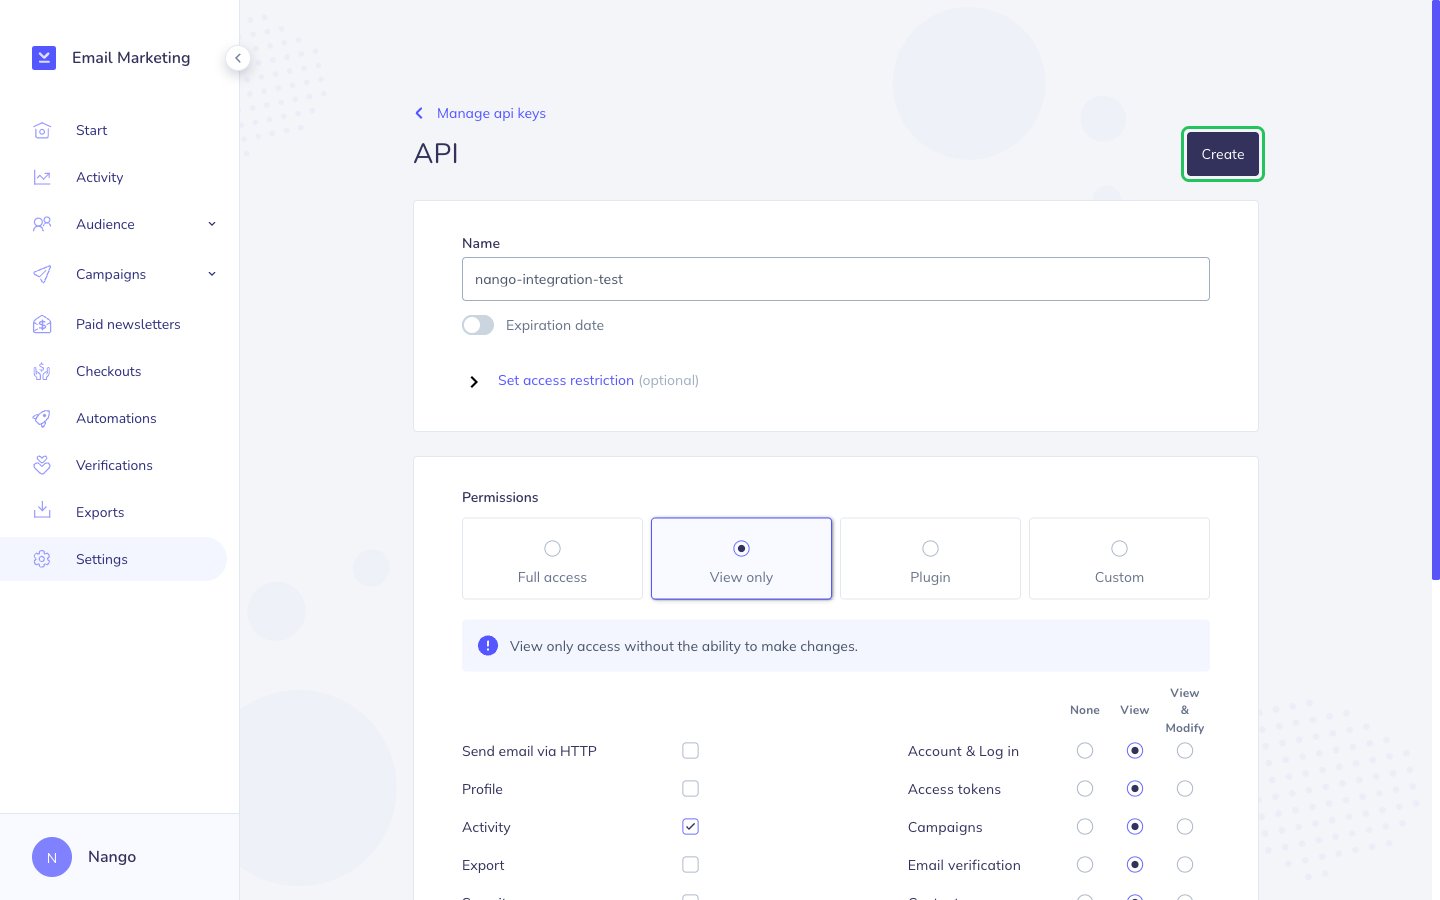
- Enter a name for the key and choose the permissions your integration needs: View only for read-only access, or Custom to pick access per area. Optionally set an expiration date or an access restriction, then click Create.
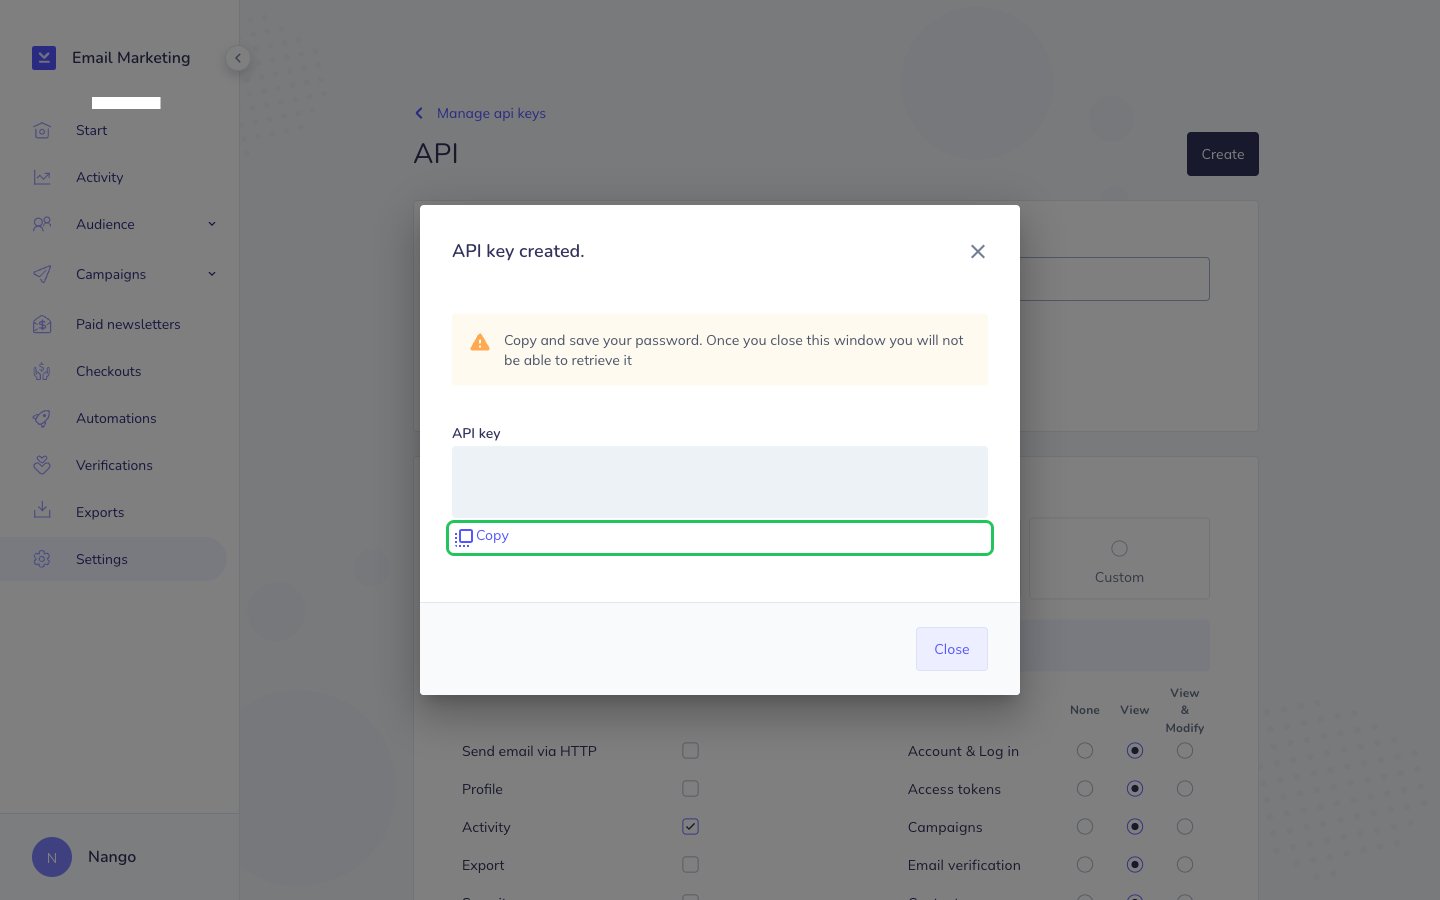
- In the API key created popup, click Copy and save the key. It is only shown once.
Step 2: Enter your API key in the Connect UI
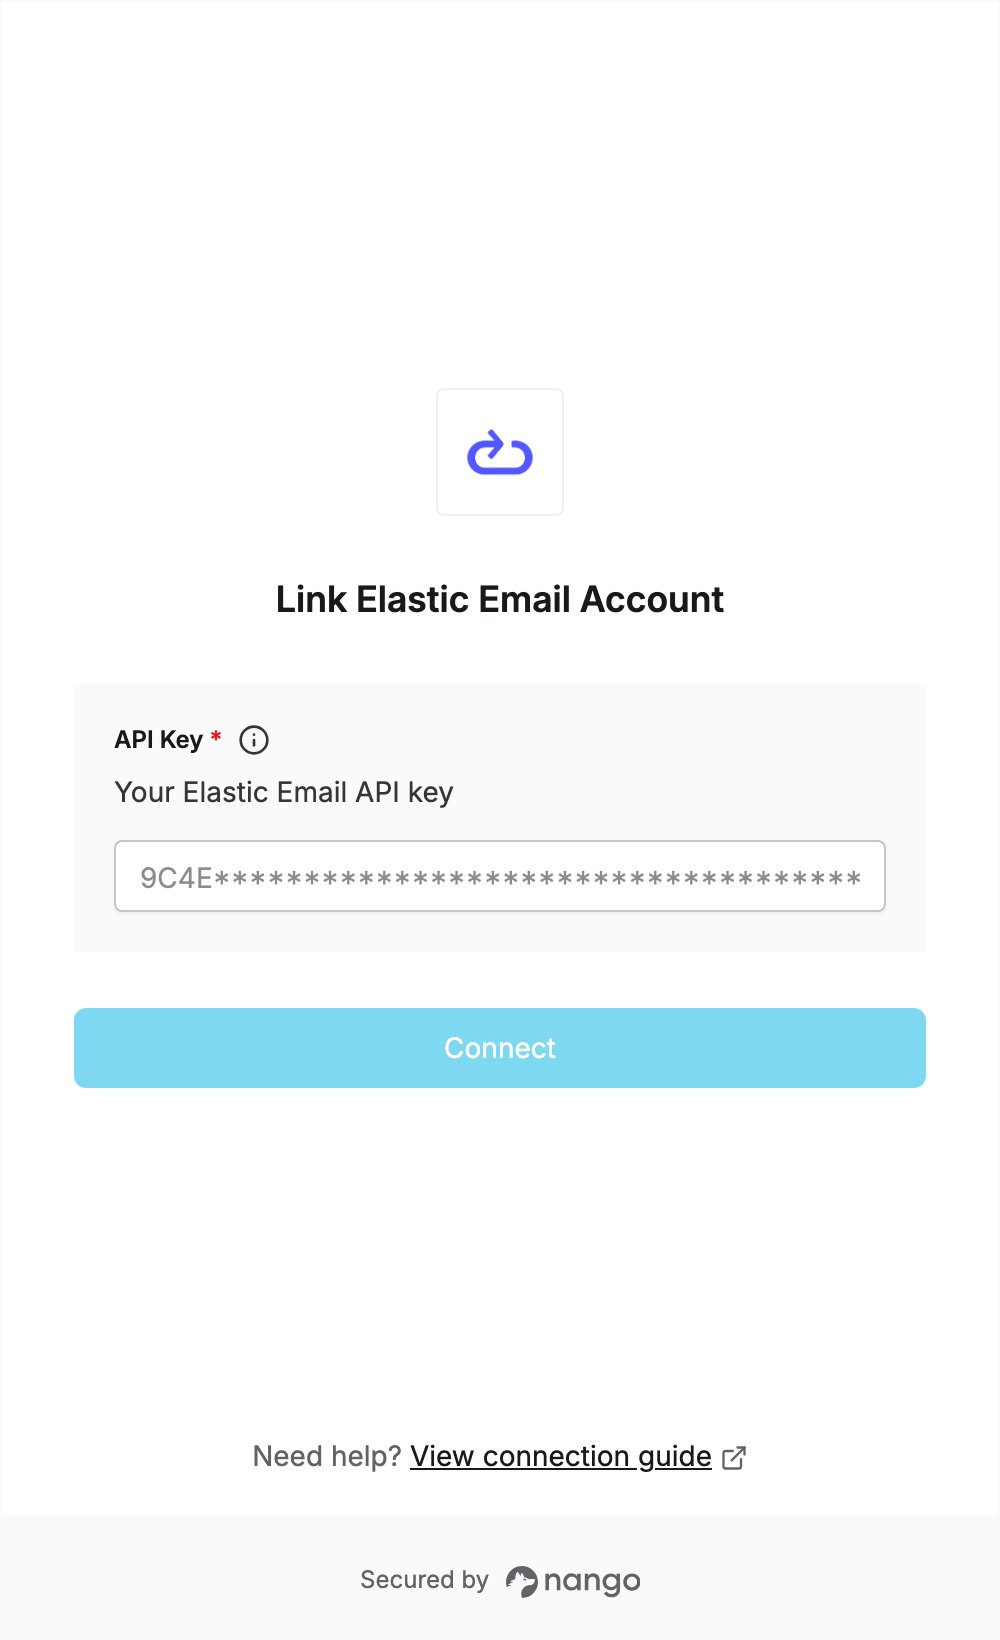
- Open the form where you need to authenticate with Elastic Email.
- Enter your key in the API Key field.
- Submit the form. The connection is saved without checking the key: if the key is wrong, the first API request returns an authentication error.