Overview
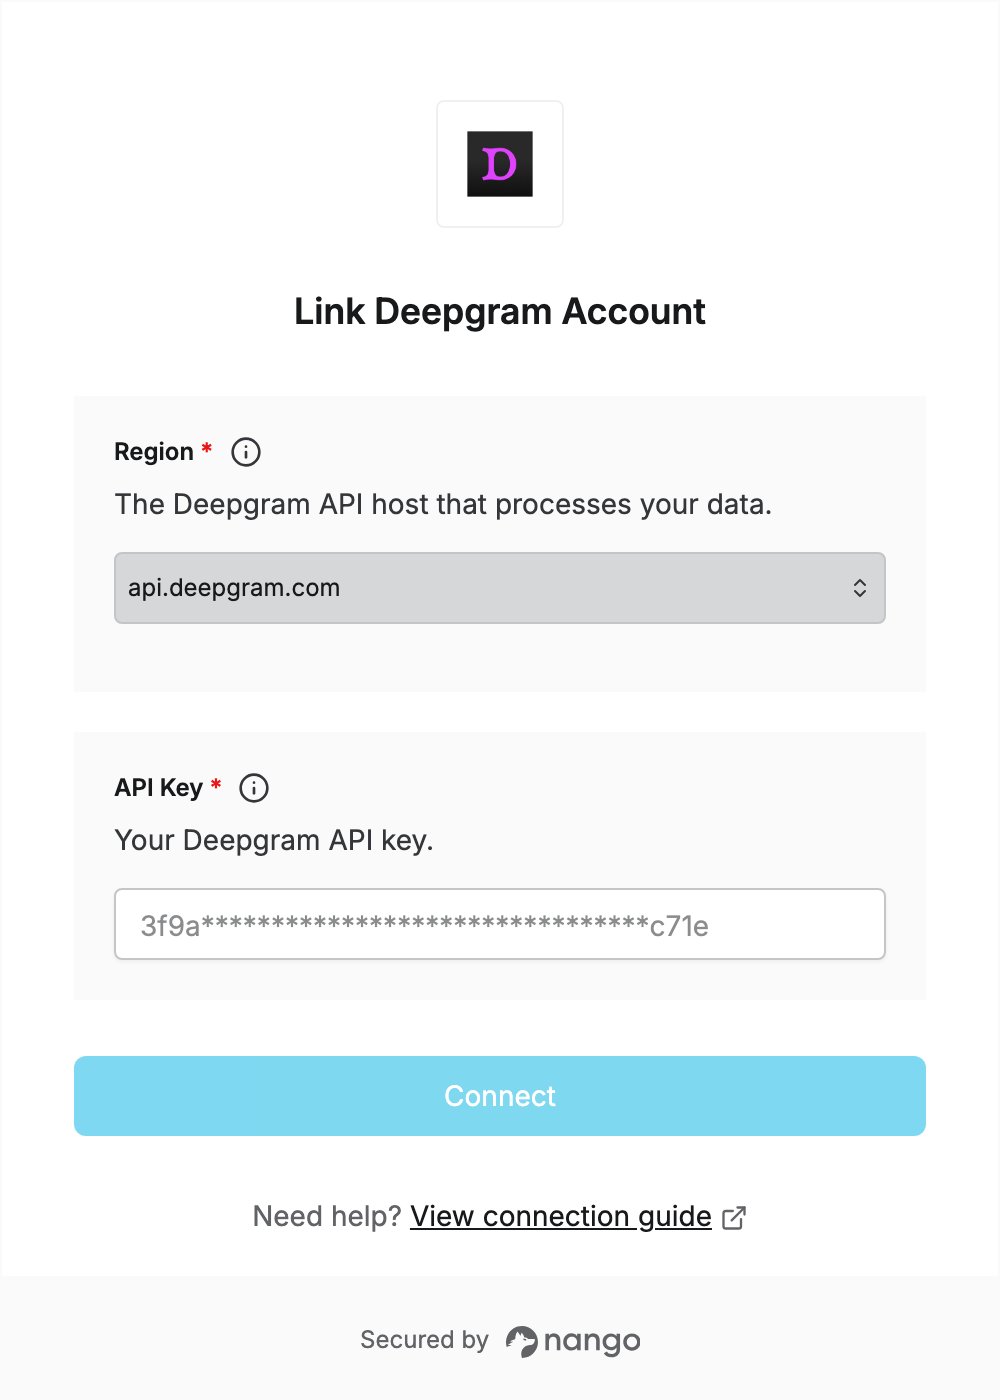
To authenticate with Deepgram, you need:- Region — the Deepgram API host that processes your data.
- API Key — a Deepgram API key.
Prerequisites
- A Deepgram account. You can sign up for free.
Step 1: Choose your region
Deepgram serves its API from these hosts:- Global —
api.deepgram.com - EU —
api.eu.deepgram.com - Australia —
api.au.deepgram.com - India —
api.in.deepgram.com
api.deepgram.com unless you need your data processed in a specific region. The same API key works on every host. See Regional Endpoints.
Step 2: Create an API key
- Log in to the Deepgram Console. If you have more than one project, pick the project from the drop-down at the top.
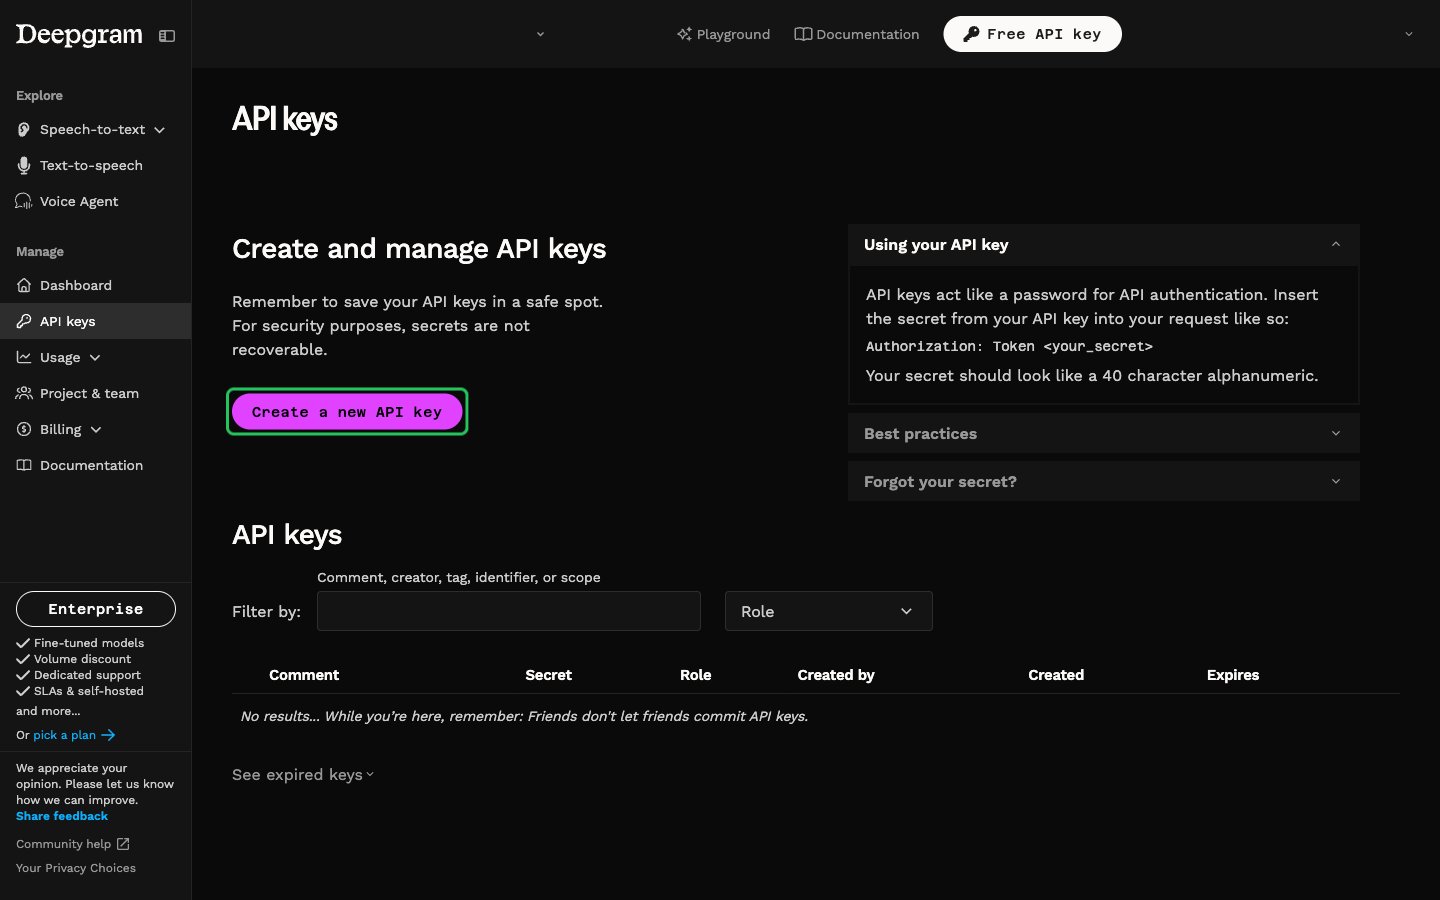
- Click API keys under Manage in the left sidebar, then click Create a new API key.
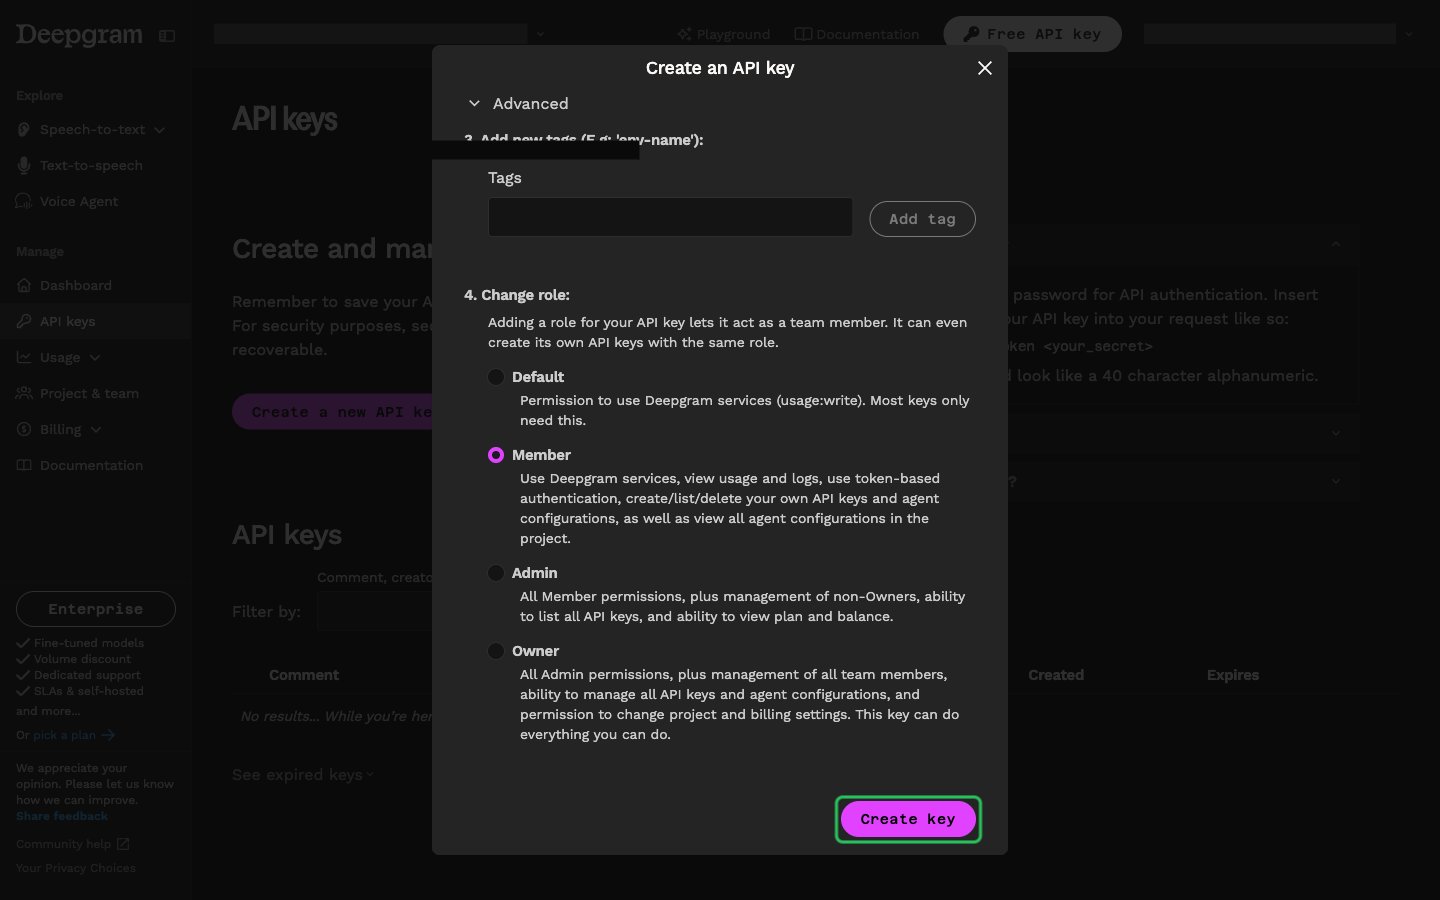
- Enter a Friendly name and choose an expiration. Optionally open Advanced to add tags and choose a role. Default only allows using Deepgram services; Member also lets the key view usage and logs. See Working with Roles. Click Create key.
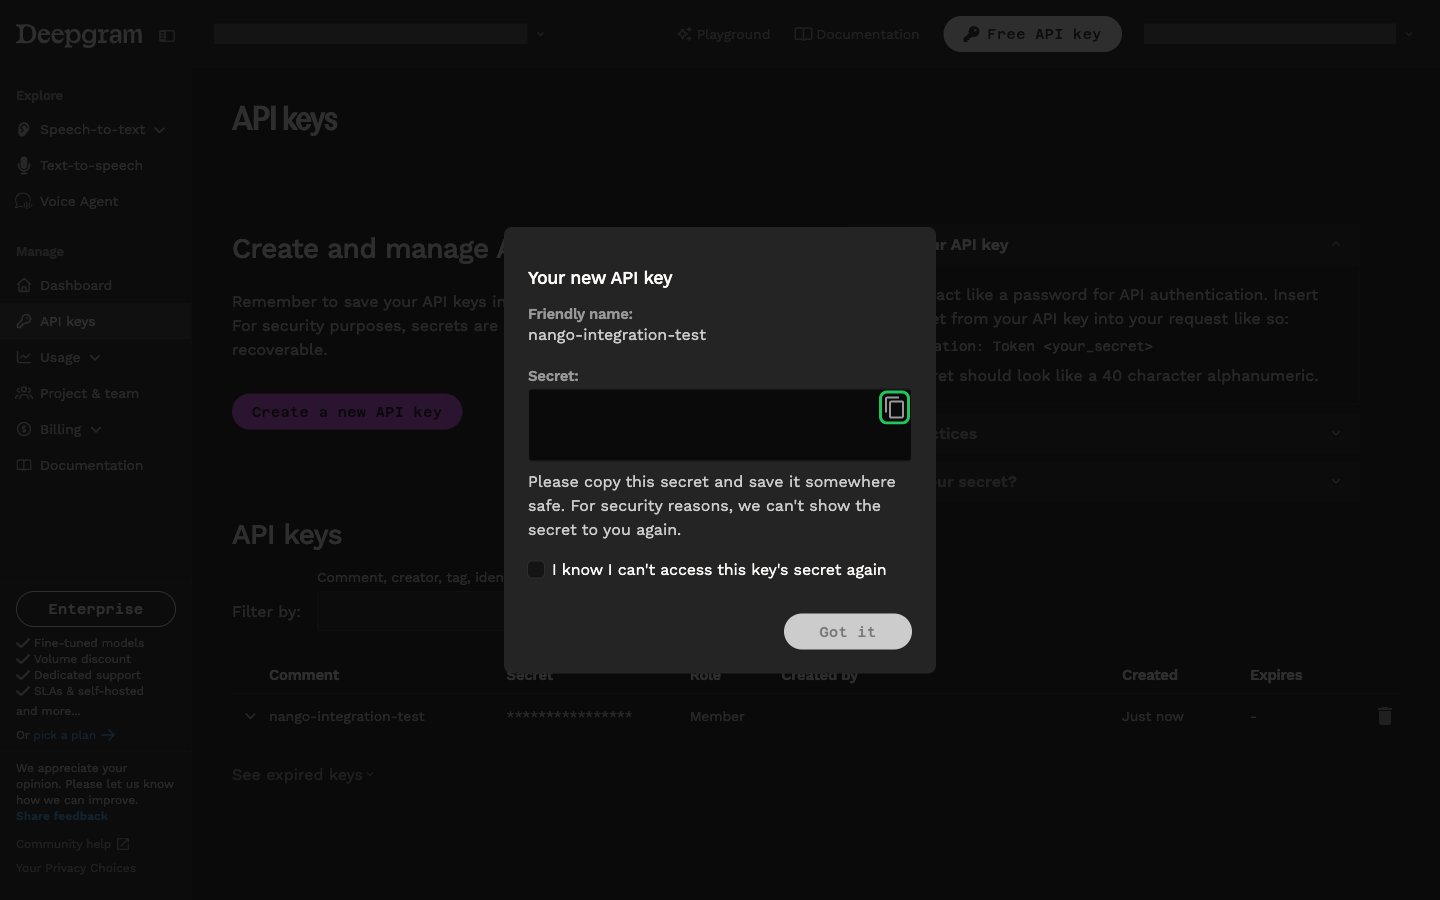
- Click the copy button next to the secret and store it safely. Deepgram won’t show it again. Tick I know I can’t access this key’s secret again and click Got it.
Step 3: Enter your credentials in the Connect UI
- Open the form where you need to authenticate with Deepgram.
- Select your Region and enter your API Key in the designated fields.
- Submit the form, and you should be successfully authenticated.