Overview
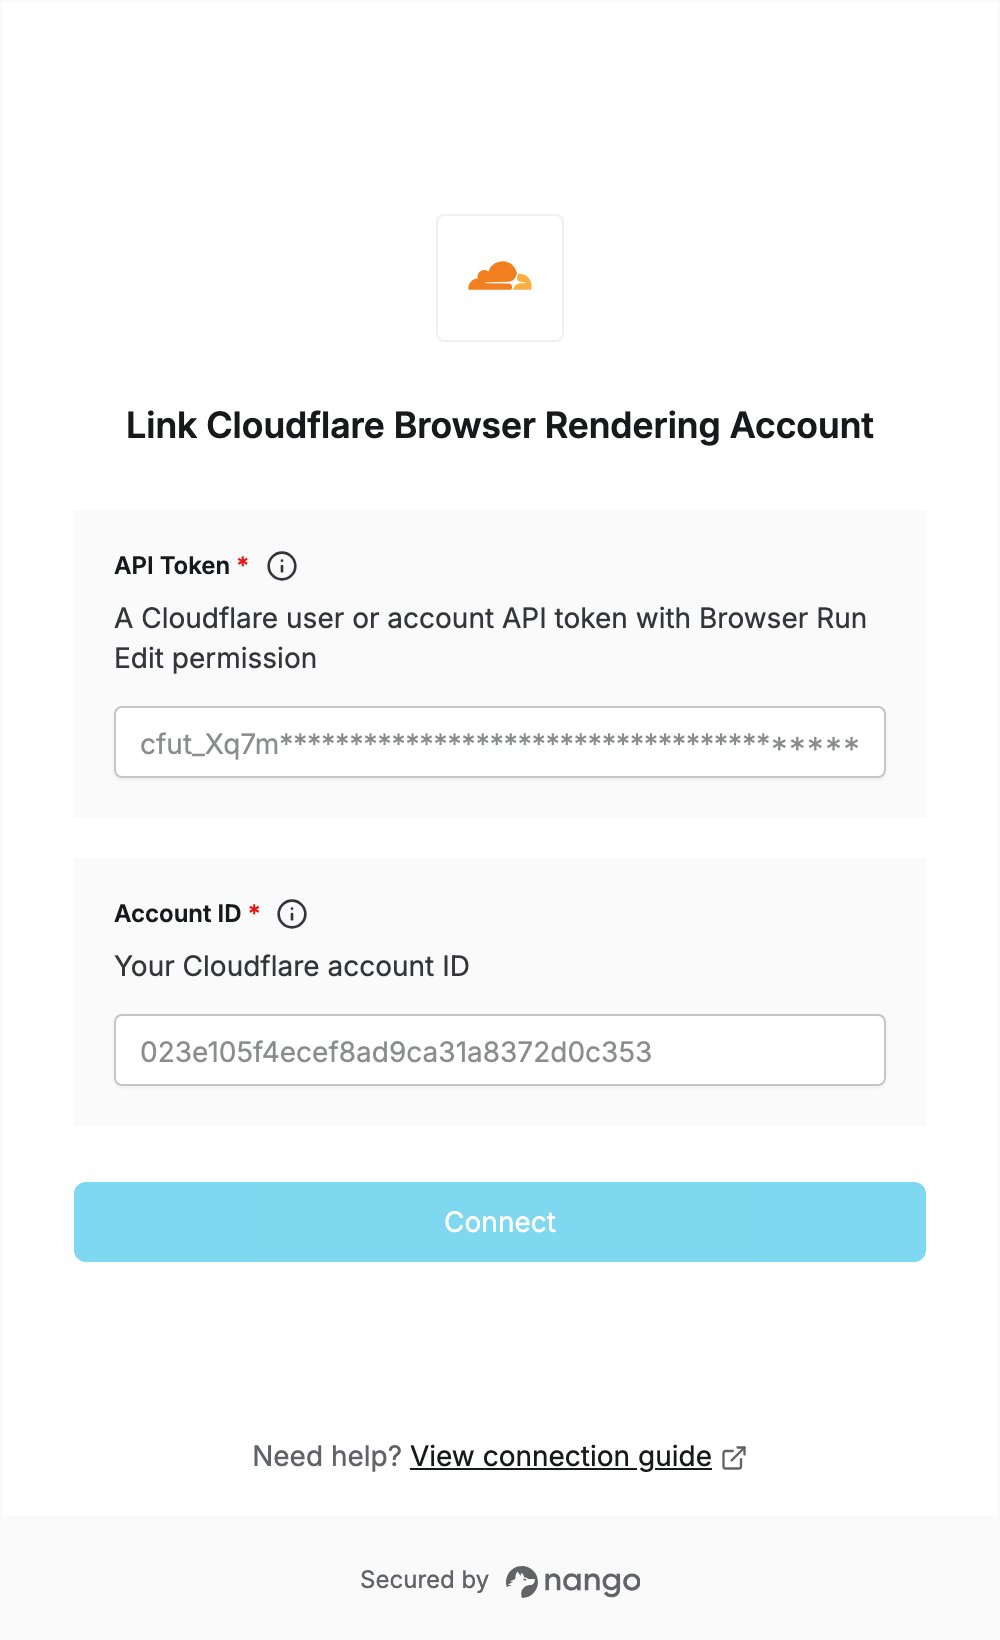
To authenticate with Cloudflare Browser Rendering, you need:- API Token — a Cloudflare user API token or account API token with the Browser Run Edit permission.
- Account ID — the ID of the Cloudflare account the token works on.
Prerequisites
- A Cloudflare account. You can sign up at dash.cloudflare.com. Browser Run is available on the Workers Free and Paid plans.
Step 1: Create an API token
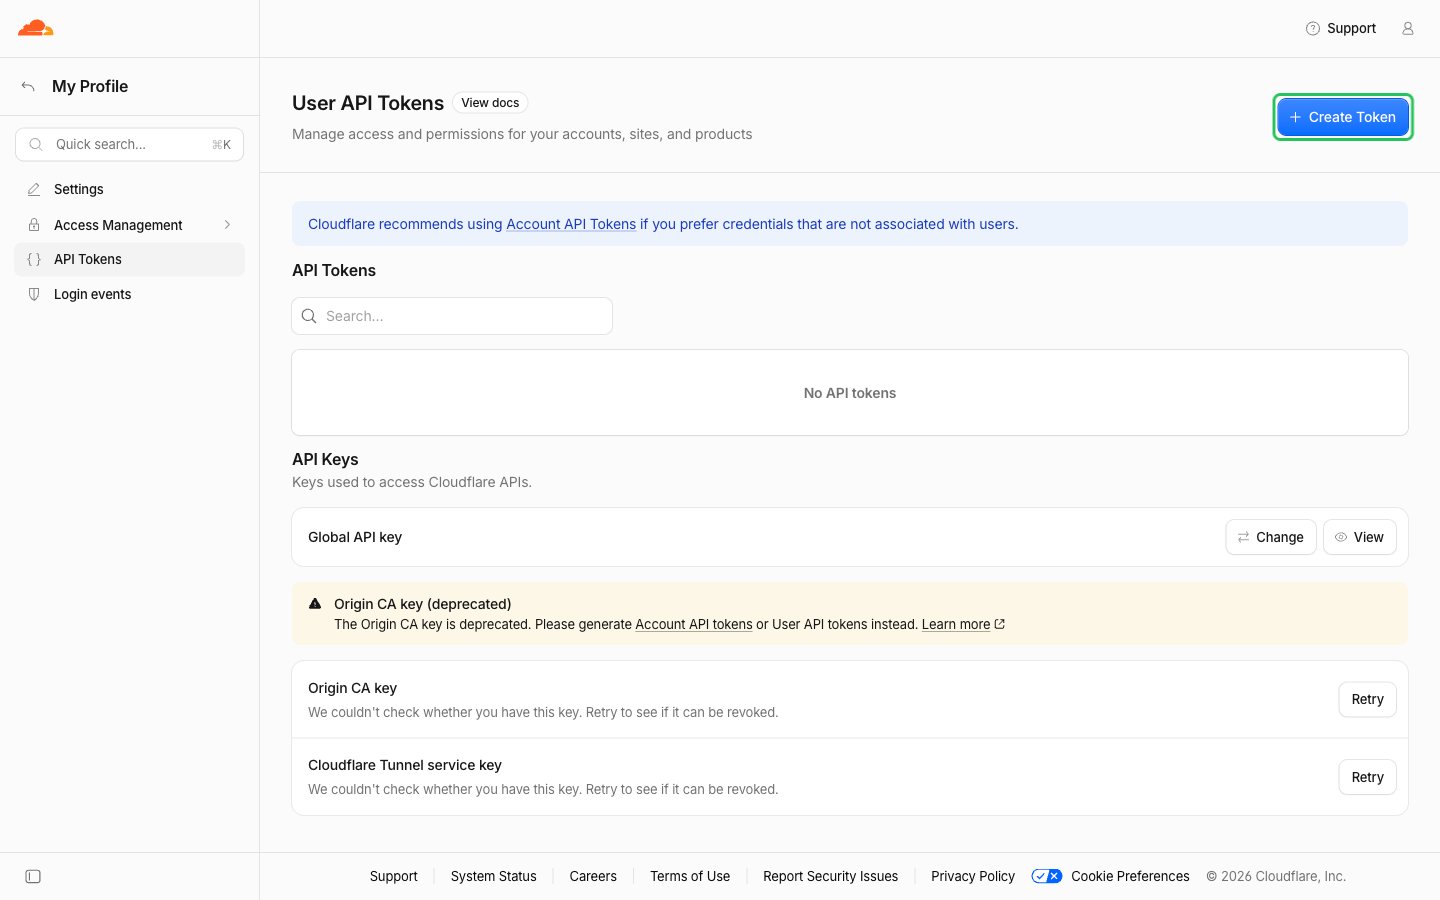
Both user API tokens and account API tokens work. Create one of them. User API token- Sign in to the Cloudflare dashboard and open My Profile > API Tokens. Click Create Token.
- Enter a token name. Under Policies, click Start from scratch and choose an Account policy (keep all accounts or pick yours).
- Type
Browserin the permission search box, then tick Edit on the Browser Run row.
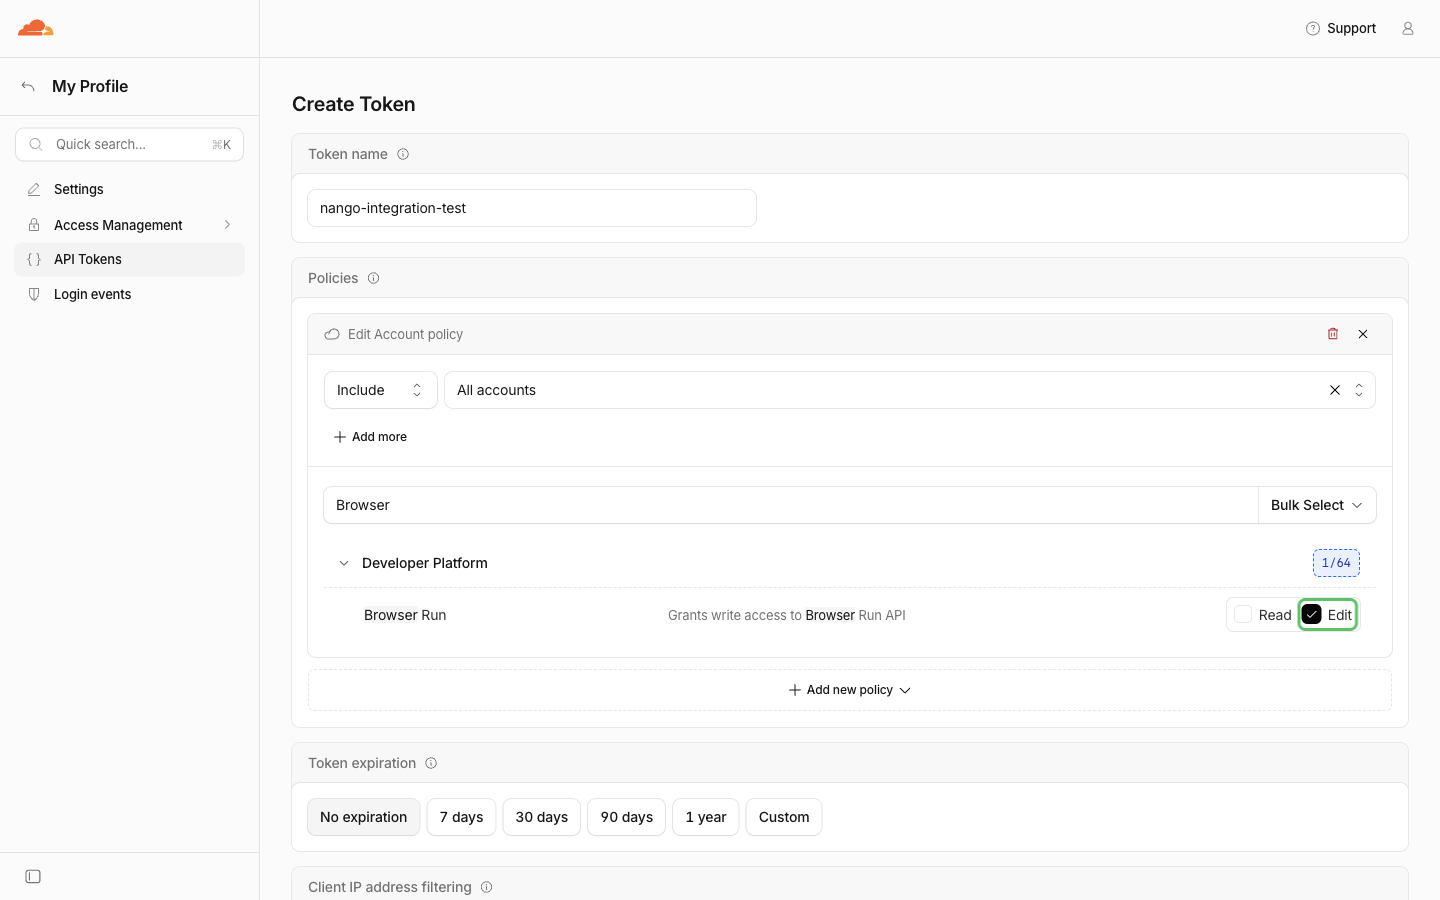
- Optionally set Token expiration and Client IP address filtering, then click Continue to summary. Check that the summary shows Browser Run: Edit and click Create Token.
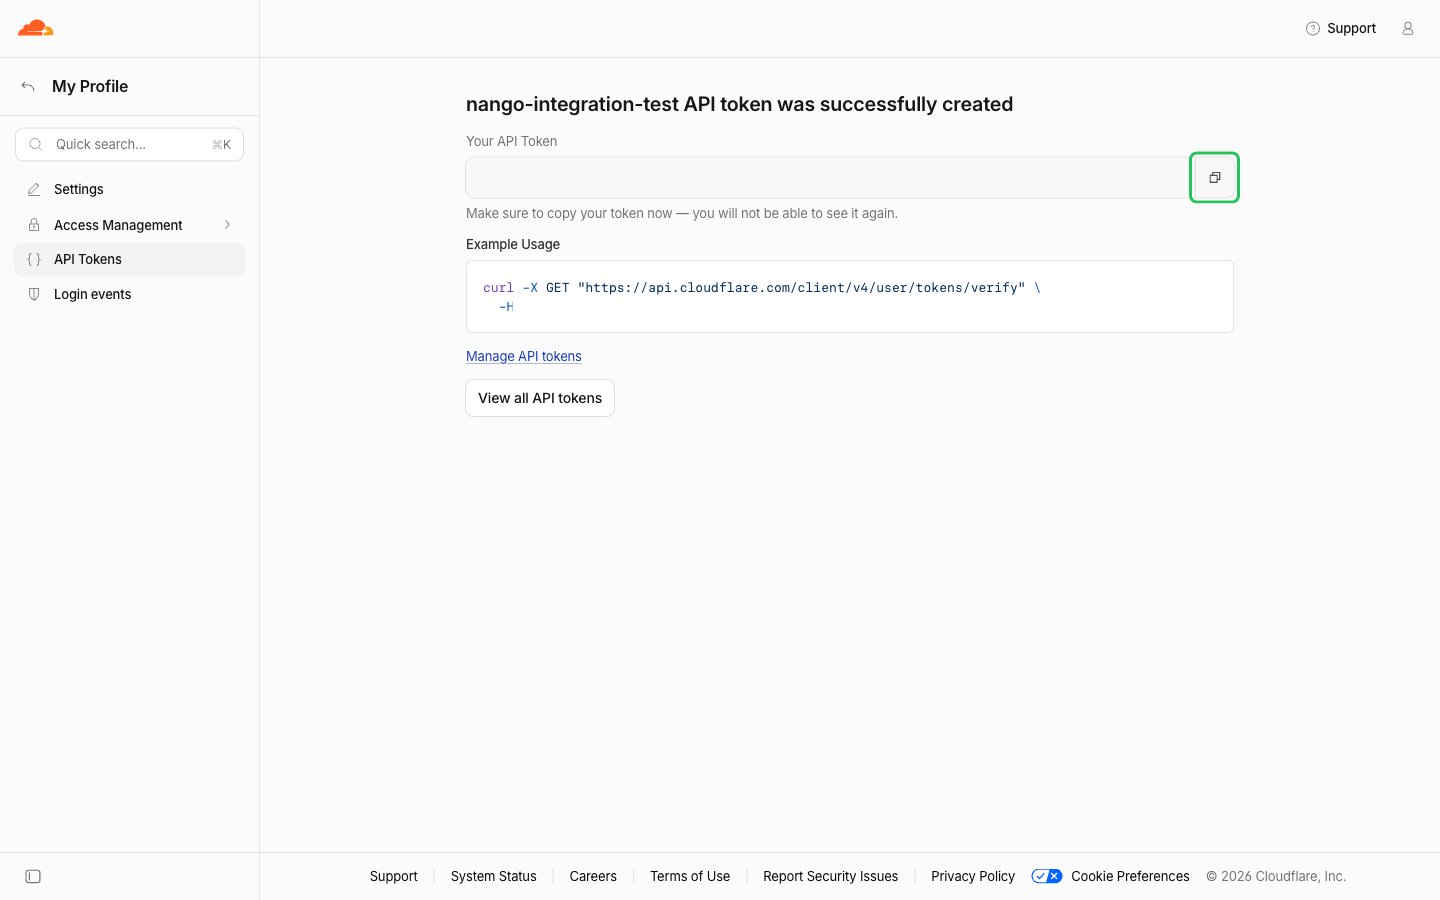
- Copy the token. It is shown only once.
- In the Cloudflare dashboard, go to Manage account > Account API tokens and click Create Token.
- Enter a name, click Start from scratch, search
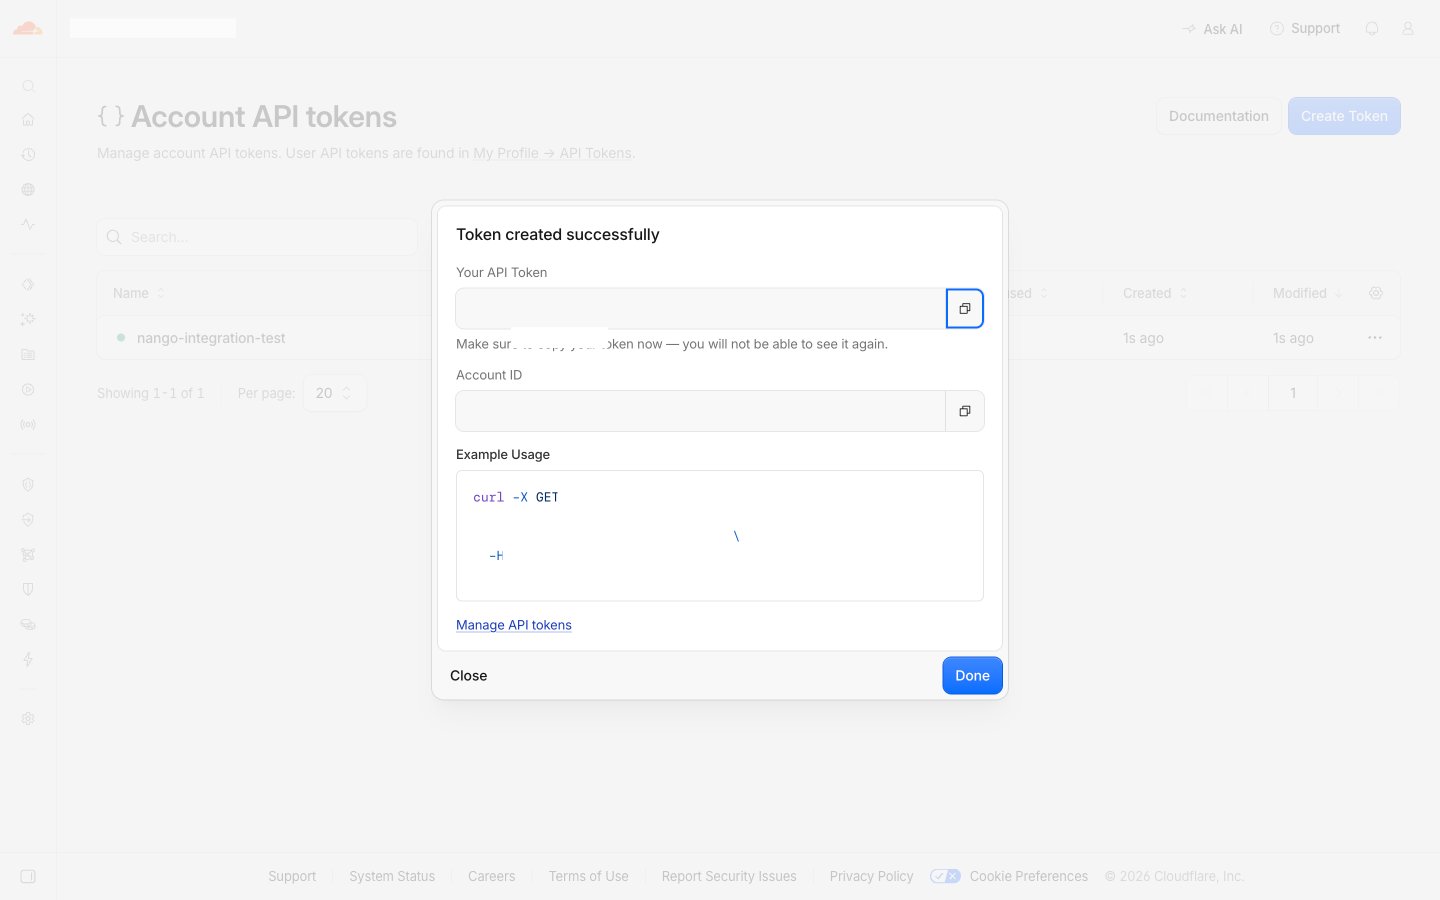
Browserand tick Browser Run > Edit. Click Review token, then Create token. - Copy the token from the success dialog. It is shown only once. The dialog also shows your account ID.
Step 2: Find your account ID
Your account ID is the 32-character value in the dashboard URL after you sign in:dash.cloudflare.com/<account_id>/.... It is also shown in the success dialog when you create an account API token.
Step 3: Enter your credentials in the Connect UI
- Open the form where you need to authenticate with Cloudflare Browser Rendering.
- Enter your API Token and Account ID in the designated fields.
- Submit the form, and you should be successfully authenticated.