Overview
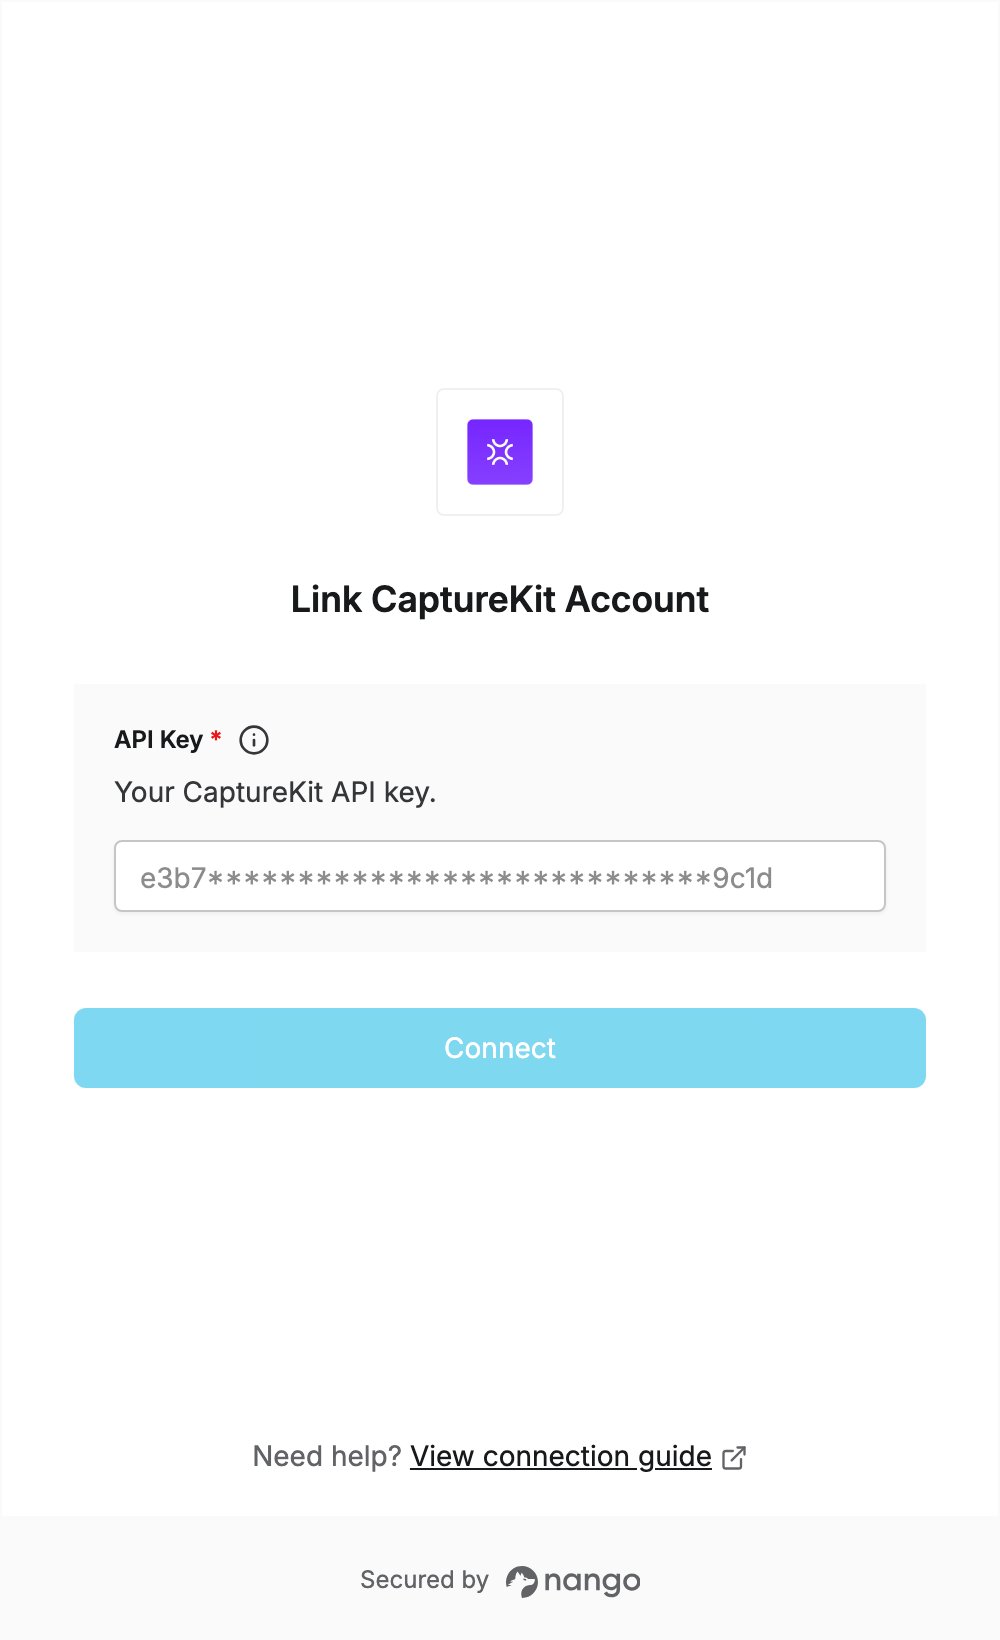
To authenticate with CaptureKit, you need:- API Key — an API key from the API page of your CaptureKit dashboard.
Prerequisites
- A CaptureKit account. If you don’t have one, sign up with an email address, Google or GitHub. New accounts start with free credits, so no credit card is needed to try the API.
Step 1: Create an API key
- Sign in to the CaptureKit dashboard.
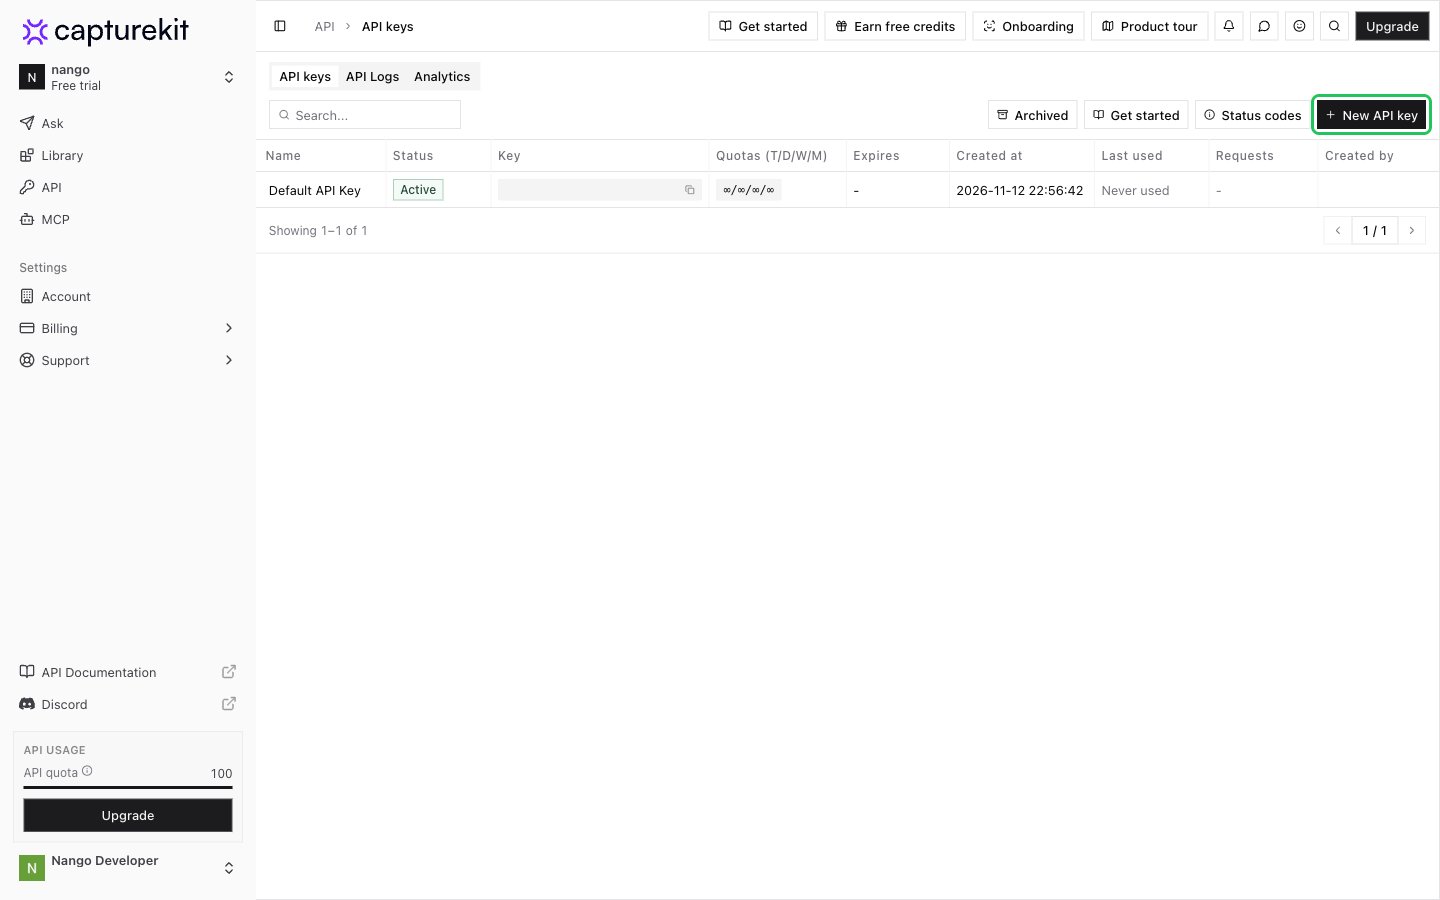
- Click API in the left sidebar to open your API keys, then click New API key.
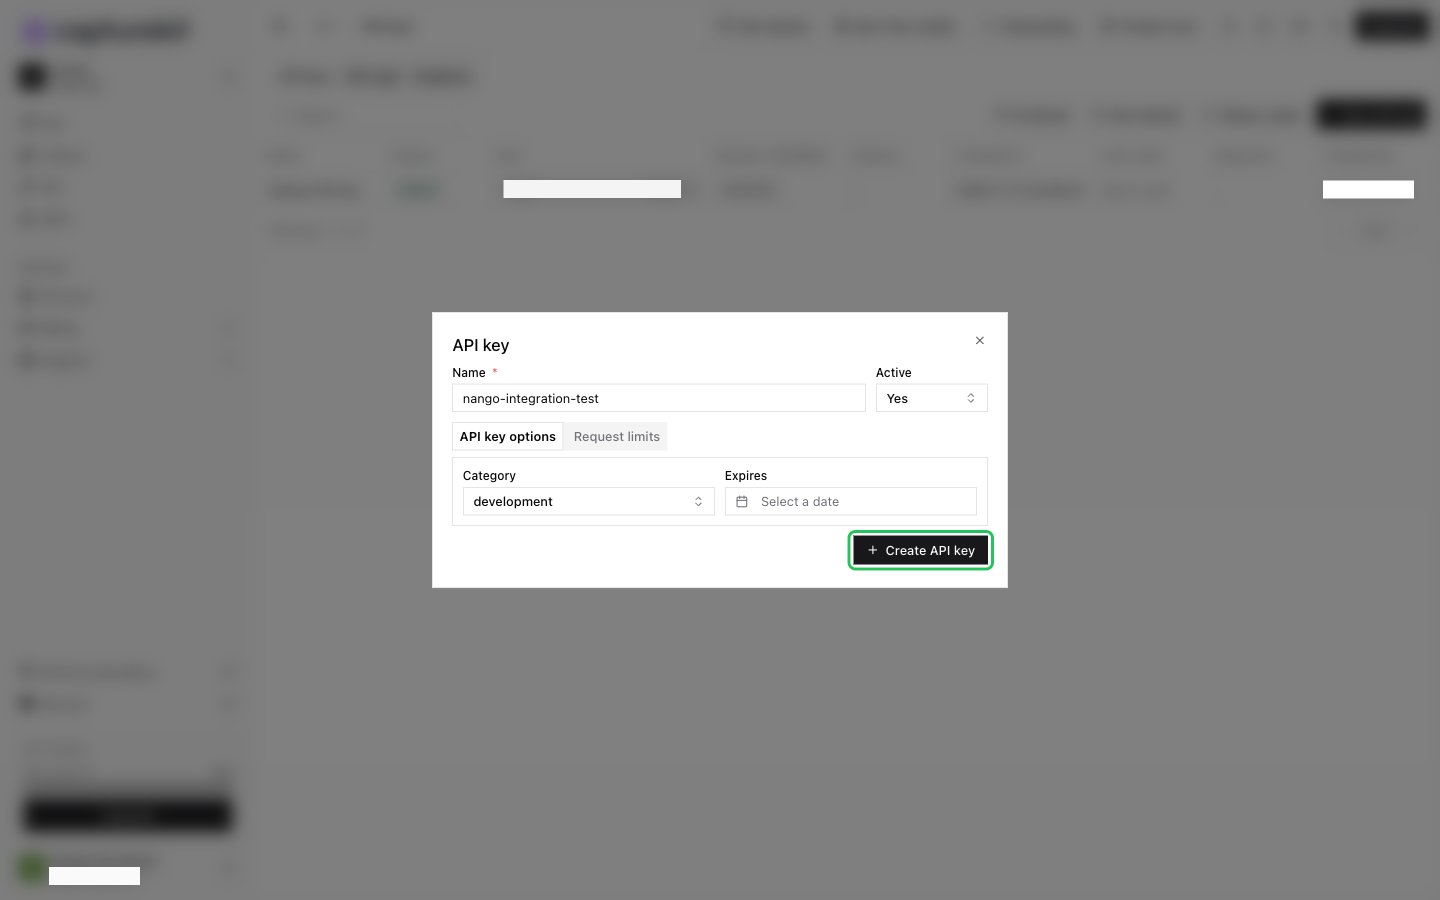
- Enter a name for the key and, optionally, pick a Category. An expiry date and request limits are optional. Click Create API key.
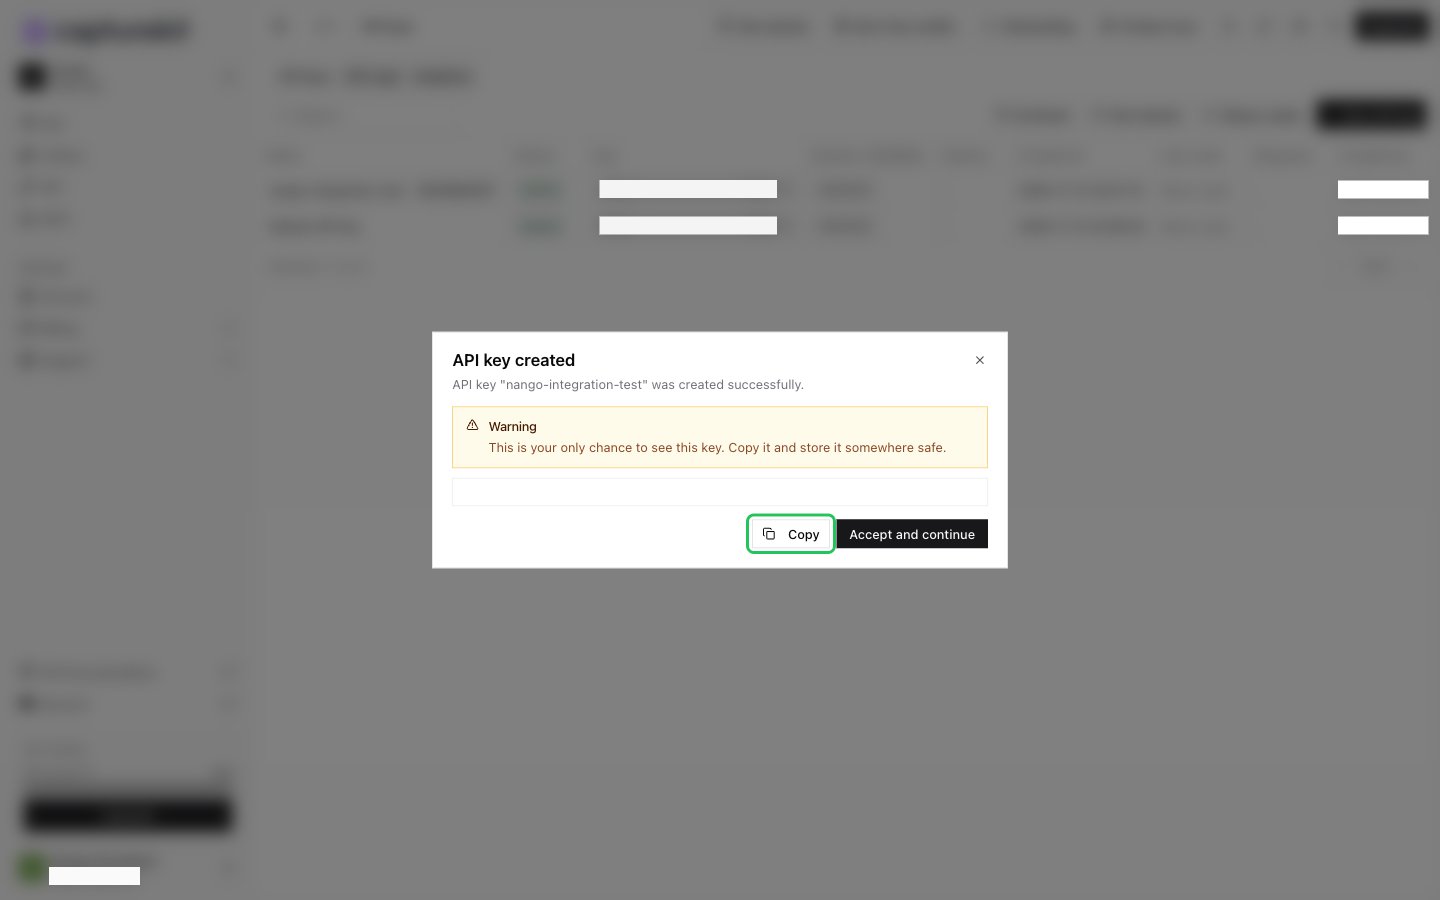
- Copy the API key from the API key created dialog right away: it is shown only once and cannot be retrieved again. Then click Accept and continue.
Step 2: Enter your API key in the Connect UI
- Open the form where you need to authenticate with CaptureKit.
- Enter your API key in the API Key field.
- Submit the form, and you should be successfully authenticated.