Overview
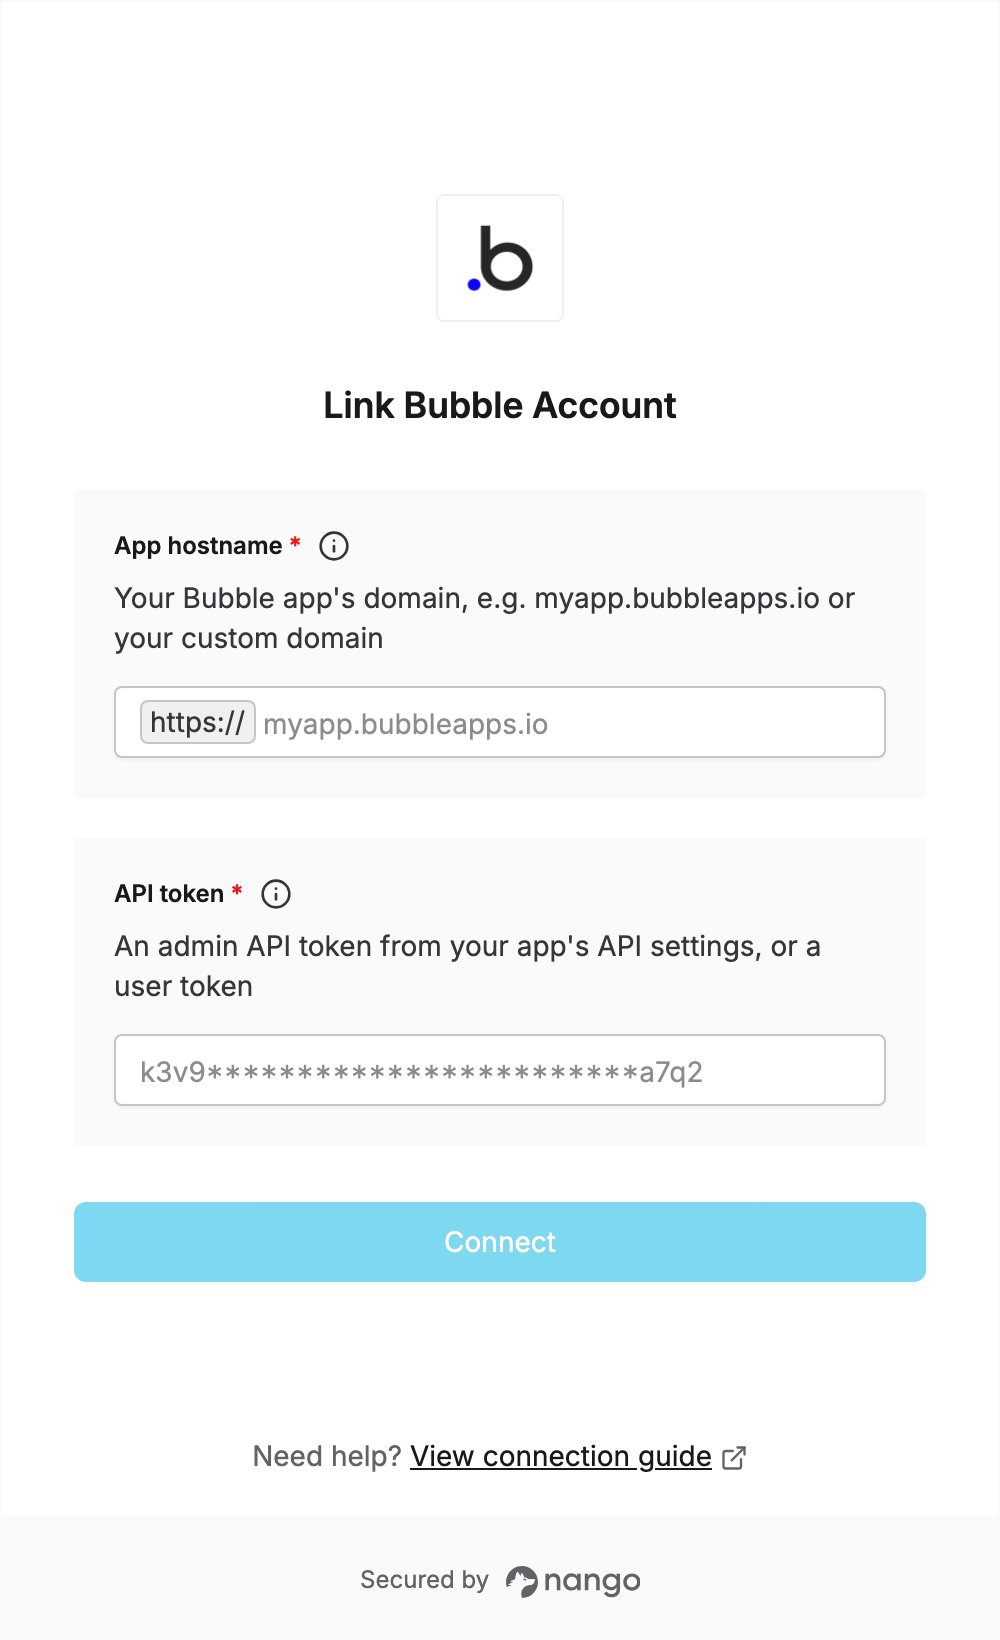
To authenticate with Bubble, you need:- App hostname — the domain your Bubble app runs on.
- API token — an admin API token for your app, or a user token.
Prerequisites
- A Bubble app you can edit in the Bubble editor.
Step 1: Find your app hostname
Your app hostname is the domain of your Bubble app, withouthttps://:
<your-app>.bubbleapps.io, where<your-app>is your app’s name, for examplemyapp.bubbleapps.io.- Your custom domain, for example
app.yourdomain.com, if you connected one to the app.
Step 2: Generate an API token
- Open your app in the Bubble editor and go to Settings > API.
- Tick Enable Data API and choose which data types to expose. Tick Enable Workflow API and backend workflows too if you call API workflows.
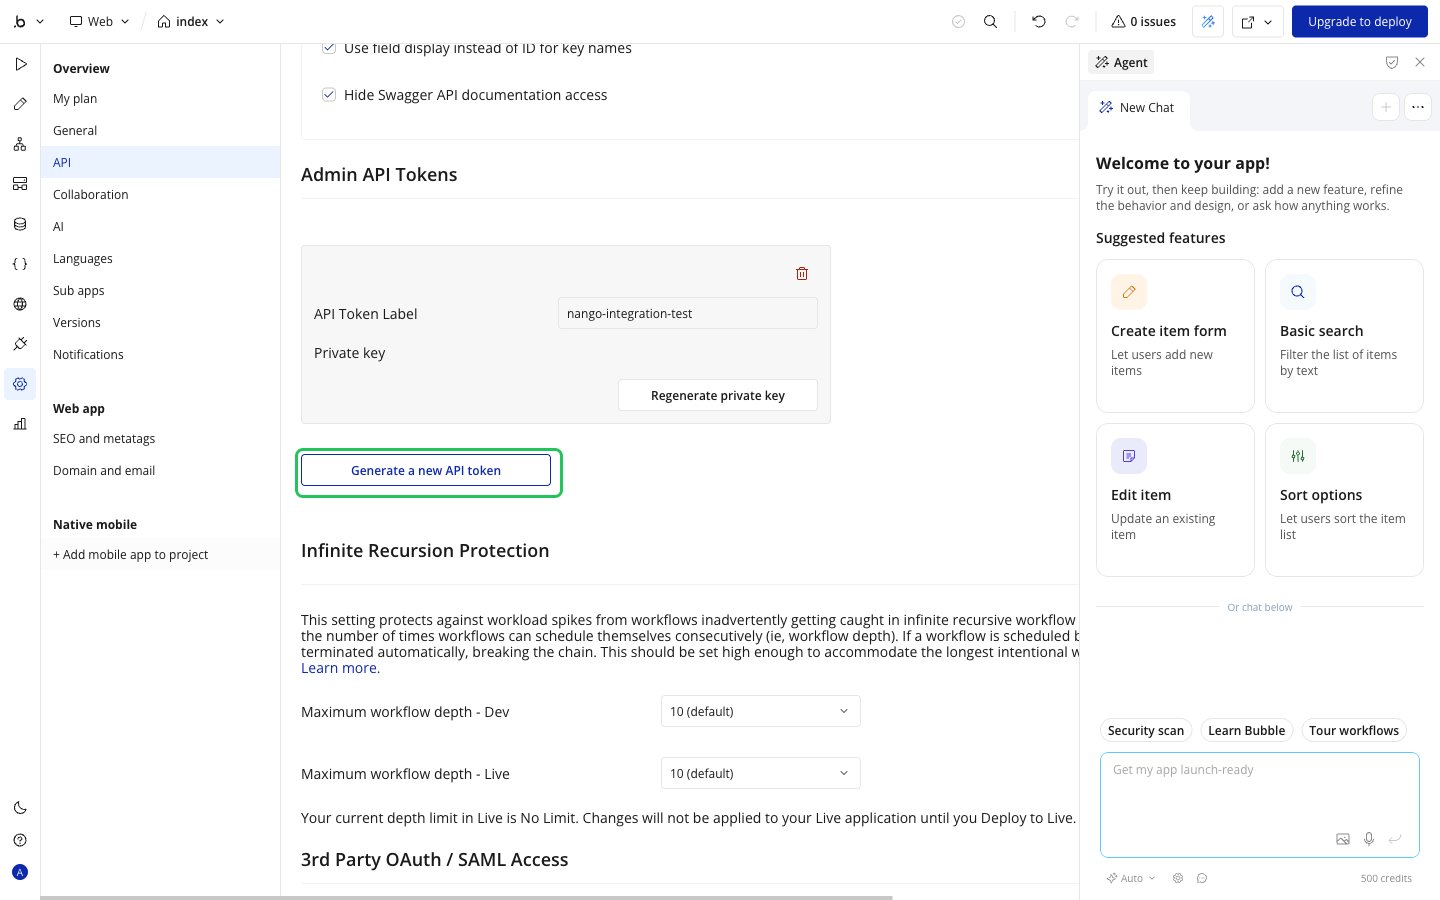
- Scroll to Admin API Tokens and click Generate a new API token.
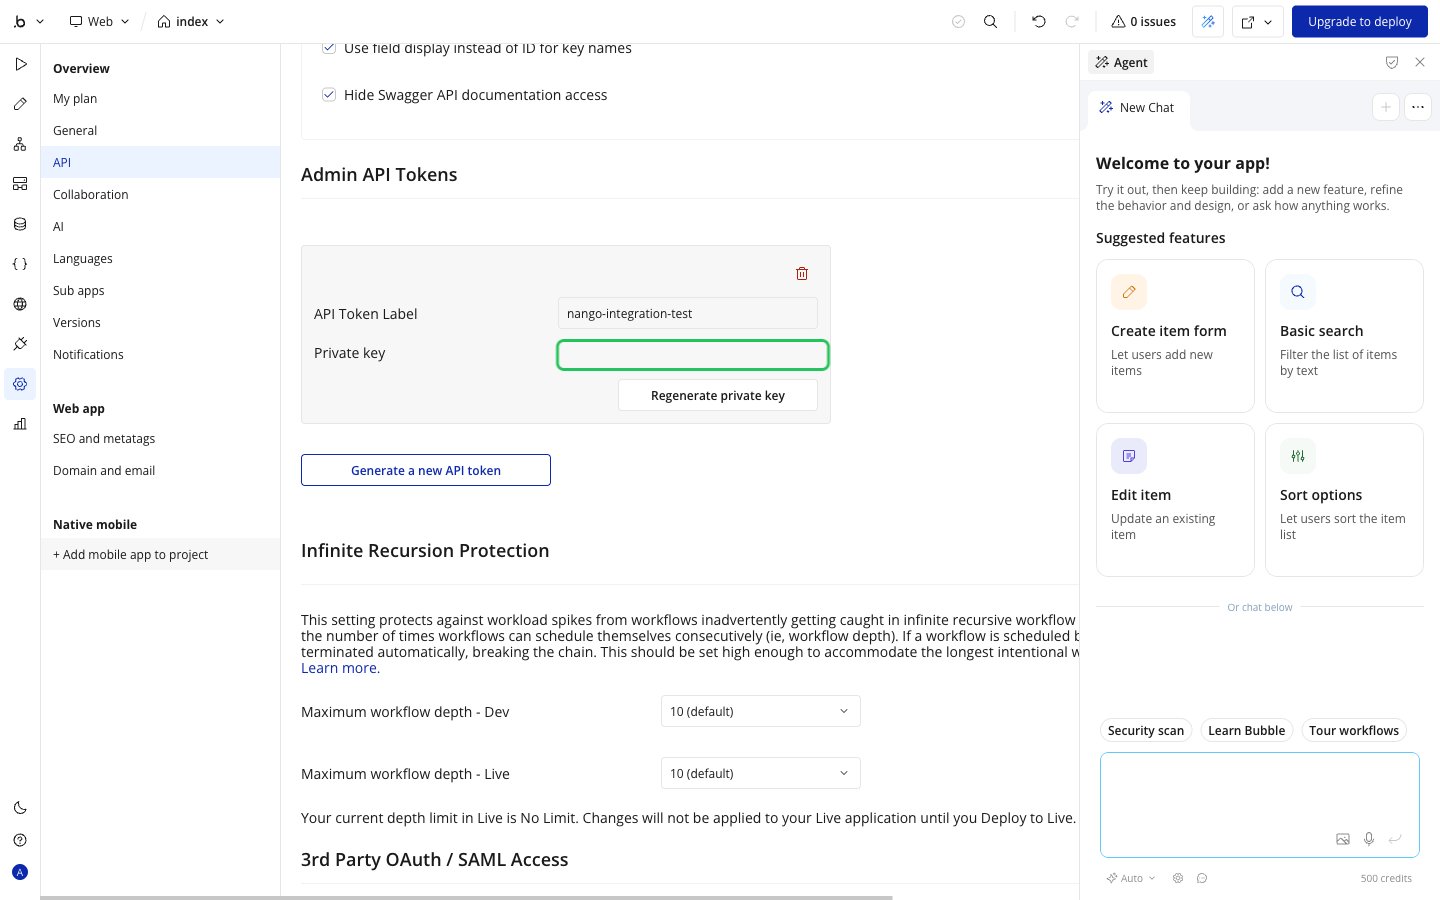
- Give the token a label, then copy the Private key. This is your API token.
Step 3: Enter your credentials in the Connect UI
- Open the form where you need to authenticate with Bubble.
- Enter your App hostname from Step 1.
- Paste the token you copied in Step 2 into the API token field.
- Submit the form.