Overview
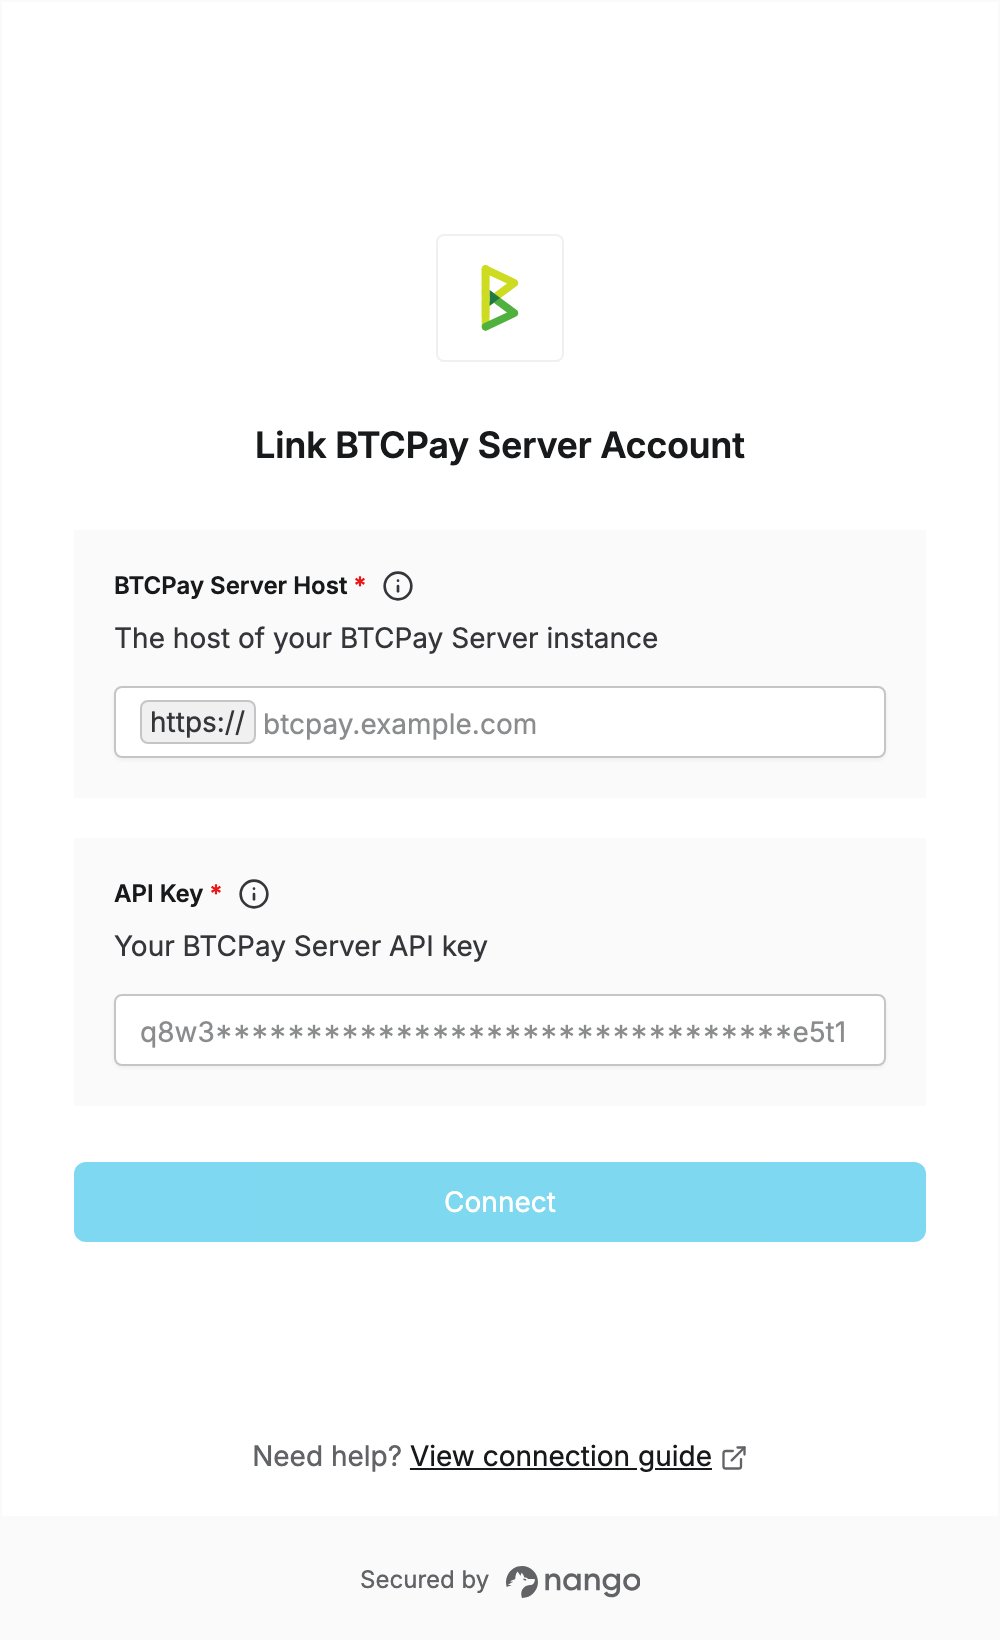
To authenticate with BTCPay Server, you need:- BTCPay Server Host — the host of the BTCPay Server instance you use.
- API Key — a Greenfield API key from your BTCPay Server account.
Prerequisites
- An account on a BTCPay Server instance: your own self-hosted server, a third-party host, or the BTCPay Server demo server for testing.
Step 1: Find your BTCPay Server host
- Open your BTCPay Server instance in your browser and sign in.
- Copy the host from the address bar: the part after
https://and before the first/. For example, if you sign in athttps://btcpay.example.com/login, your host isbtcpay.example.com.
Step 2: Generate an API key
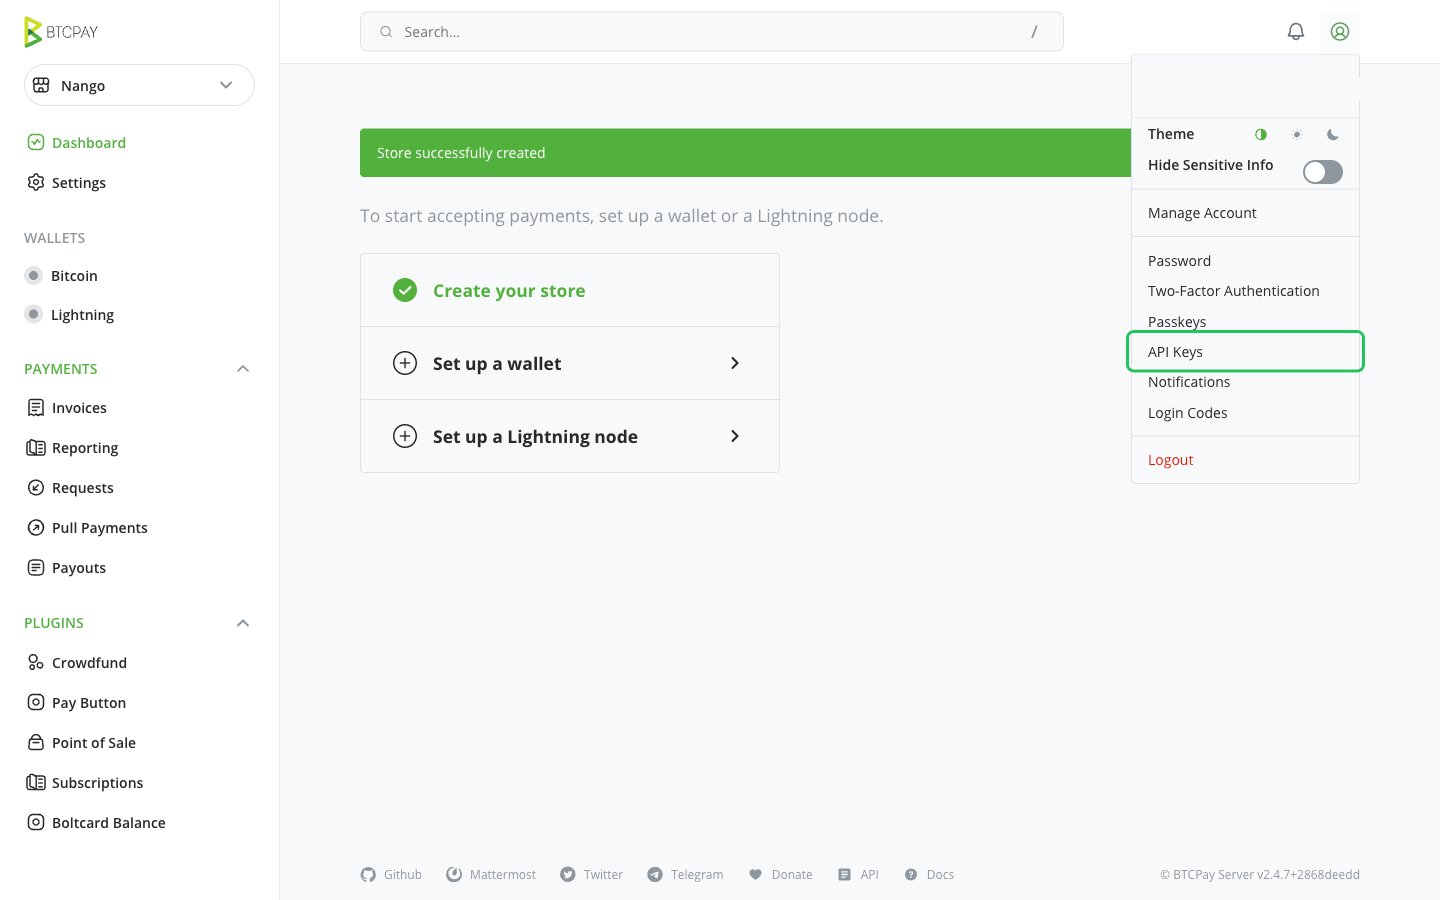
- Open the account menu in the top-right corner and click API Keys.
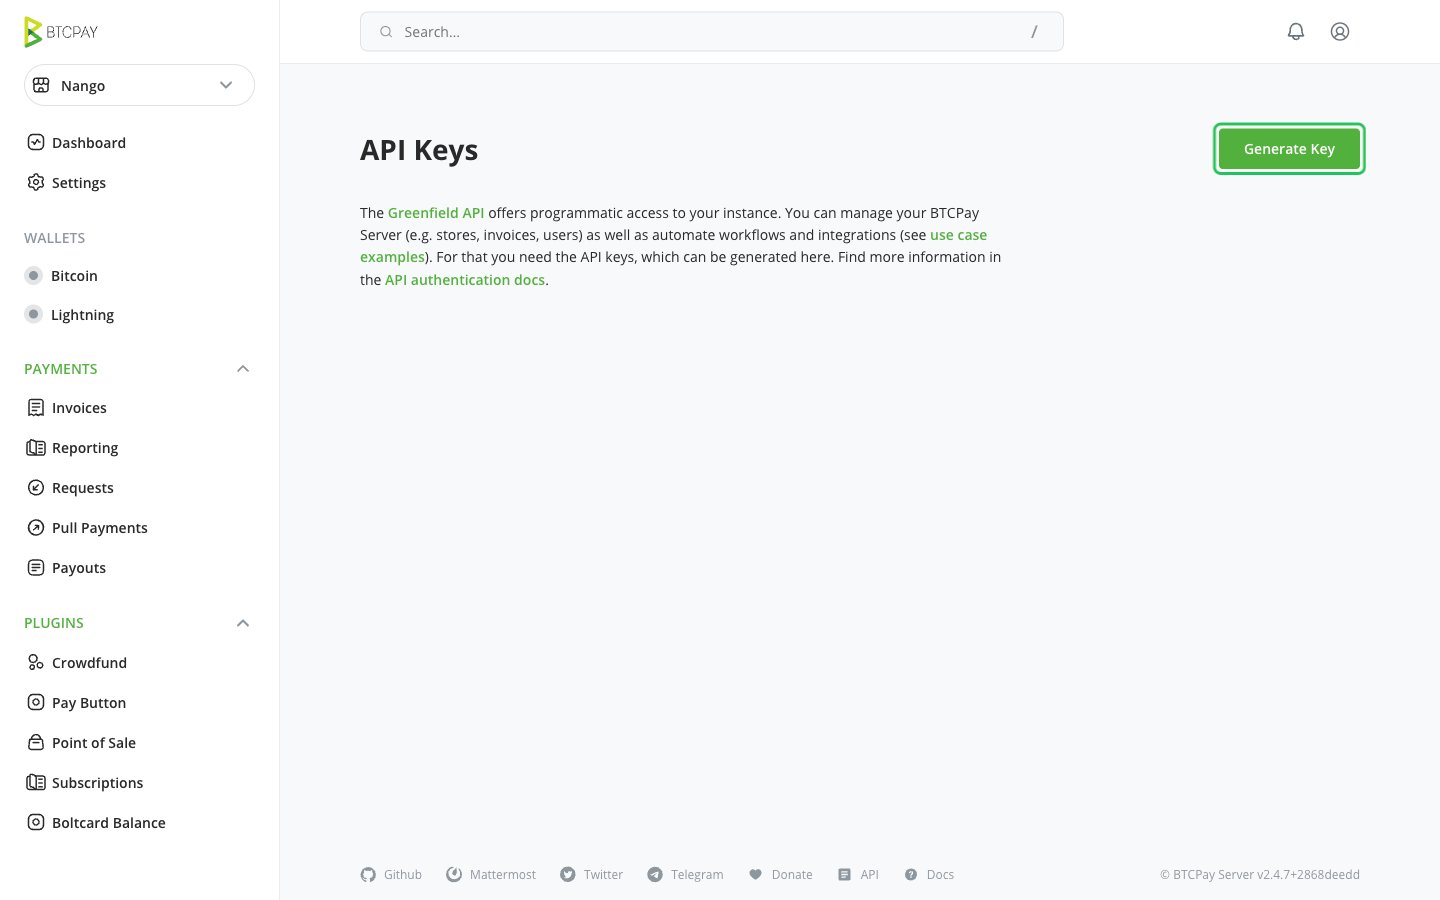
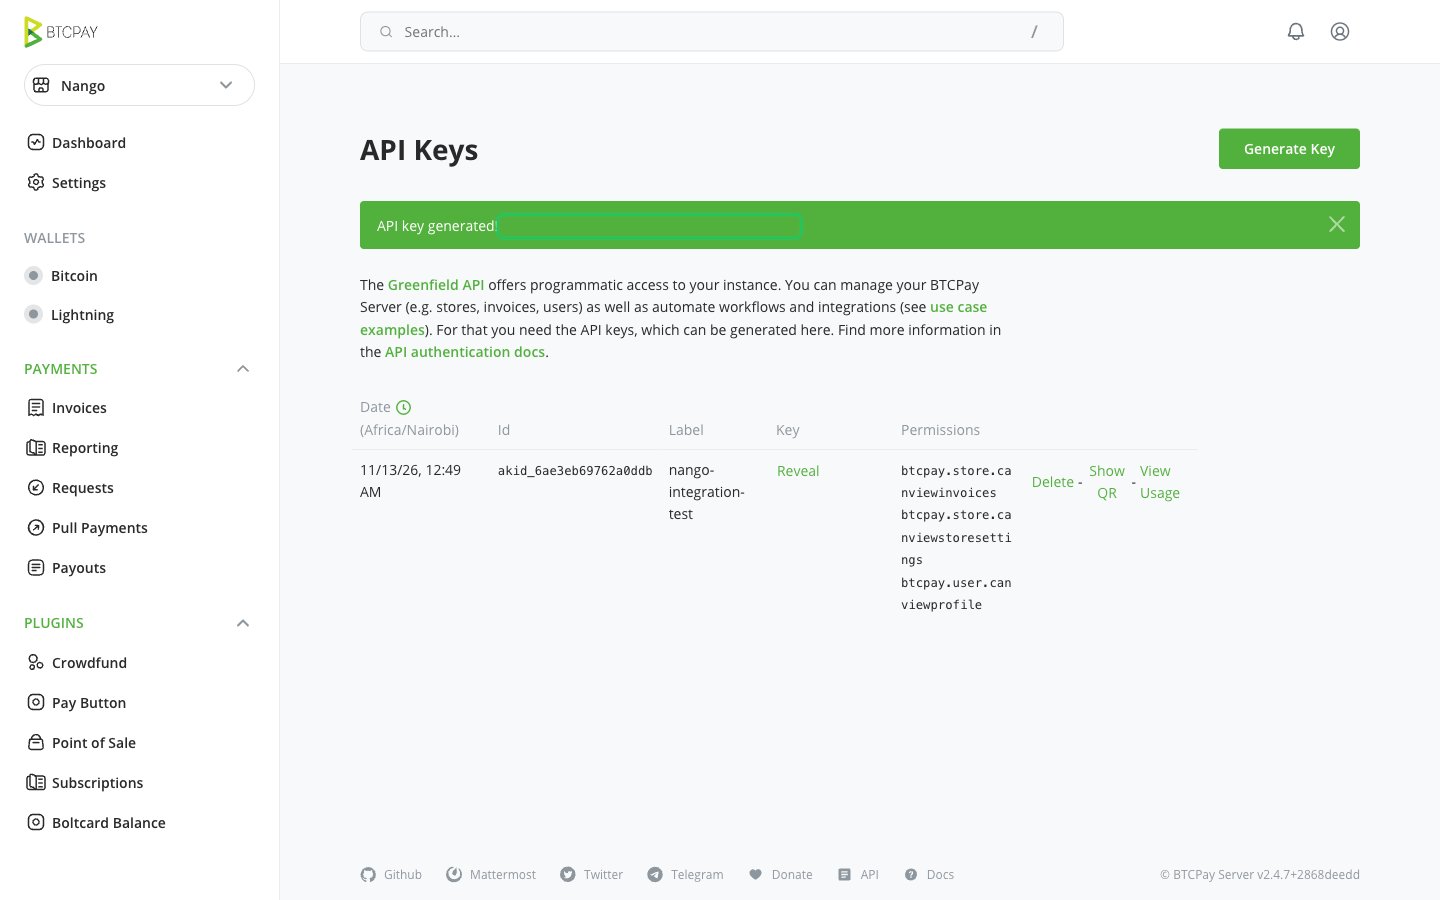
- On the API Keys page, click Generate Key.
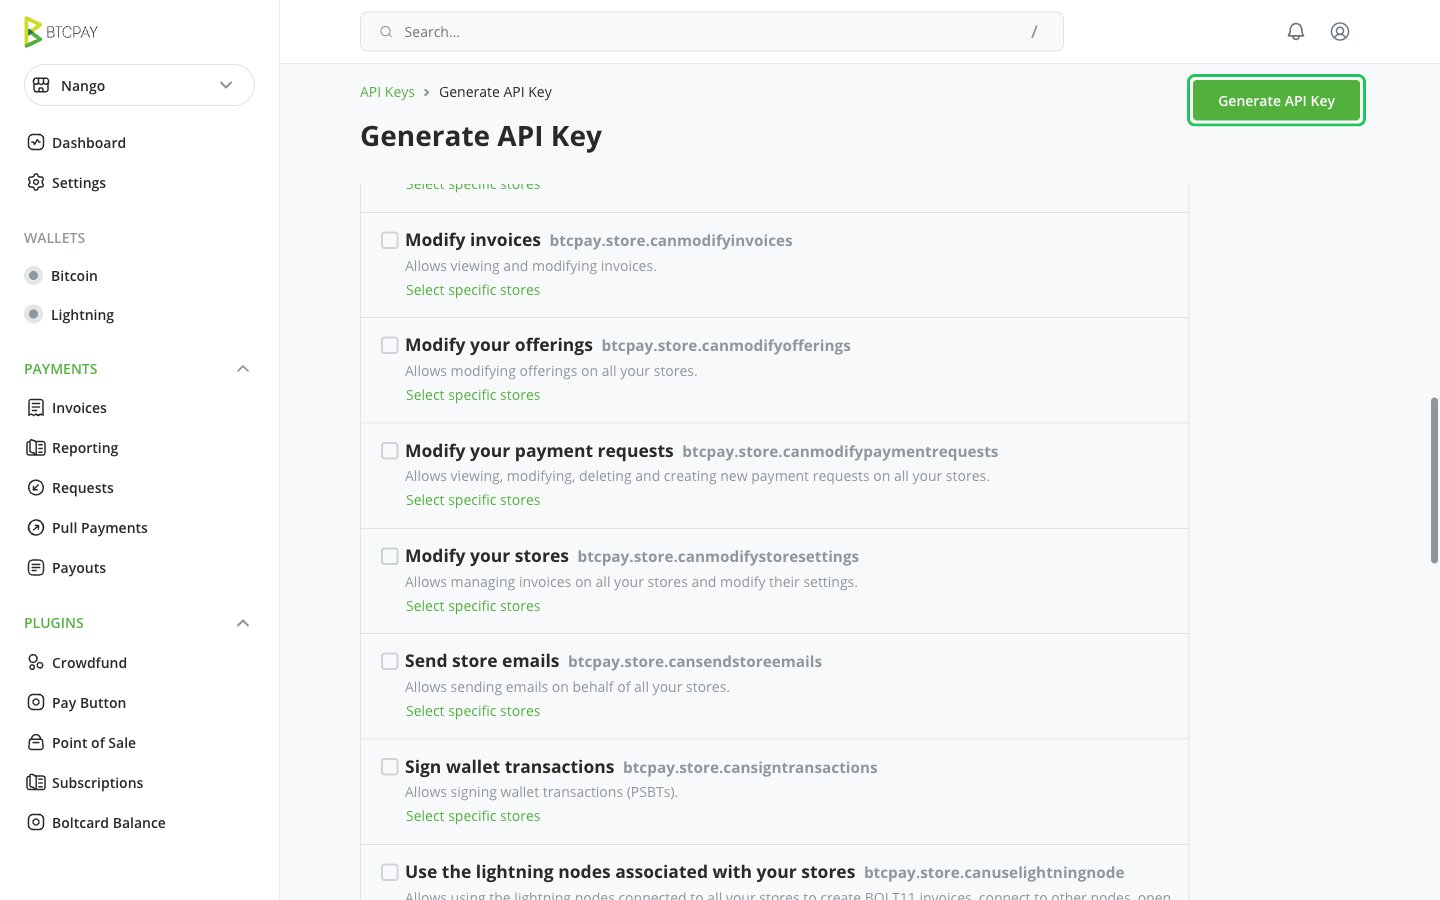
- Enter a label (for example,
nango) and tick the permissions your integration needs, such as View your profile, View your stores and View invoices. Then click Generate API Key.
- Copy the API key from the confirmation banner. You can show it again later with Reveal in the keys table.
Step 3: Enter your credentials in the Connect UI
- Open the form where you need to authenticate with BTCPay Server.
- In BTCPay Server Host, enter the host from Step 1 (for example,
btcpay.example.com). - In API Key, paste the API key from Step 2.
- Submit the form. Nango checks the API key with your BTCPay Server instance before saving the connection.