Overview
To authenticate with BrowserAct, you need:- API Key — a BrowserAct API key.
Prerequisites
- A BrowserAct account. You can start on the Free plan; it includes API access.
Step 1: Create an API key
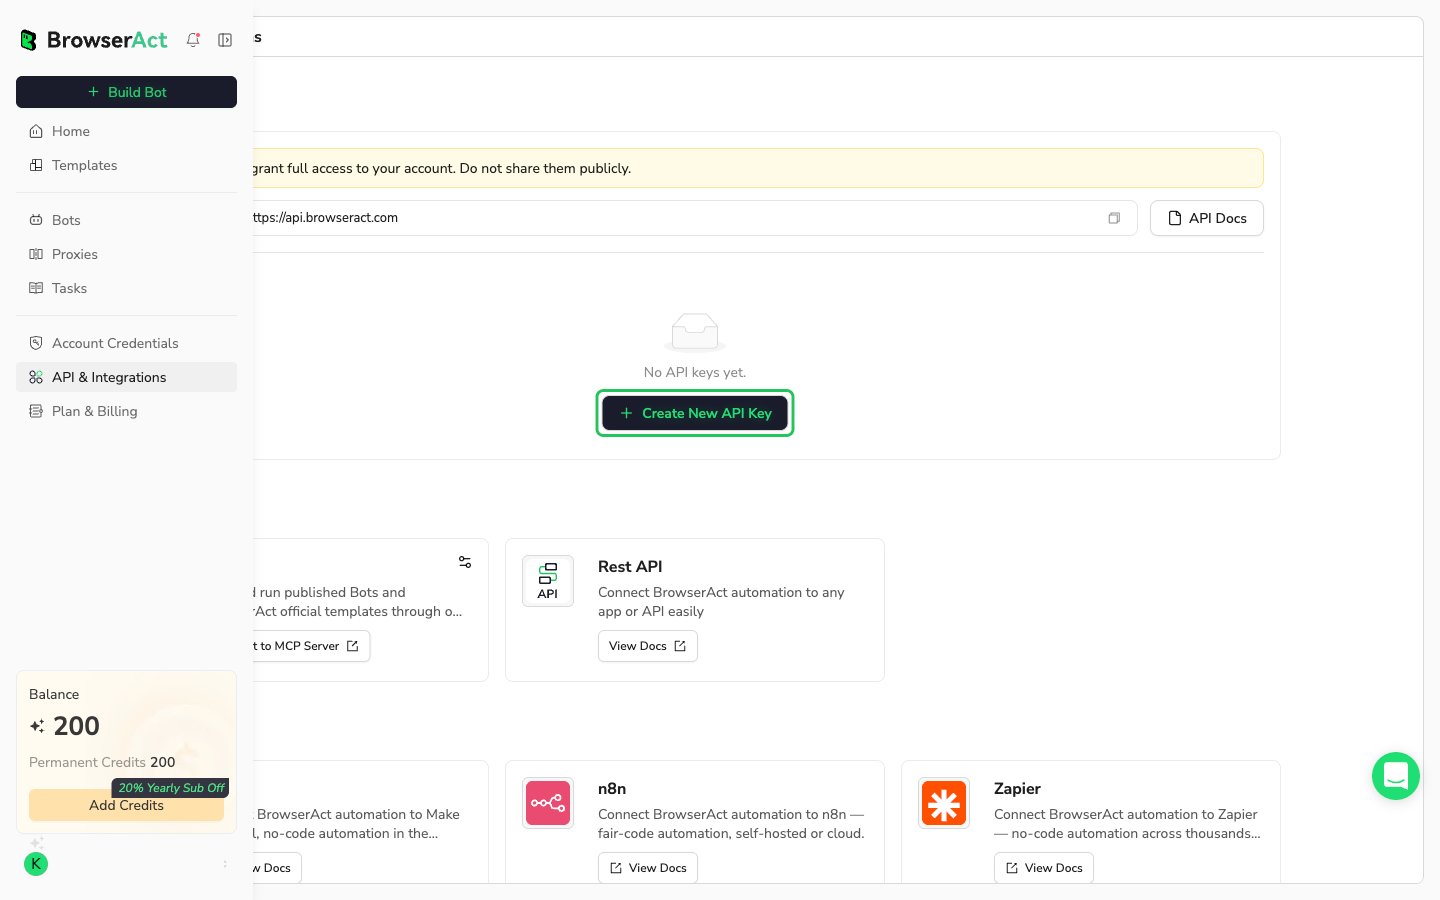
- Log in to the BrowserAct dashboard and open API & Integrations in the left sidebar.
- Under API Keys > Personal APIs, click Create New API Key.
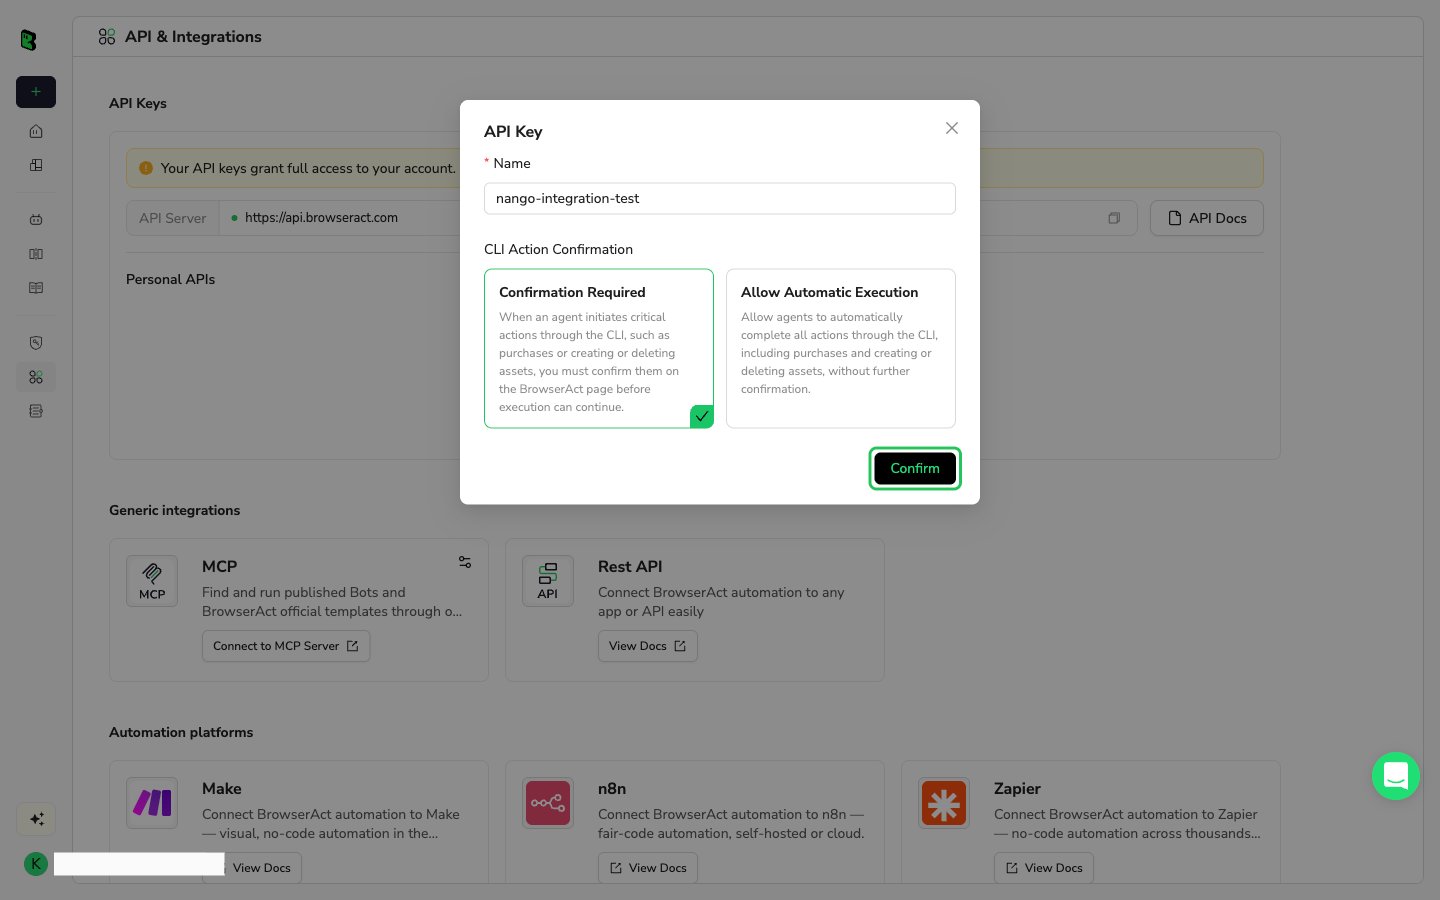
- Enter a name that says where the key will be used, choose a CLI Action Confirmation mode (Confirmation Required is the safer choice), then click Confirm.
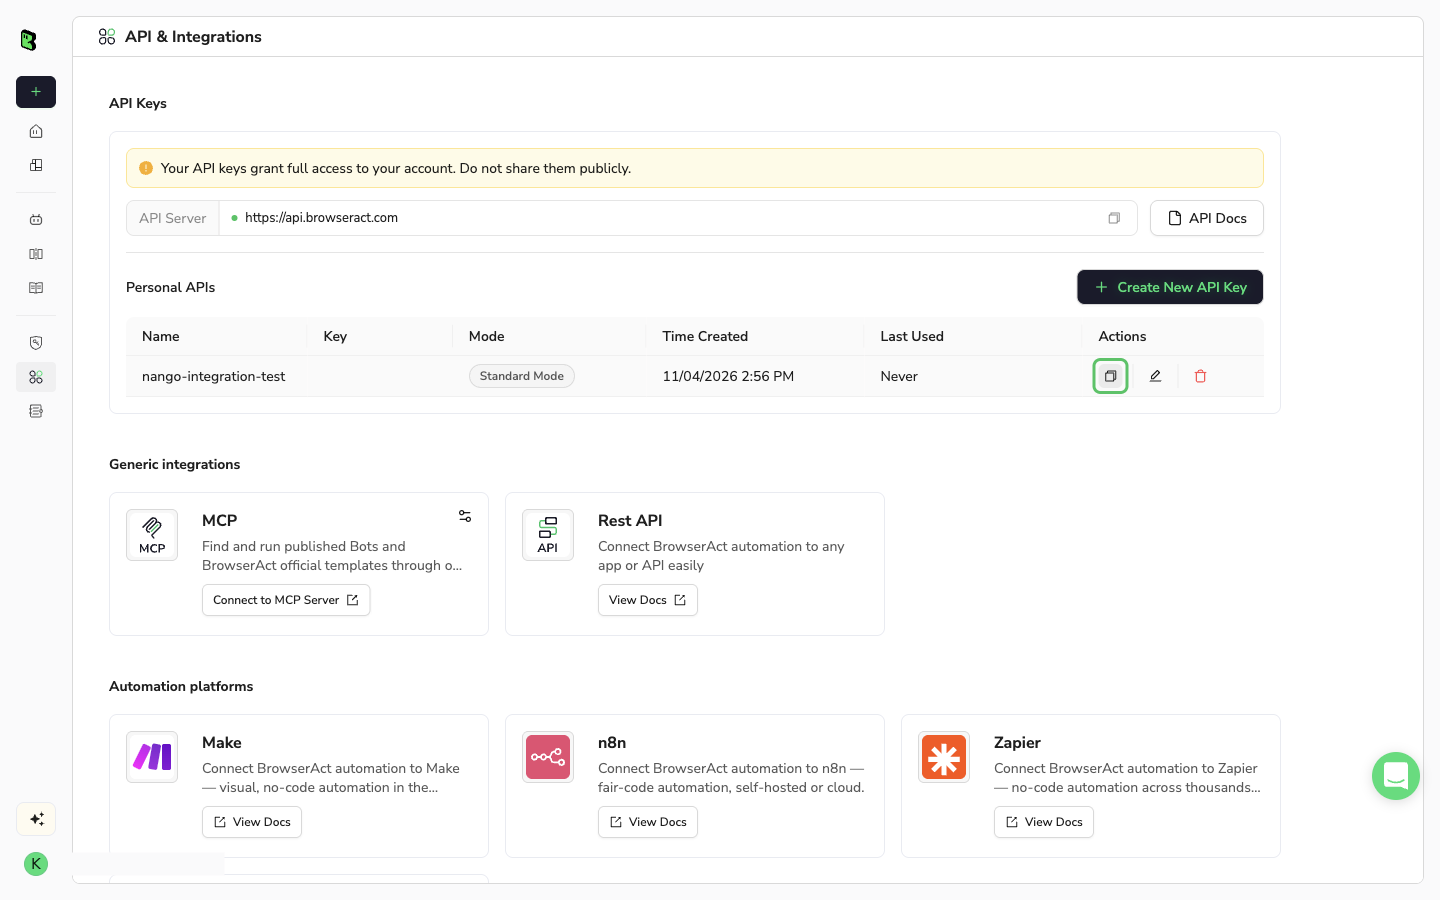
- The new key appears in the Personal APIs list. Click the copy icon in the Actions column to copy the API key.
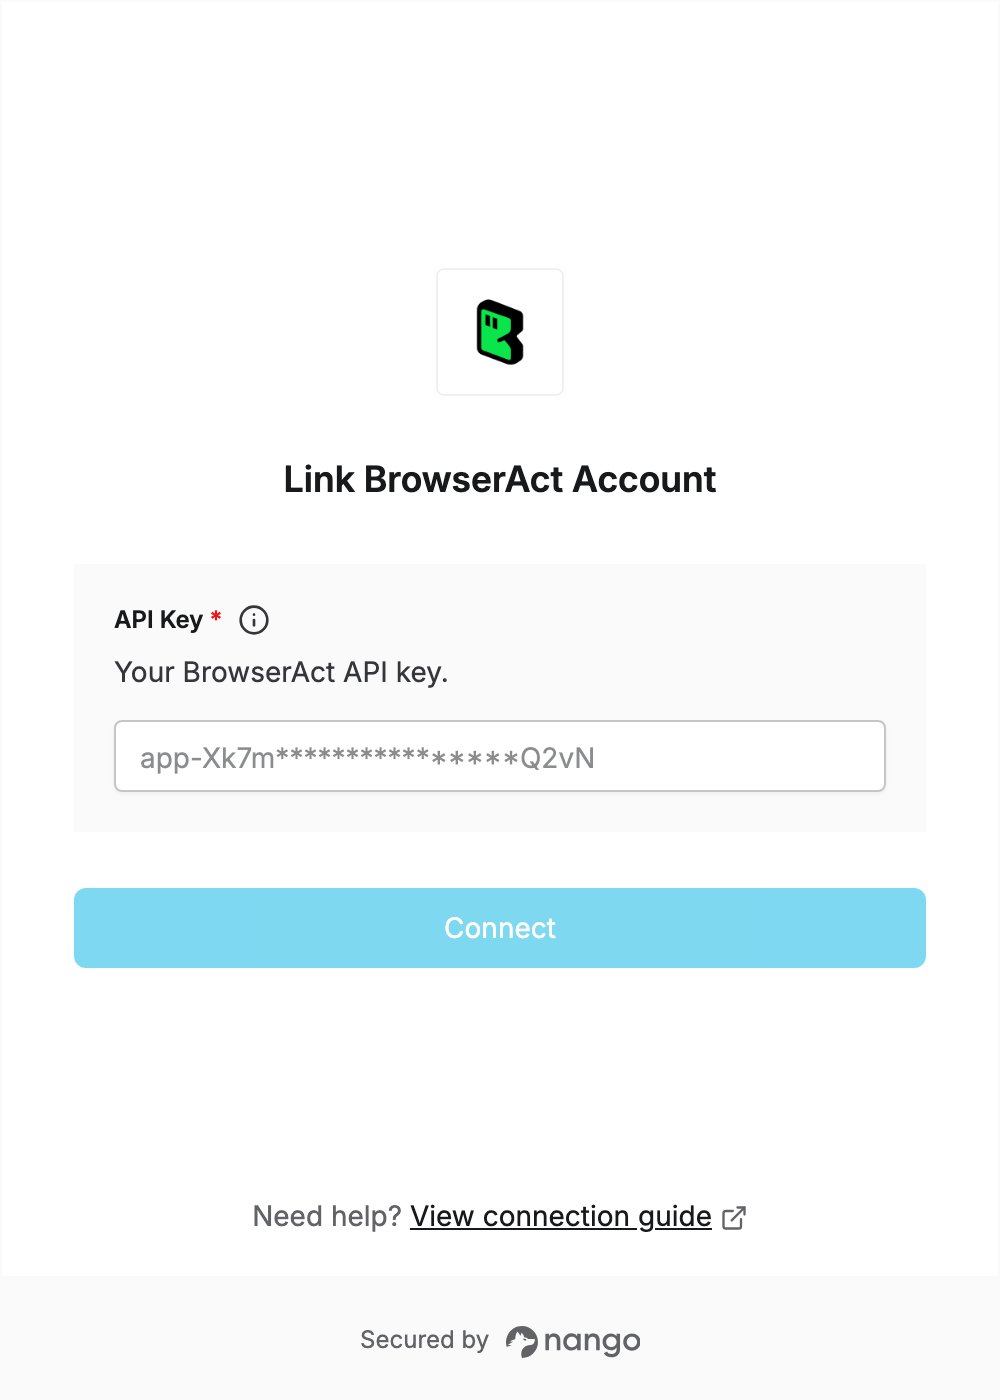
Step 2: Enter your API key in the Connect UI
- Open the form where you need to authenticate with BrowserAct.
- Enter your API Key in the designated field.
- Click Connect.