Overview
To authenticate with beaconcha.in, you need:- API Key — a beaconcha.in API key.
Prerequisites
- A beaconcha.in account with a 30-day free trial or a paid API plan. API endpoints require an API key, and only free trial and paid users have API access.
Step 1: Start a free trial or choose a plan
- Sign in to beaconcha.in and, in the sidebar, open API -> API Key Management.
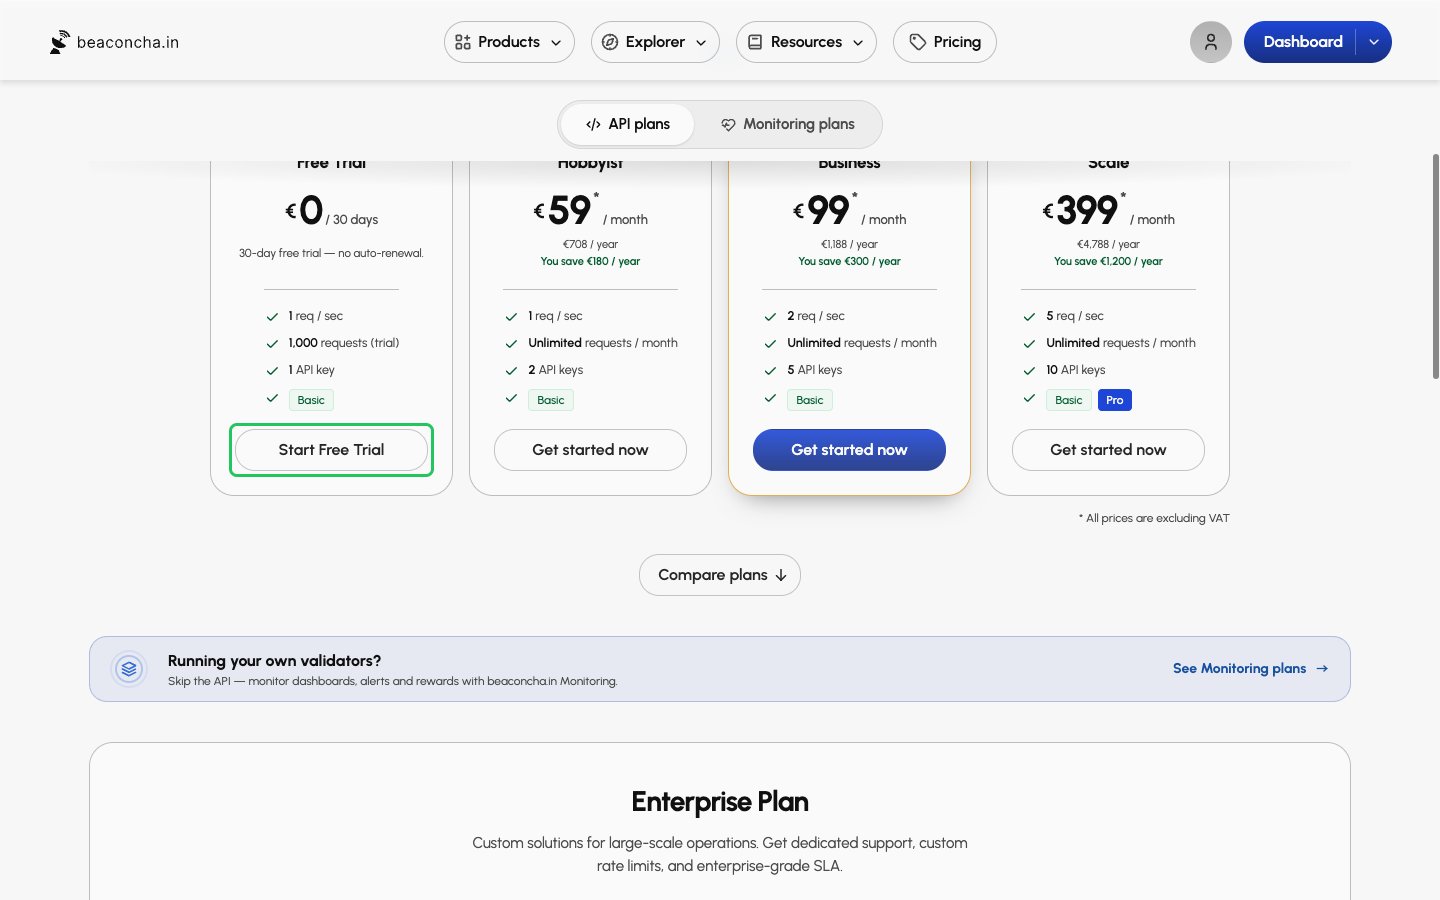
- Click Upgrade Plan, then click Start Free Trial on the API pricing page, or choose a paid plan. The trial does not renew on its own: API access ends after 30 days unless you upgrade. Without an active trial or plan, beaconcha.in rejects API requests made with your key, so the connection fails.
Step 2: Create an API key
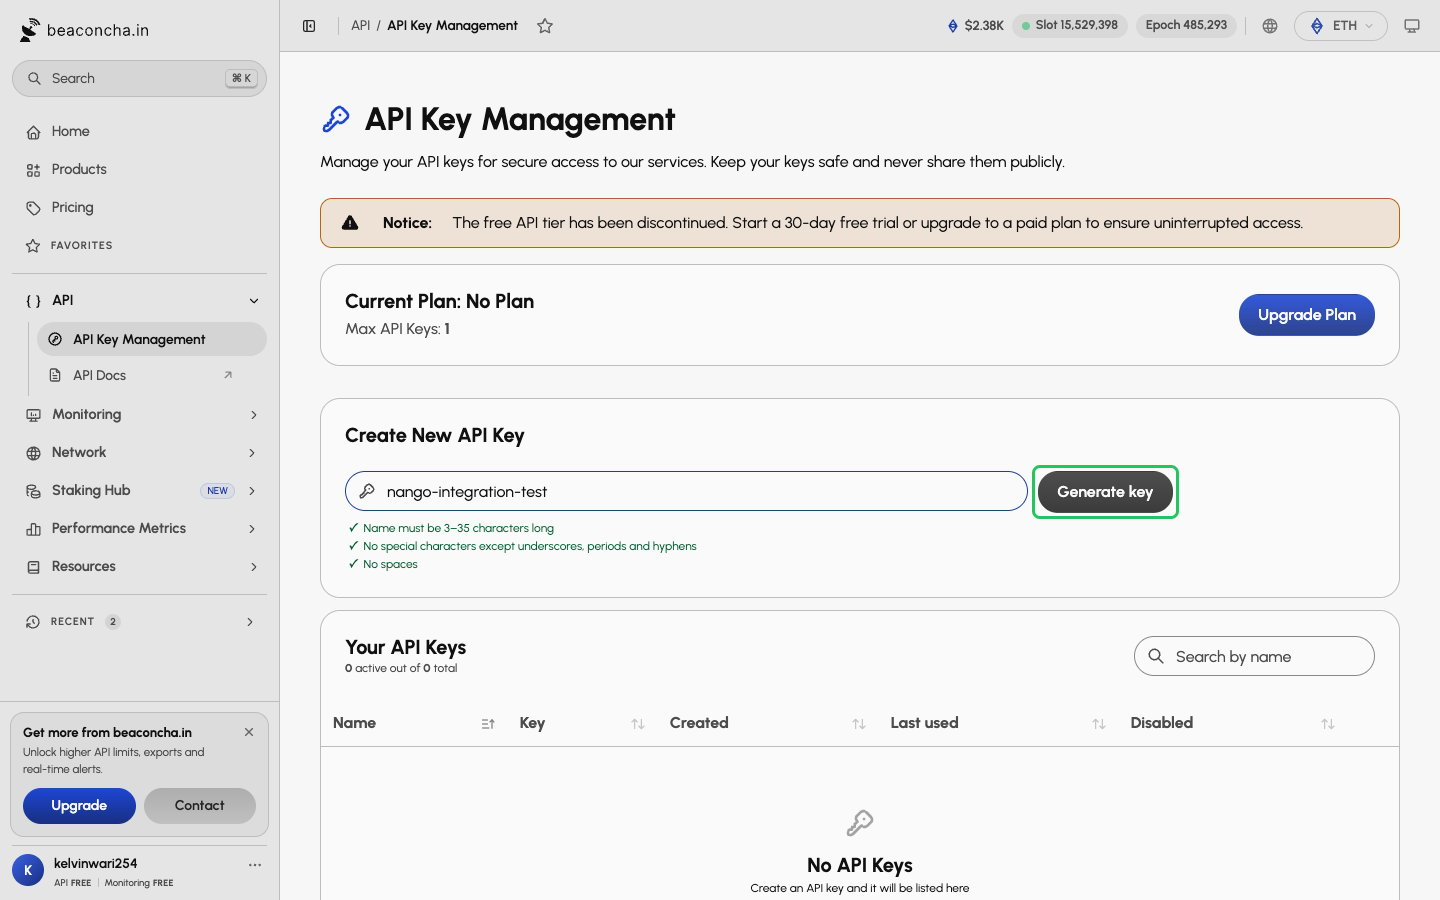
- On the API Key Management page, under Create New API Key, enter a name for the key and click Generate key.
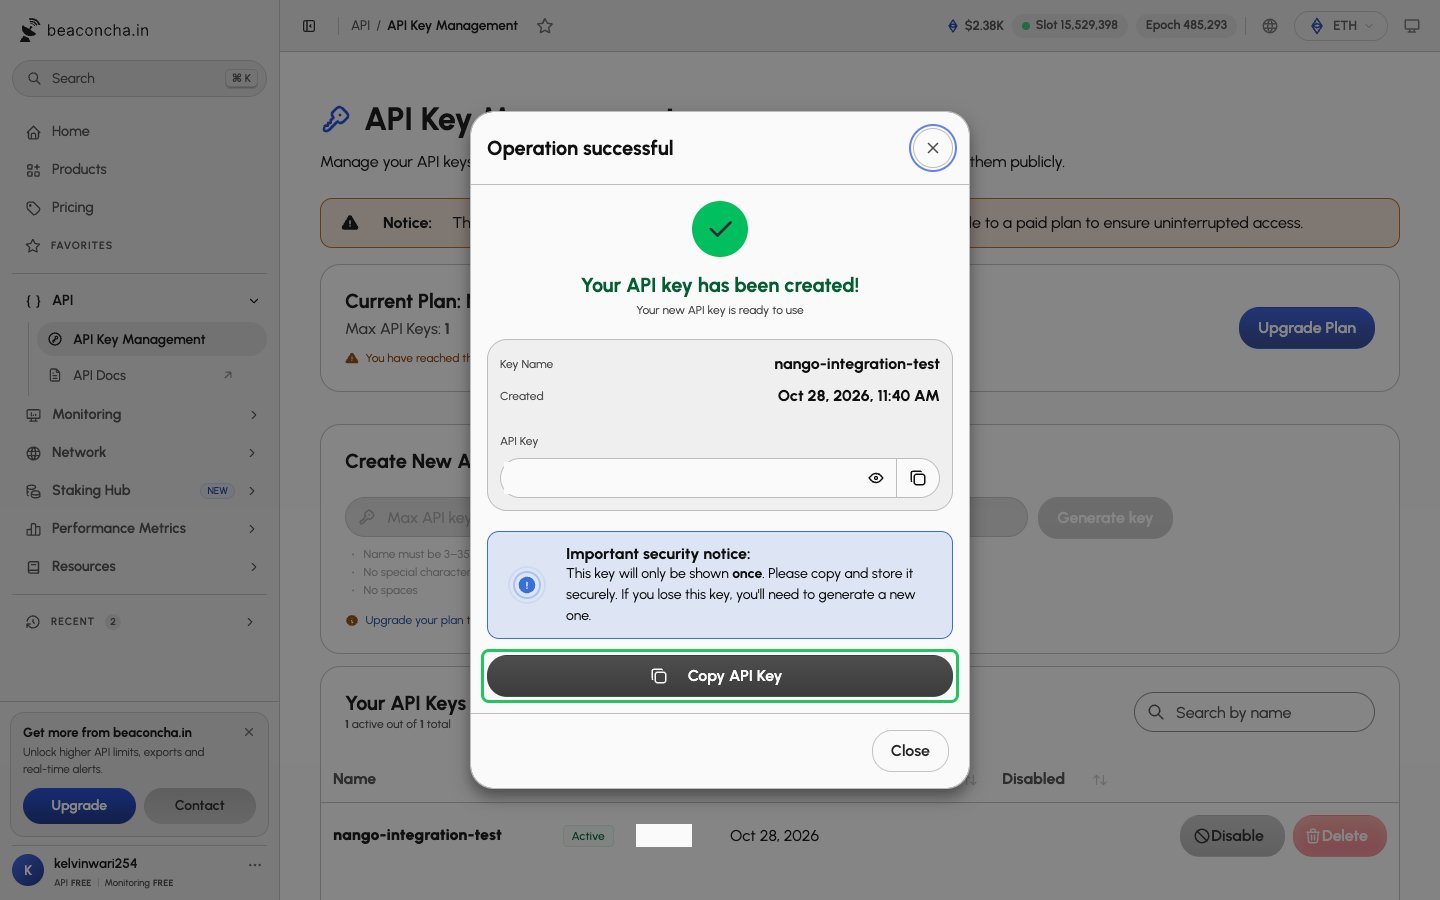
- Click Copy API Key to copy the new key right away. It is only shown once.
Step 3: Enter your API key in the Connect UI
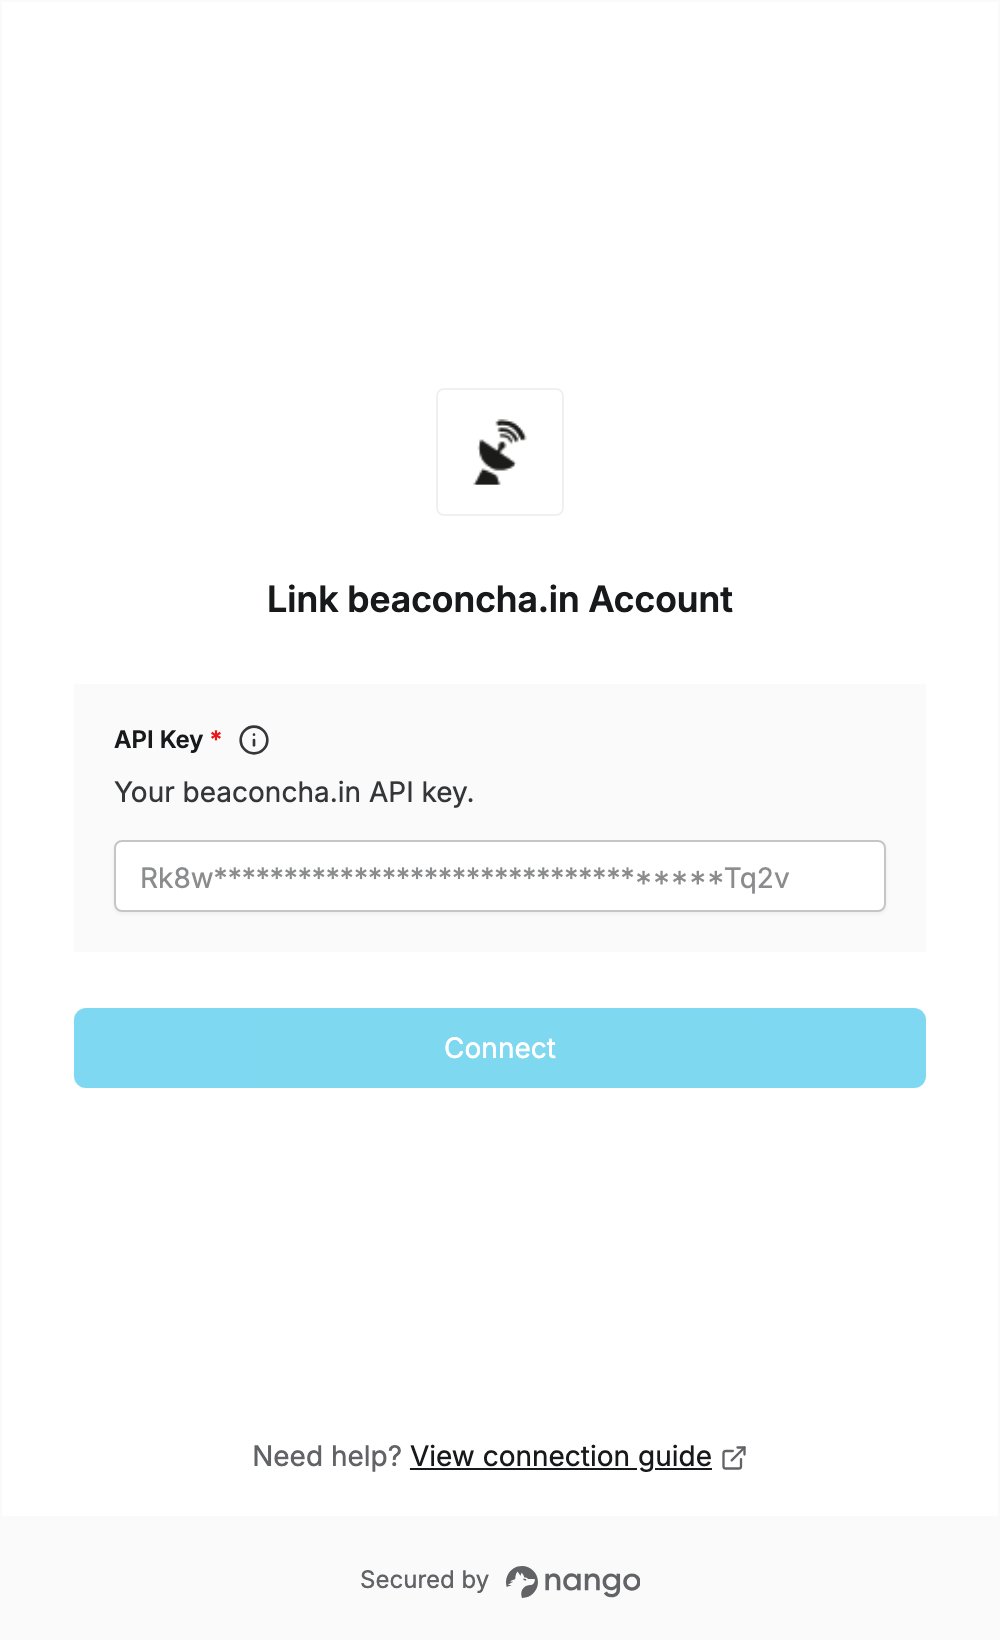
- Open the form where you need to authenticate with beaconcha.in.
- Enter your API Key in the designated field.
- Submit the form, and you should be successfully authenticated.