Overview
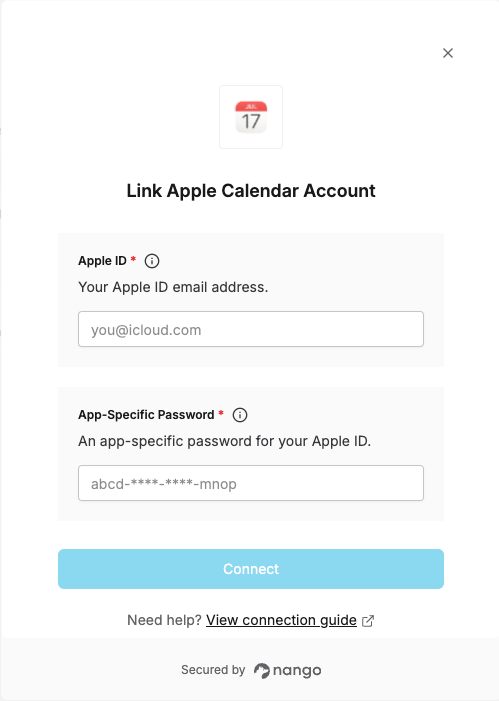
To authenticate with Apple Calendar (iCloud), you need:- Apple ID — your iCloud email address.
- App-Specific Password — a password generated specifically for CalDAV access. Your regular Apple ID password will not work.
Prerequisites
- An Apple ID with two-factor authentication enabled (required to generate app-specific passwords).
- A personal Apple ID. Managed Apple IDs (work/school accounts) may not support app-specific passwords.
Instructions
Step 1: Find your Apple ID
Your Apple ID is the email address you sign in with at appleid.apple.com.Step 2: Generate an app-specific password
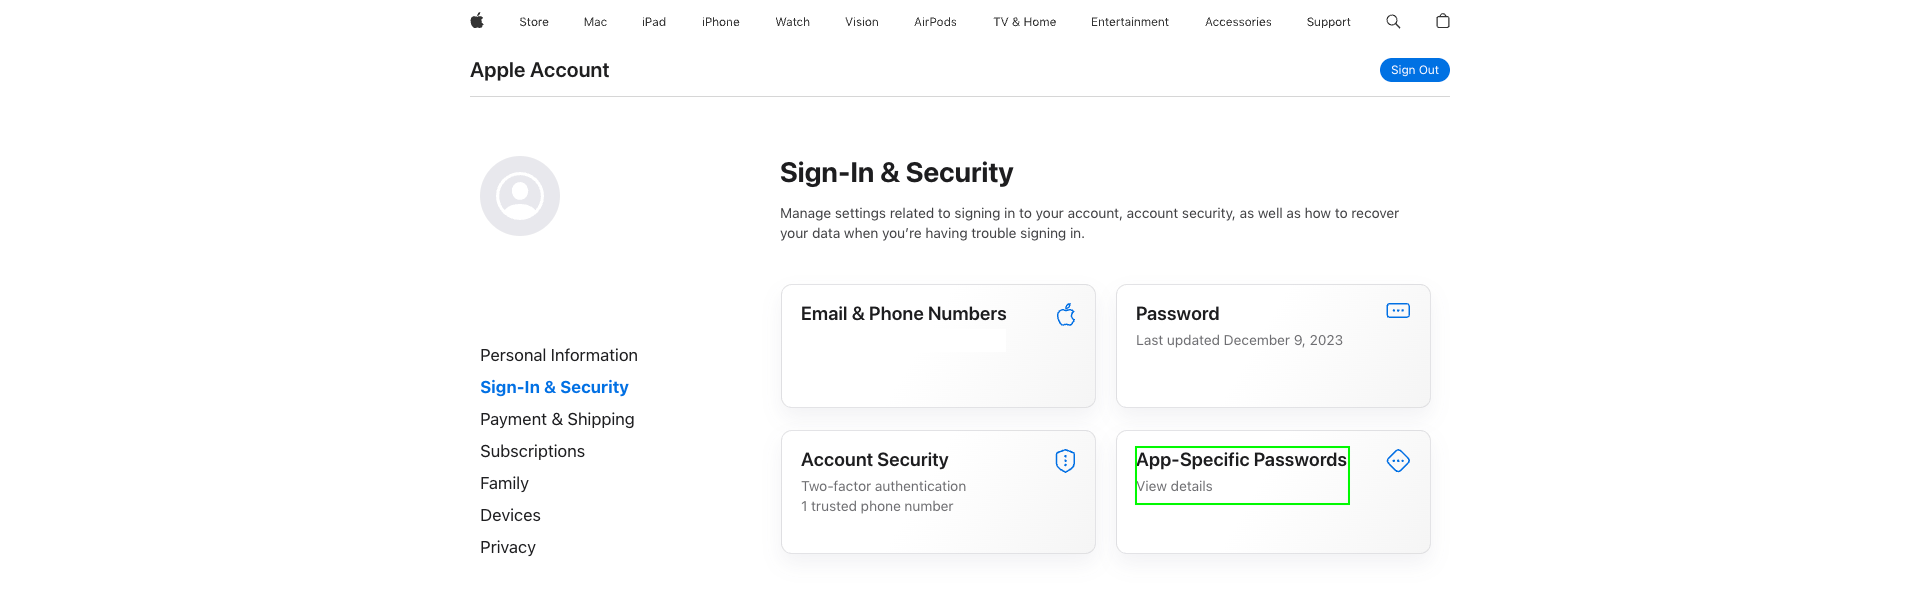
- Sign in, then go to the Sign-In & Security page and select App-Specific Passwords.
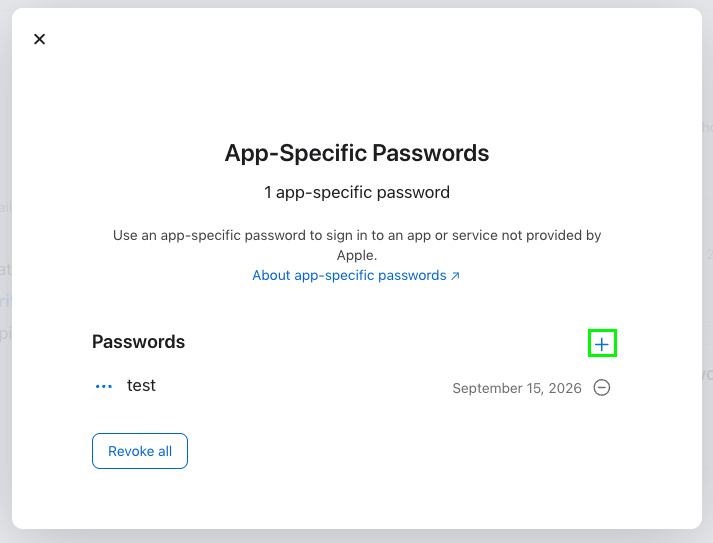
- Select Generate an app-specific password (or + if you already have one), give it a name (e.g. “Nango CalDAV”), and click Create.
- Apple displays the generated password once. Copy it — you won’t be able to view it again.
Apple only shows the app-specific password once. If you lose it, revoke it and generate a new one.
Step 3: Enter credentials in the Connect UI
Once you have your Apple ID and app-specific password:- Open the form where you need to authenticate with Apple Calendar.
- Enter your Apple ID email address in the Apple ID field.
- Paste the app-specific password (in the
abcd-xxxx-ijkl-xxxxformat Apple generates) into the App-Specific Password field. - Submit the form to complete authentication.