Overview
To authenticate with ApexVerify, you need:- API Key — an ApexVerify API key.
Prerequisites
- An ApexVerify account. You can sign up for free.
Step 1: Create an API key
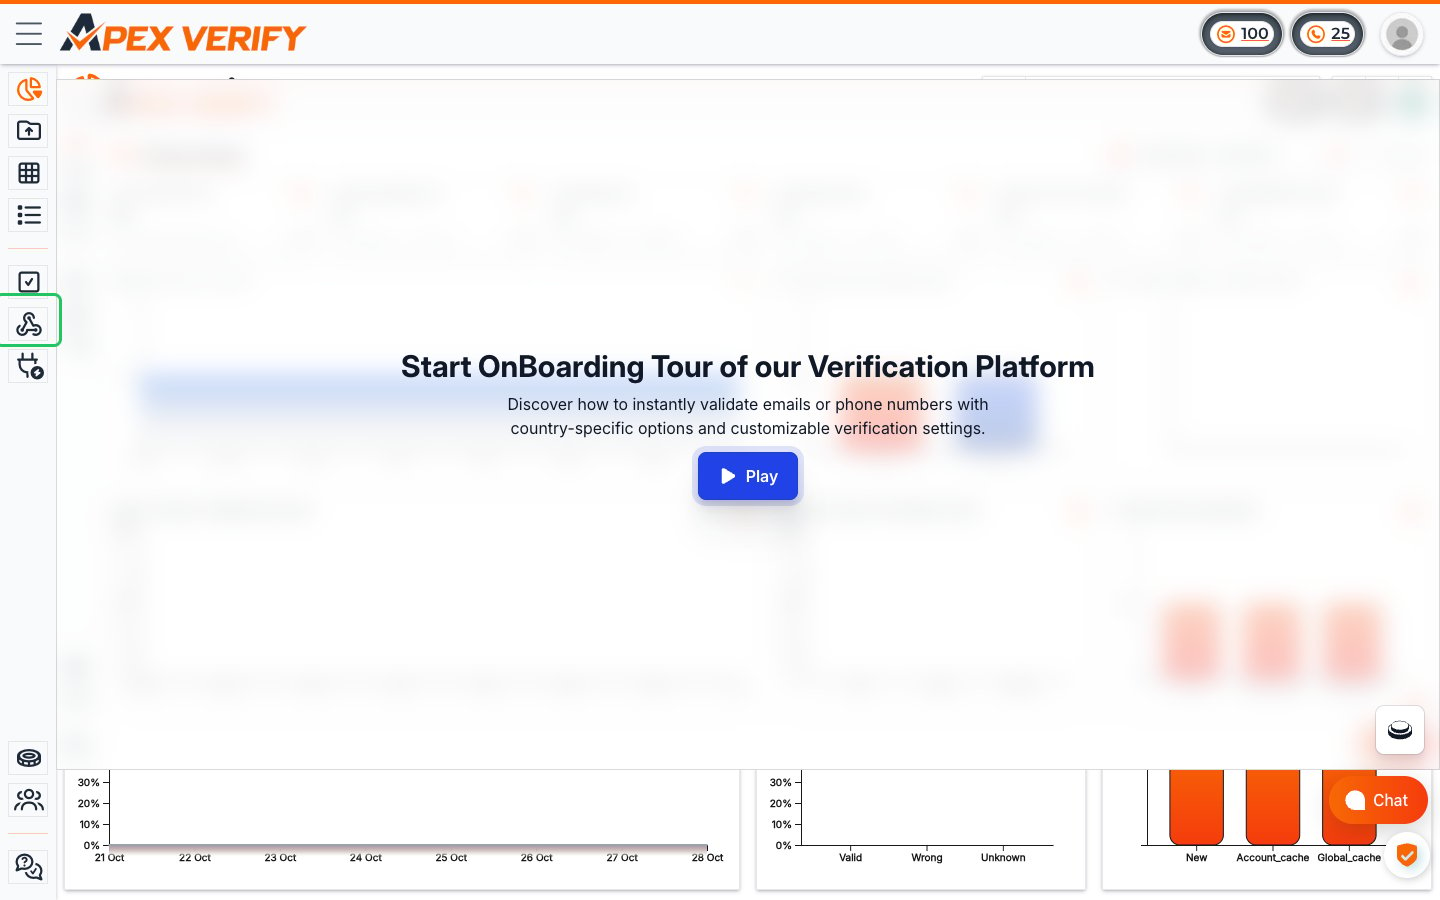
- Sign in to the ApexVerify dashboard and click API Access in the left sidebar.
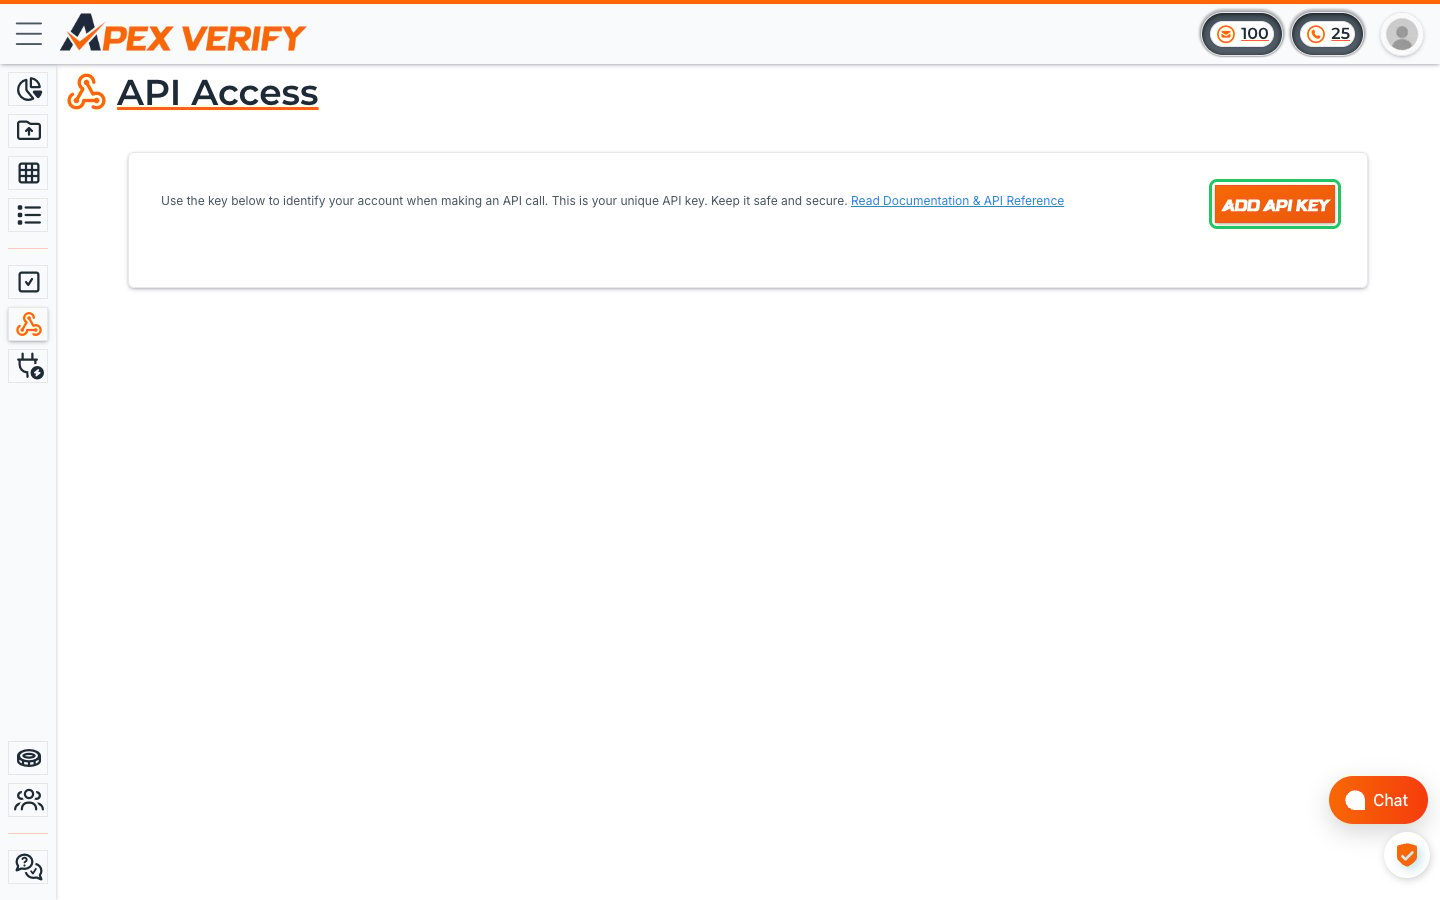
- Click ADD API KEY. A new key appears in the list.
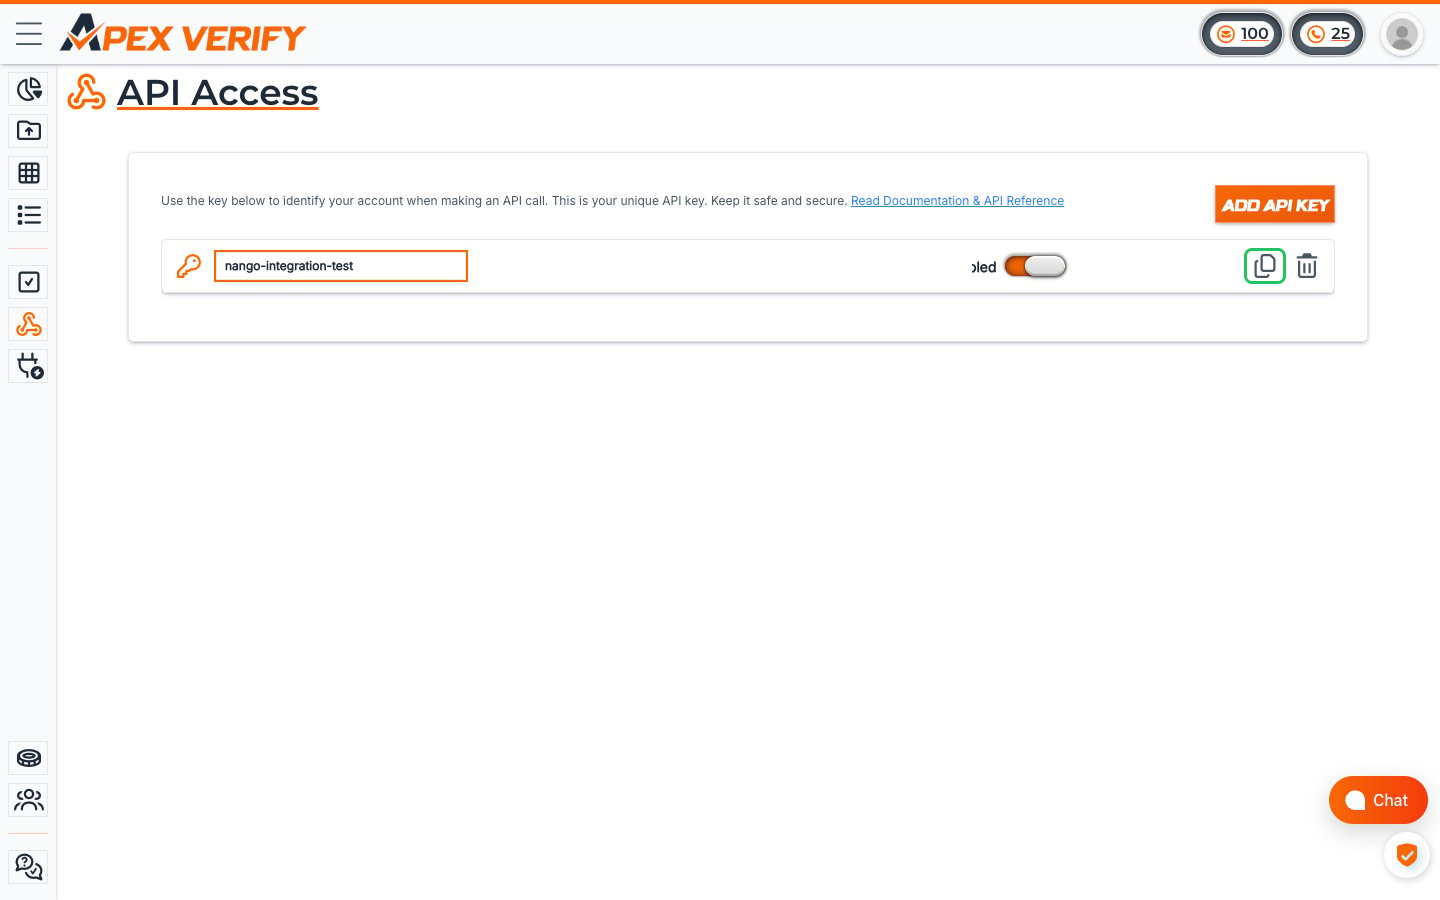
- Optionally, rename the key (e.g.
nango-integration) by clicking its name, typing a new one and pressing Enter. - Make sure the key’s Enabled toggle is on, then click the copy icon to copy the API key.
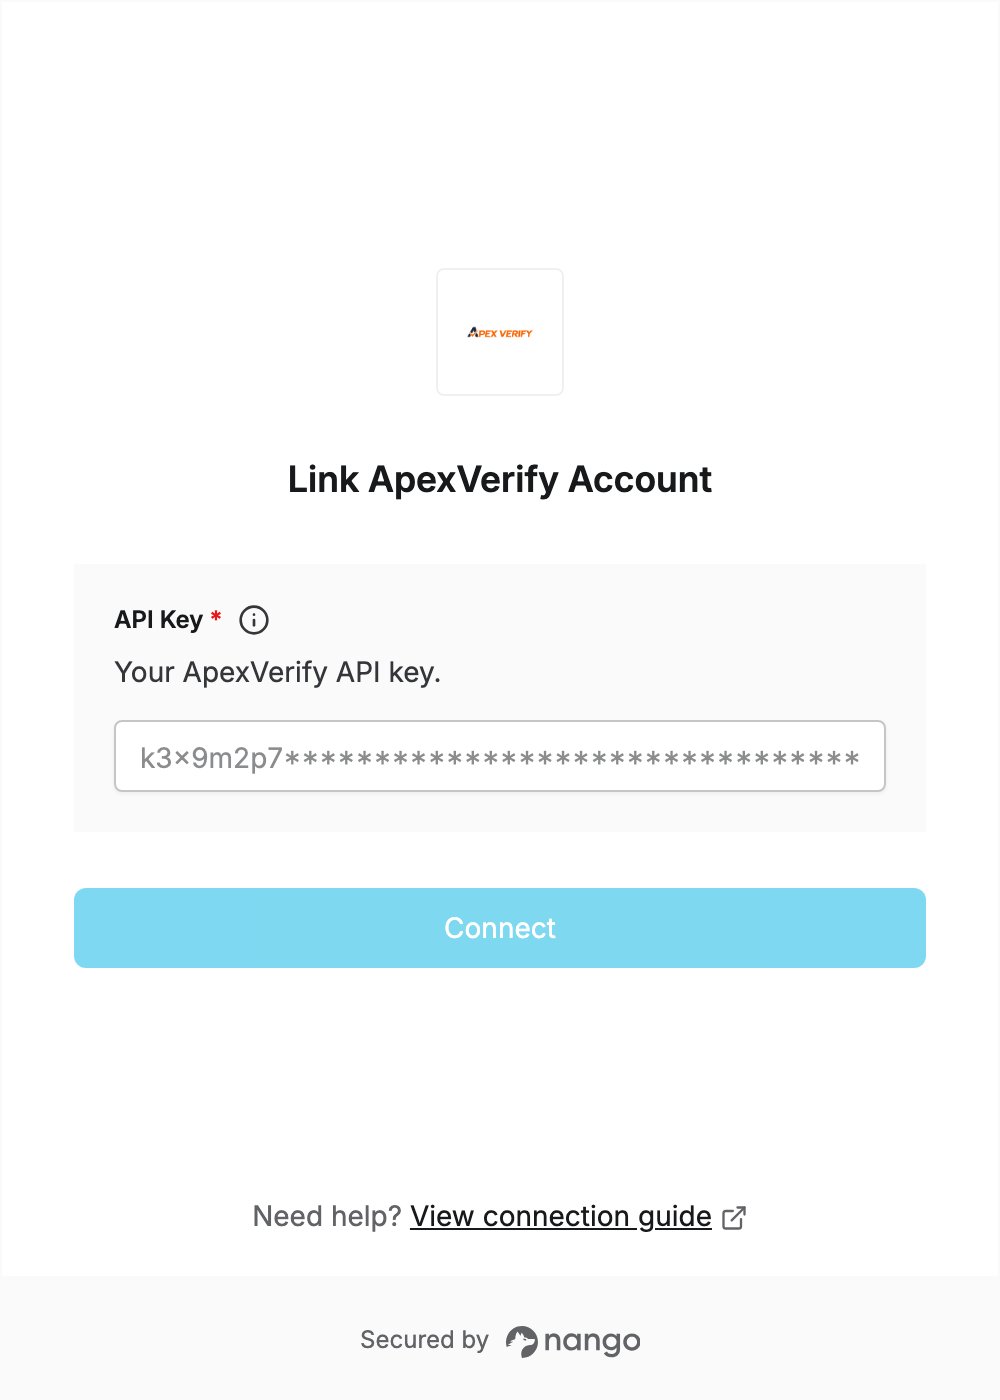
Step 2: Enter your API key in the Connect UI
- Open the form where you need to authenticate with ApexVerify.
- Enter your API Key in the designated field.
- Submit the form, and you should be successfully authenticated.