Overview
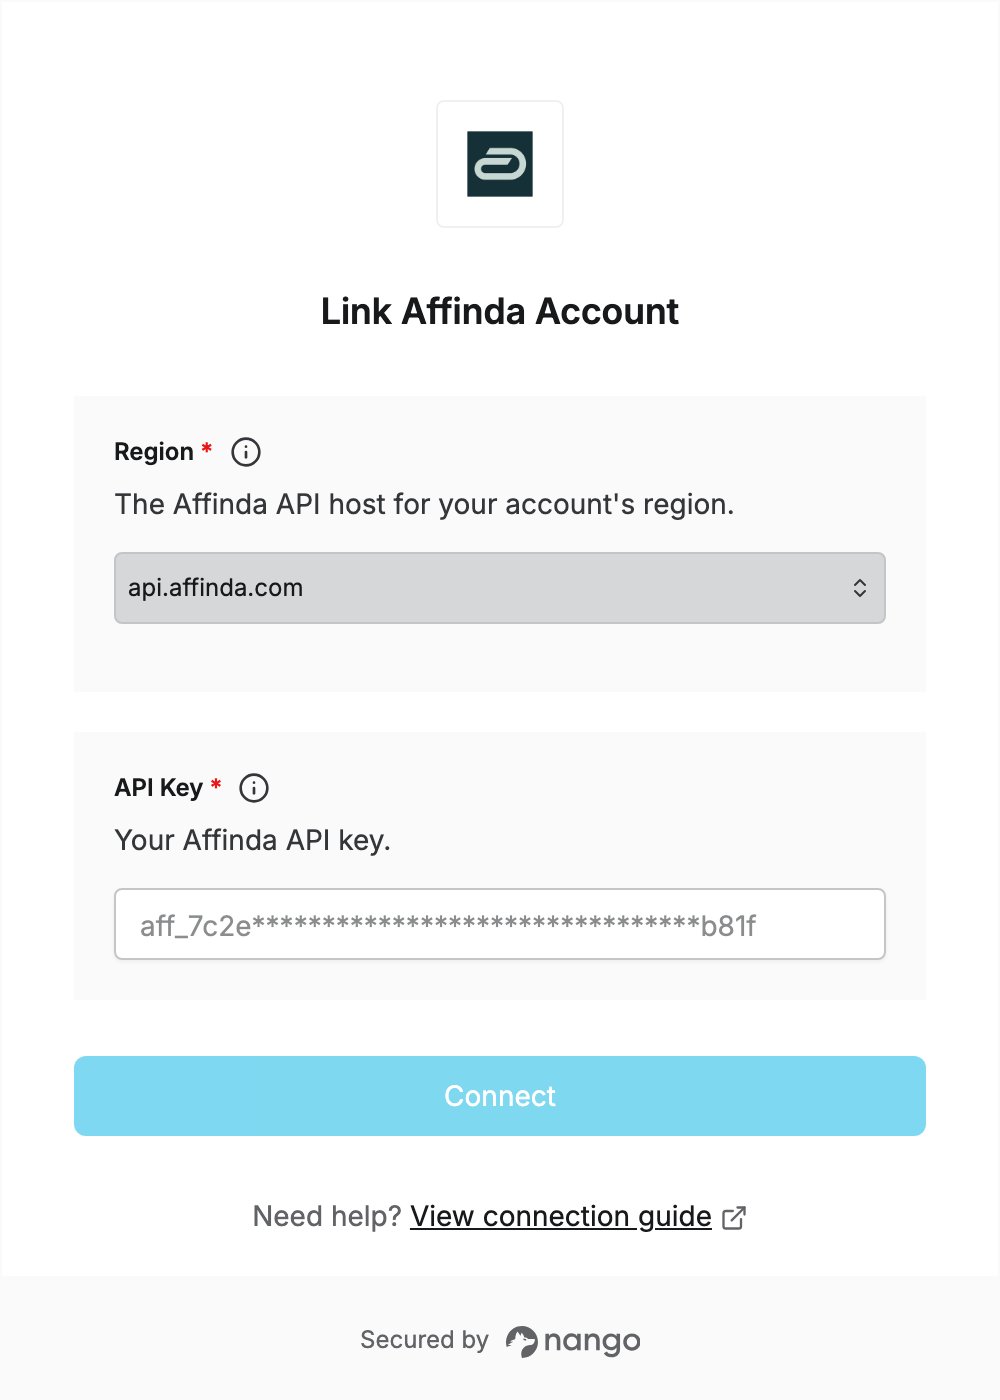
To authenticate with Affinda, you need:- Region — the Affinda API host for the instance where your account was created.
- API Key — an Affinda API key.
Prerequisites
- An Affinda account. You can sign up for a free trial.
Step 1: Find your region
Affinda runs a separate instance per region. Check the address of the Affinda app you log in to and select the matching value:
Your API key only works on the instance where it was generated. See Deployment and data residency for details.
Step 2: Create an API key
- Sign in to the Affinda app for your region.
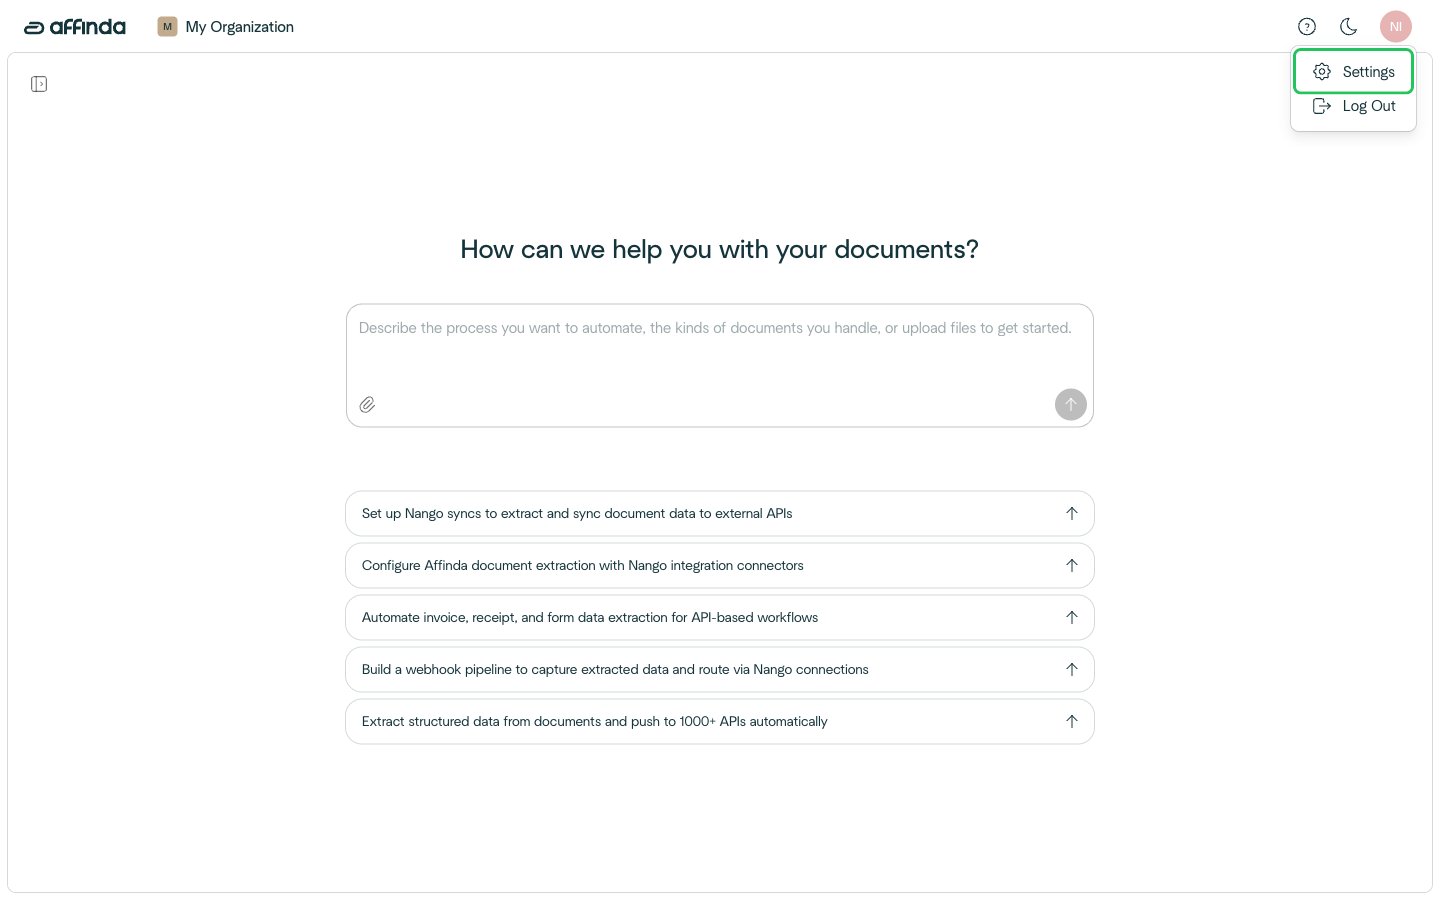
- Click your avatar in the top-right corner, then click Settings.
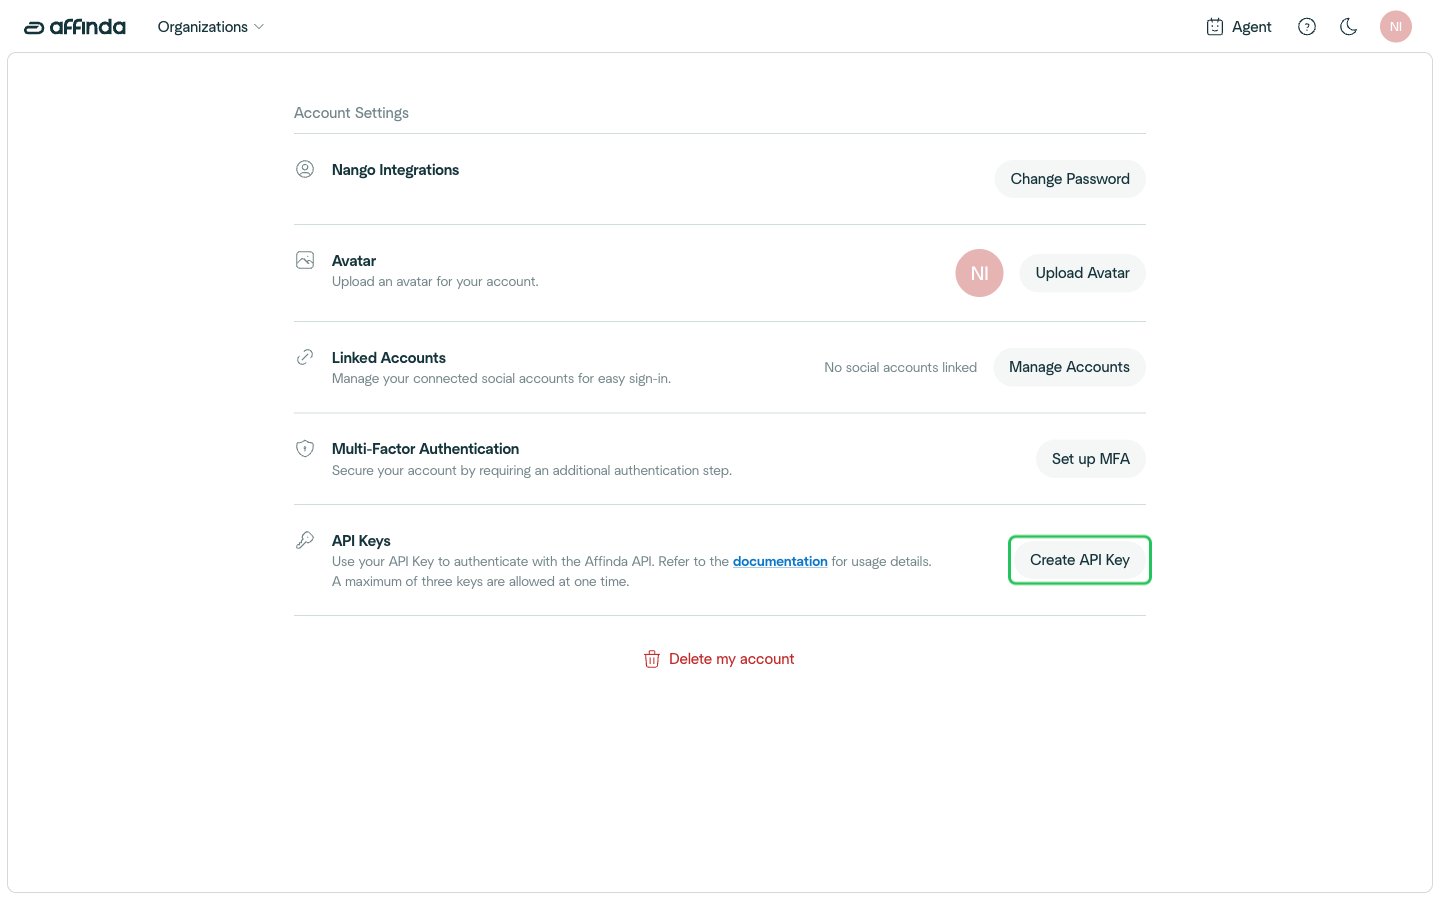
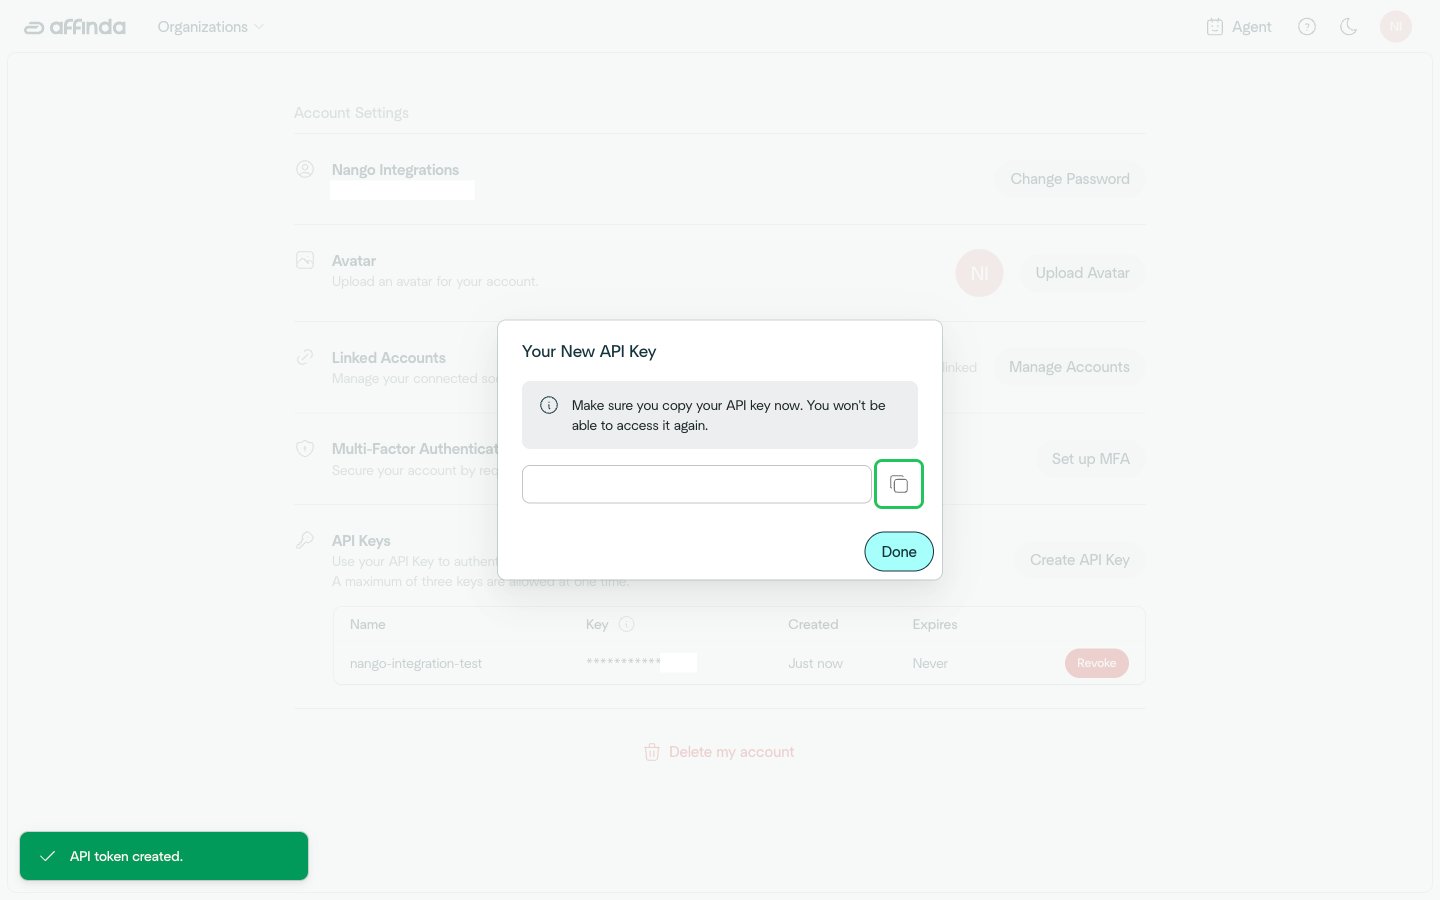
- In Account Settings, under API Keys, click Create API Key.
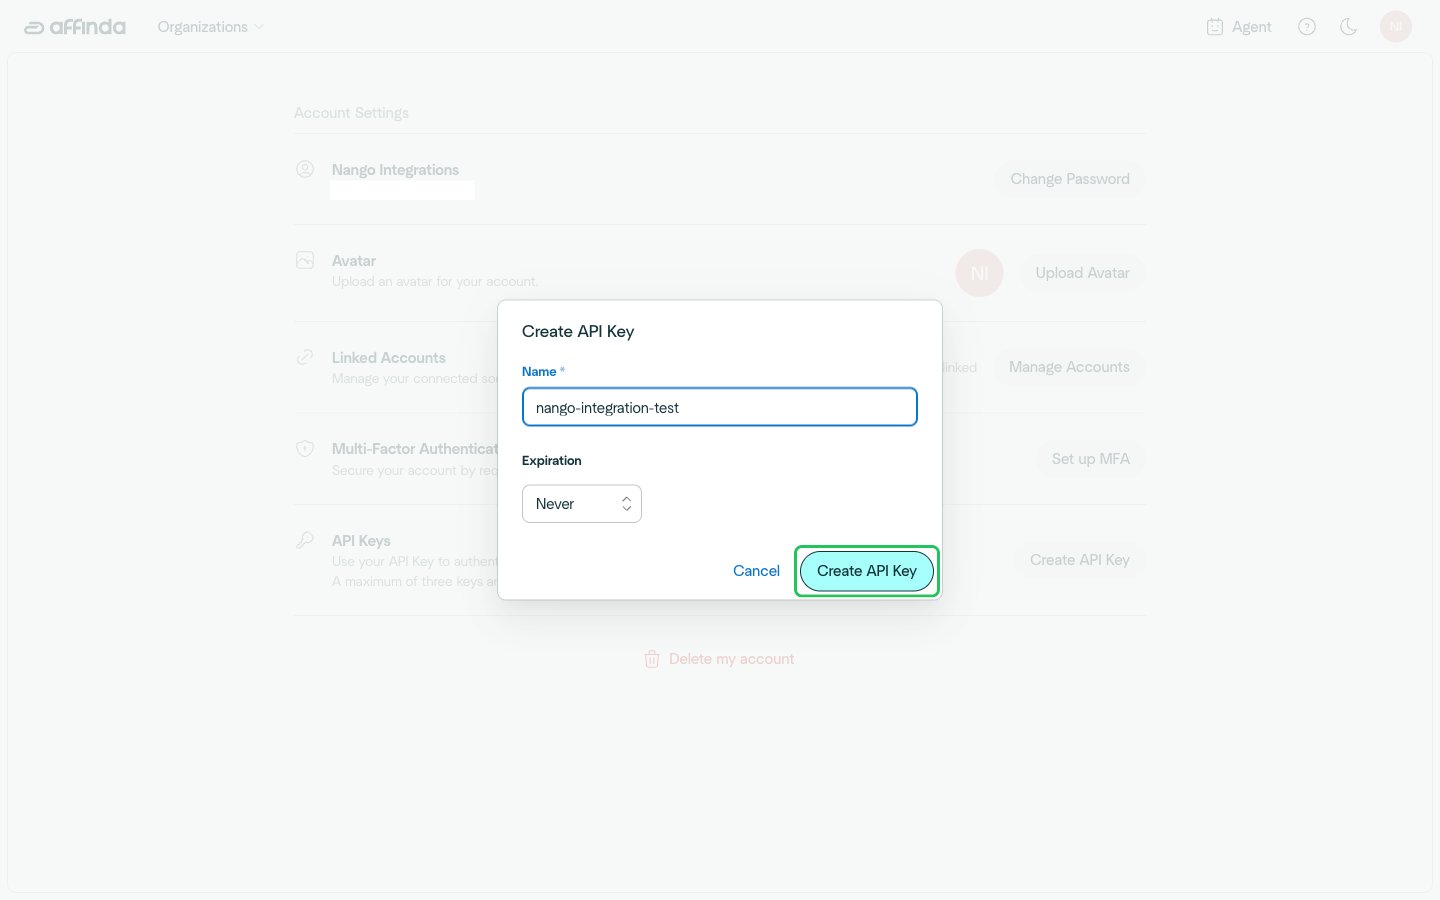
- Enter a name for the key, choose an expiration (or Never), then click Create API Key.
- Click Copy to Clipboard to copy the new key. It is only shown once.
Step 3: Enter your credentials in the Connect UI
- Open the form where you need to authenticate with Affinda.
- Select your Region and enter your API Key in the designated fields.
- Submit the form, and you should be successfully authenticated.