Overview
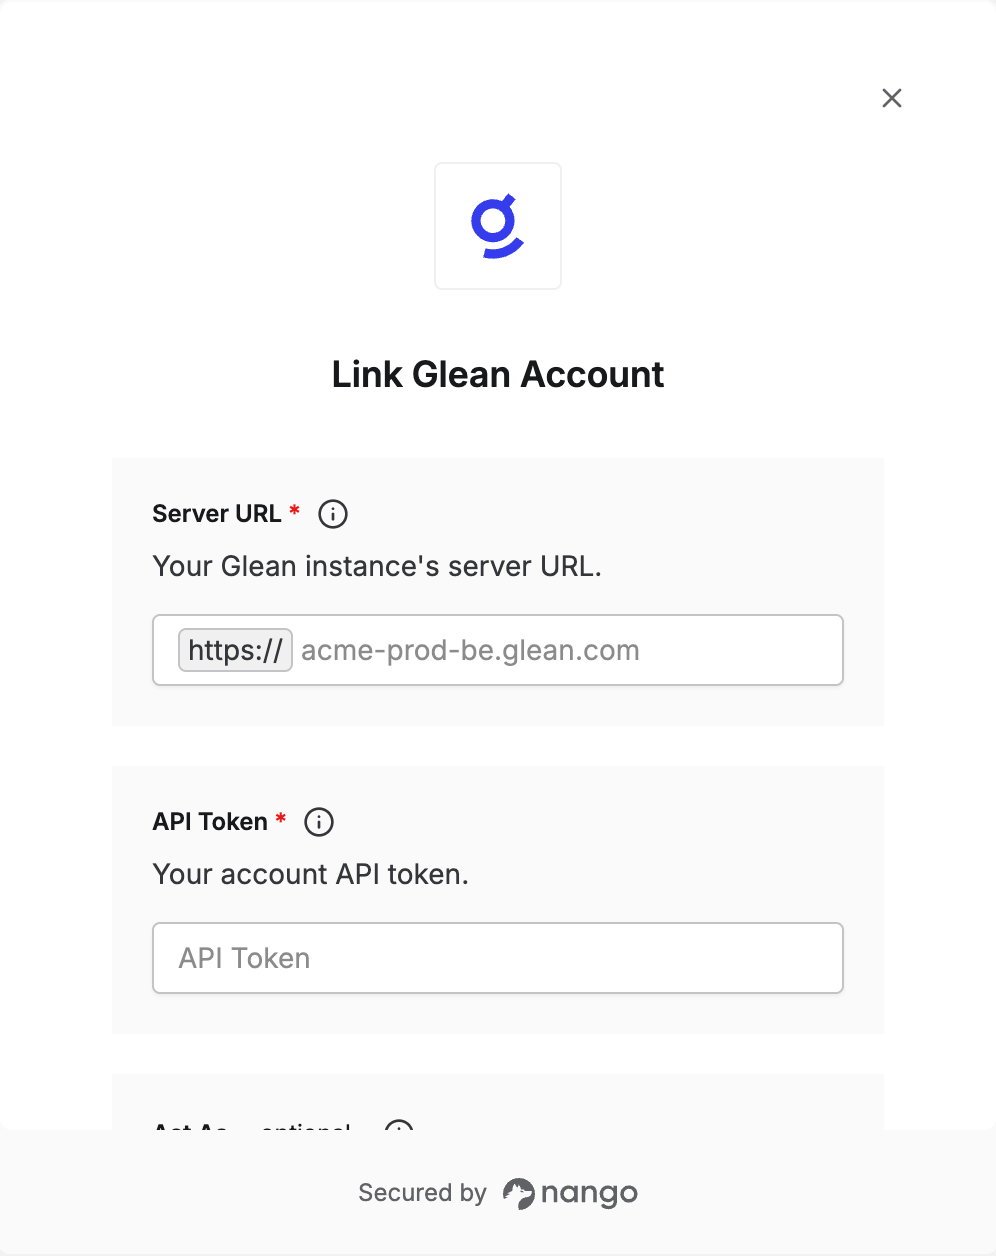
To authenticate with Glean, you need:- Server URL — your Glean instance’s server URL.
- API Token — a Glean-issued token, generated in the Glean admin console.
- Act As (optional) — the email of the user to act as. Only relevant for global tokens, which Glean rejects without it.
Prerequisites
- A Glean account with access to create API tokens (Super Admin, Admin, or API Token Creator role — see Glean’s Administrator Roles matrix for the exact permission breakdown).
Instructions
Step 1: Finding your server URL
- In the Glean admin console, go to About Glean.
- Find the Server instance (QE) field — this is your server URL.
https://acme-prod-be.glean.com/, your server URL is acme-prod-be.glean.com.
This is the same regardless of whether Glean runs in Glean’s cloud or in your own cloud (cloud-prem) — only the underlying infrastructure location differs, not how you find or use the server URL.
Step 2: Generating your API token
- In the Admin Console, go to Platform > API tokens.
- Click Add token.
- Give the token a name.
- Choose its permissions — either global, or scoped to what your integration needs (for example
SEARCH,CHAT). - Set an expiration date — choose a longer one to avoid having to rotate the token frequently.
- Save the token.
Tokens can be user-scoped (act as the creating user) or global (act as any user, super admin only). Global tokens need an email to act as on every request — Glean rejects requests from a global token without one.
Step 3: Setting your Act As email
If you created a global token, enter the email of the user Nango should act as in the Act As field. If you created a user-scoped token, skip this and leave Act As blank.Step 4: Enter credentials in the Connect UI
Once you have your Server URL, API Token, and (if applicable) Act As email:- Open the form where you need to authenticate with Glean.
- Enter your Server URL and API Token in the fields provided.
- If you’re using a global token, enter the email to act as in the Act As field. Leave it blank for a user-scoped token.
- Submit the form, and you should be successfully authenticated.