Overview
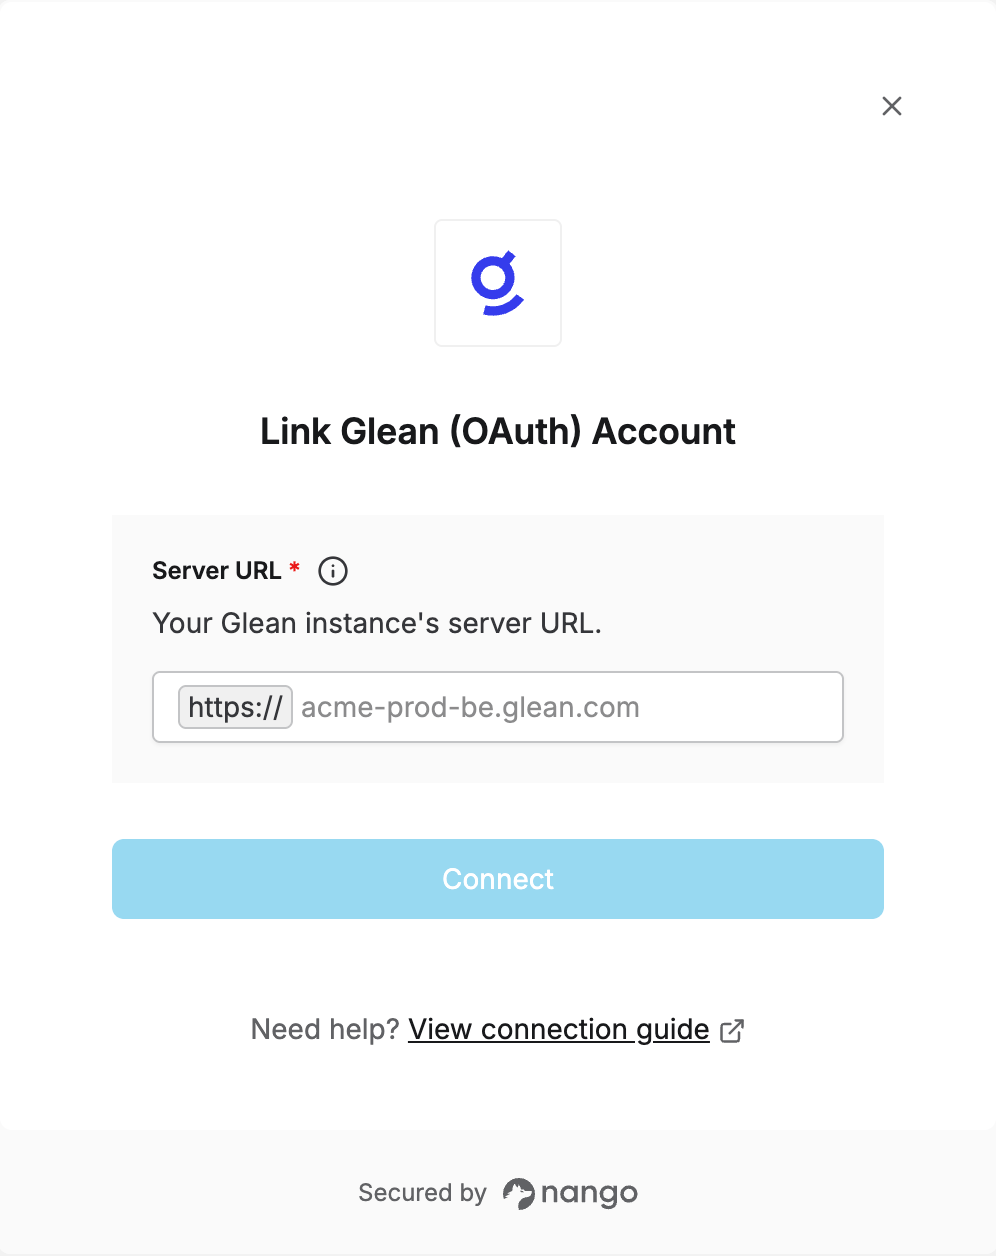
To authenticate with Glean (OAuth), you need to select which Server URL to connect to. Nango exchanges the authorization through Glean’s own OAuth Authorization Server — users are directed through their organization’s existing SSO login automatically, with no separate identity provider setup required.Prerequisites
- A static OAuth client registered with Glean for this integration (see how to register your own Glean OAuth app).
Instructions
Step 1: Finding your server URL
- In the Glean admin console, go to About Glean.
- Find the Server instance (QE) field — this is your server URL.
https://acme-prod-be.glean.com/, your server URL is acme-prod-be.glean.com.
This is the same regardless of whether Glean runs in Glean’s cloud or in your own cloud (cloud-prem) — only the underlying infrastructure location differs, not how you find or use the server URL.
Step 2: Authorize Glean
- Open the form where you need to authenticate with Glean.
- Enter your Server URL.
- Submit the form, and you should be successfully authenticated.