Overview
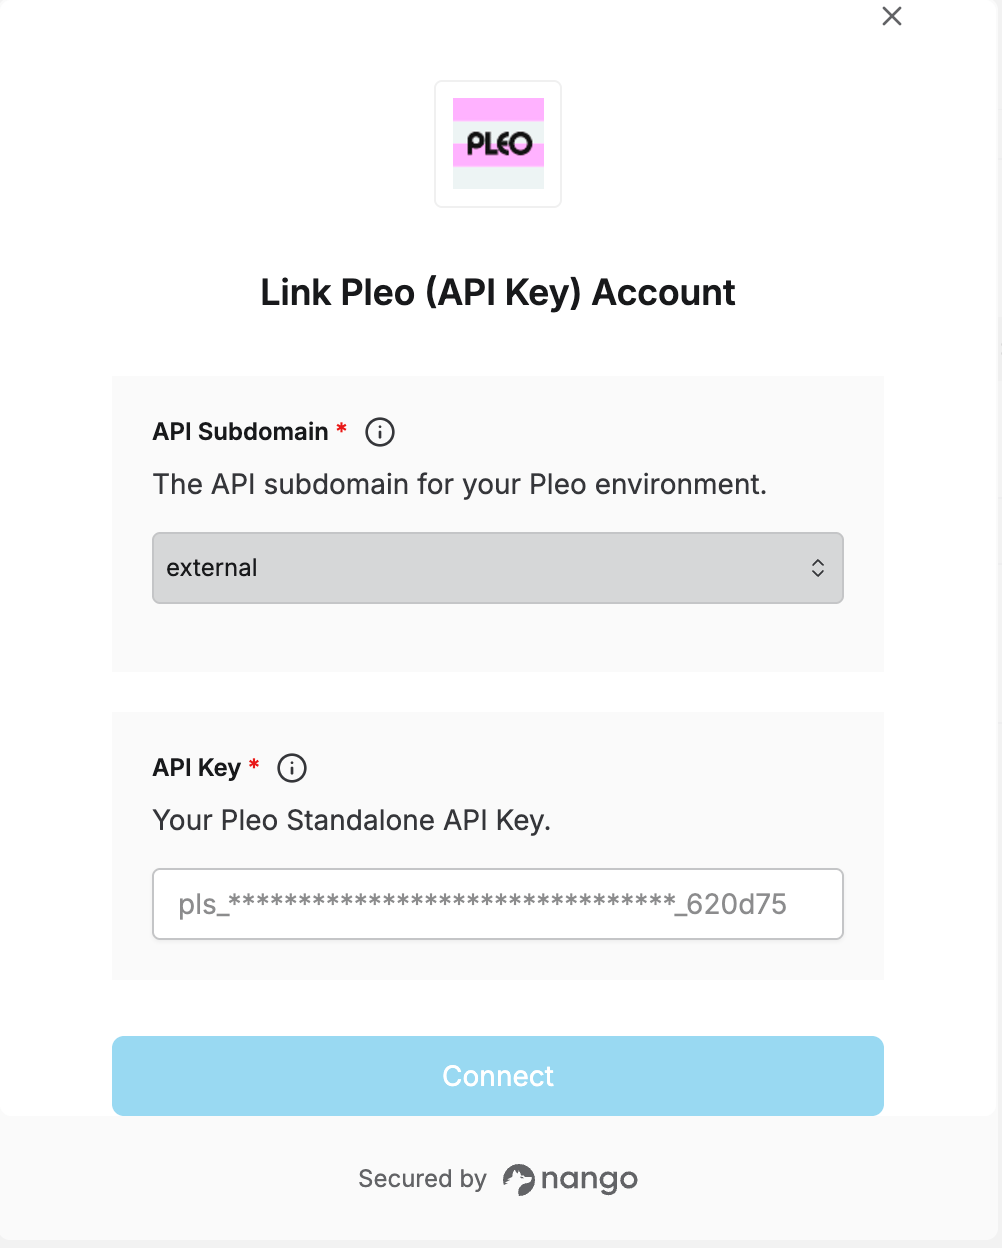
To connect Pleo in Nango with a Standalone API Key, you need to provide:- API Subdomain — Which Pleo environment your key belongs to.
- API Key — Your Pleo Standalone API Key.
Prerequisites
- You must be an admin or bookkeeper on the Pleo account.
- Standalone API Keys aren’t self-service. If you don’t see API Keys under Settings in the Pleo Web App, ask your Customer Success Manager or Pleo Support to enable access for your organization first — this can be requested at any time, not just during onboarding.
Step 1: Generating your API key
- In the Pleo Web App, go to Settings -> API Keys.
- Click Create API Key, then give it a name and an expiration date.
- Choose the access level — a specific entity, or multiple entities if your account is multi-entity.
- Select the API scopes the key needs (for example,
users:read,export-jobs:read,export-jobs:write) — grant only what your integration requires. - Save and copy the generated key. You won’t be able to see it again after you leave the page.
A Standalone API Key is scoped to a single Pleo company, and only works in the environment (staging or production) where it was generated.
Step 2: Finding your API Subdomain
Keys generated in Staging use API Subdomainexternal.staging. Keys generated in Production use external.
Step 3: Authorize in Nango
- Open the Nango Connect form.
- Select the API Subdomain matching the environment your key was generated in.
- Enter your API Key.
- Submit the form, and you should be successfully authenticated.