Overview
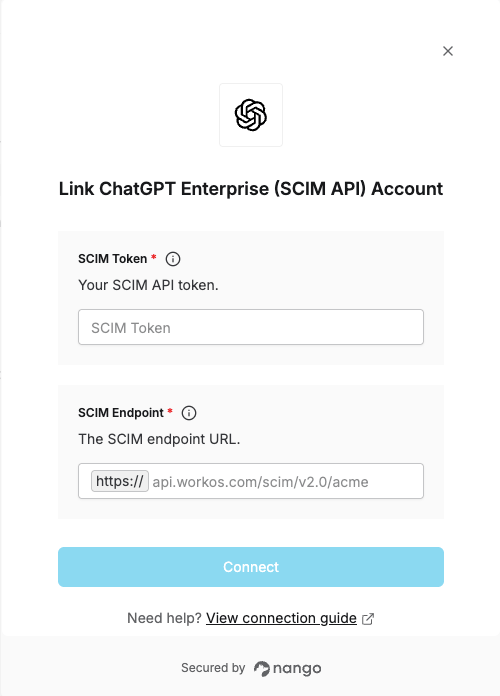
To authenticate with the ChatGPT Enterprise SCIM API, you need:- SCIM Endpoint - The SCIM base URL generated by the ChatGPT Enterprise setup wizard.
- SCIM Token - A bearer token generated alongside the endpoint.
Prerequisites:
- A ChatGPT Enterprise (or Edu) workspace.
- SSO (SAML) already configured and active on the workspace — SCIM cannot be enabled without it.
- The logged in user must be a workspace administrator.
Instructions:
Step 1: Generate your SCIM Endpoint and Token
- Log in to ChatGPT as a workspace administrator.
- Select your profile icon at the bottom-left in ChatGPT.
- In the menu, select Workspace settings > Identity & Provisioning.
- Scroll down to User Provisioning.
- Under Directory Sync (SCIM), select Create Directory Connection.
- Select Custom SCIM.
- Follow the wizard to generate the URL and token.
Step 2: Enter credentials in the Connect UI
Once you have your SCIM Endpoint and SCIM Token:- Open the form where you need to authenticate with ChatGPT Enterprise.
- In the SCIM Endpoint field, enter the endpoint without the
https://prefix — the form adds it for you (e.g.api.workos.com/scim/v2.0/acme, nothttps://api.workos.com/scim/v2.0/acme). - Enter your SCIM Token in the designated field.
- Submit the form, and you should be successfully authenticated.