Overview
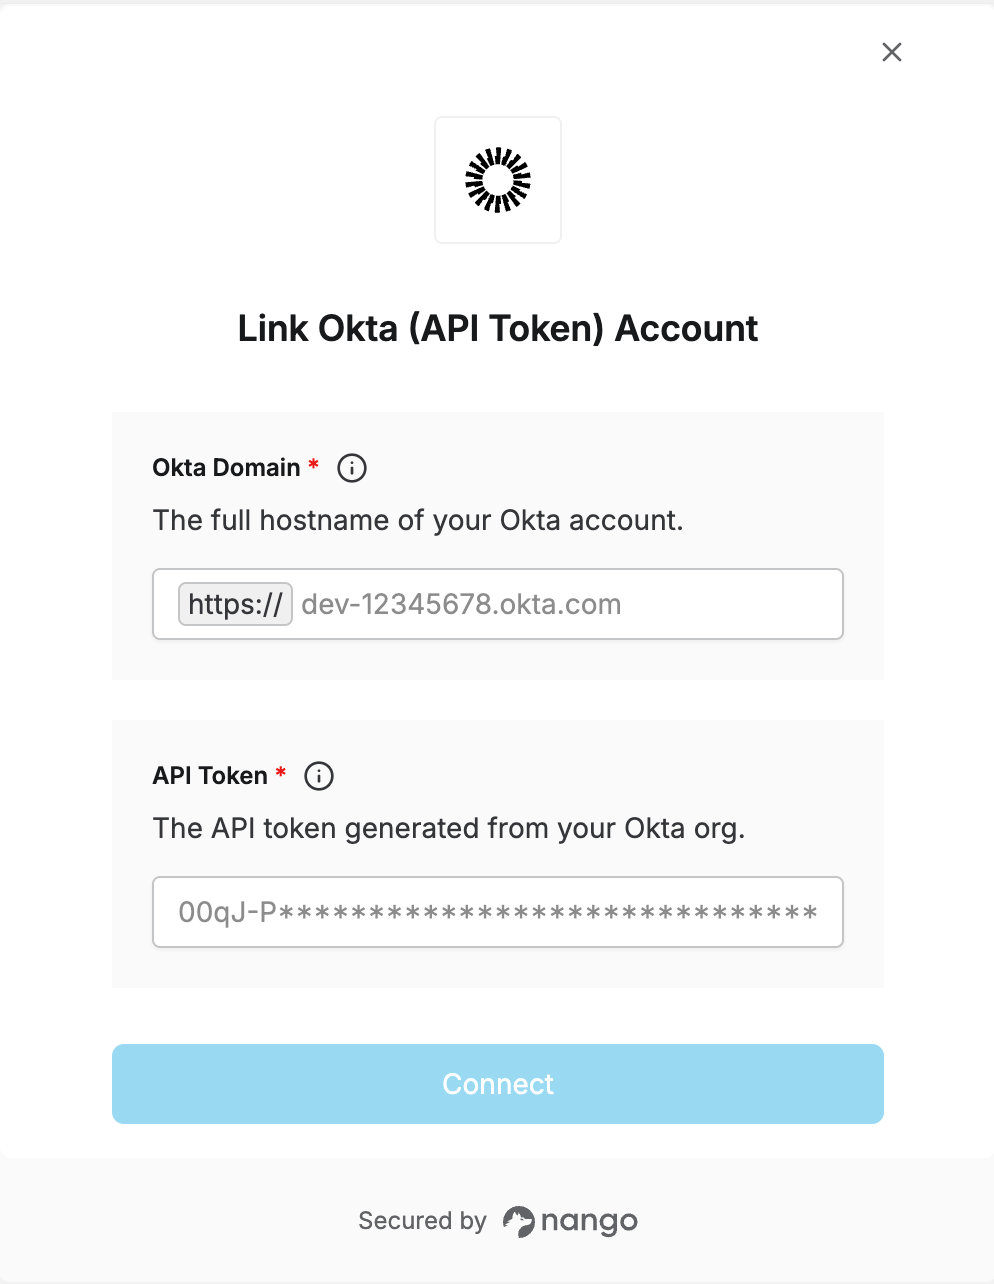
To authenticate with Okta using an API Token, you need:- API Token - A token used with Okta’s SSWS authentication scheme to authorize requests.
- Okta Domain - The full hostname of your Okta organization (e.g.
dev-12345678.okta.com).
Prerequisites:
- You must have an Okta account with admin access.
An API token inherits the privilege level of the admin account that creates it. Okta recommends creating a dedicated service account for tokens used by integrations, rather than using a personal admin account. Deactivating that admin user immediately deprovisions the token.
Instructions:
Step 1: Generating your API token
- Log in to your Okta Admin Console.
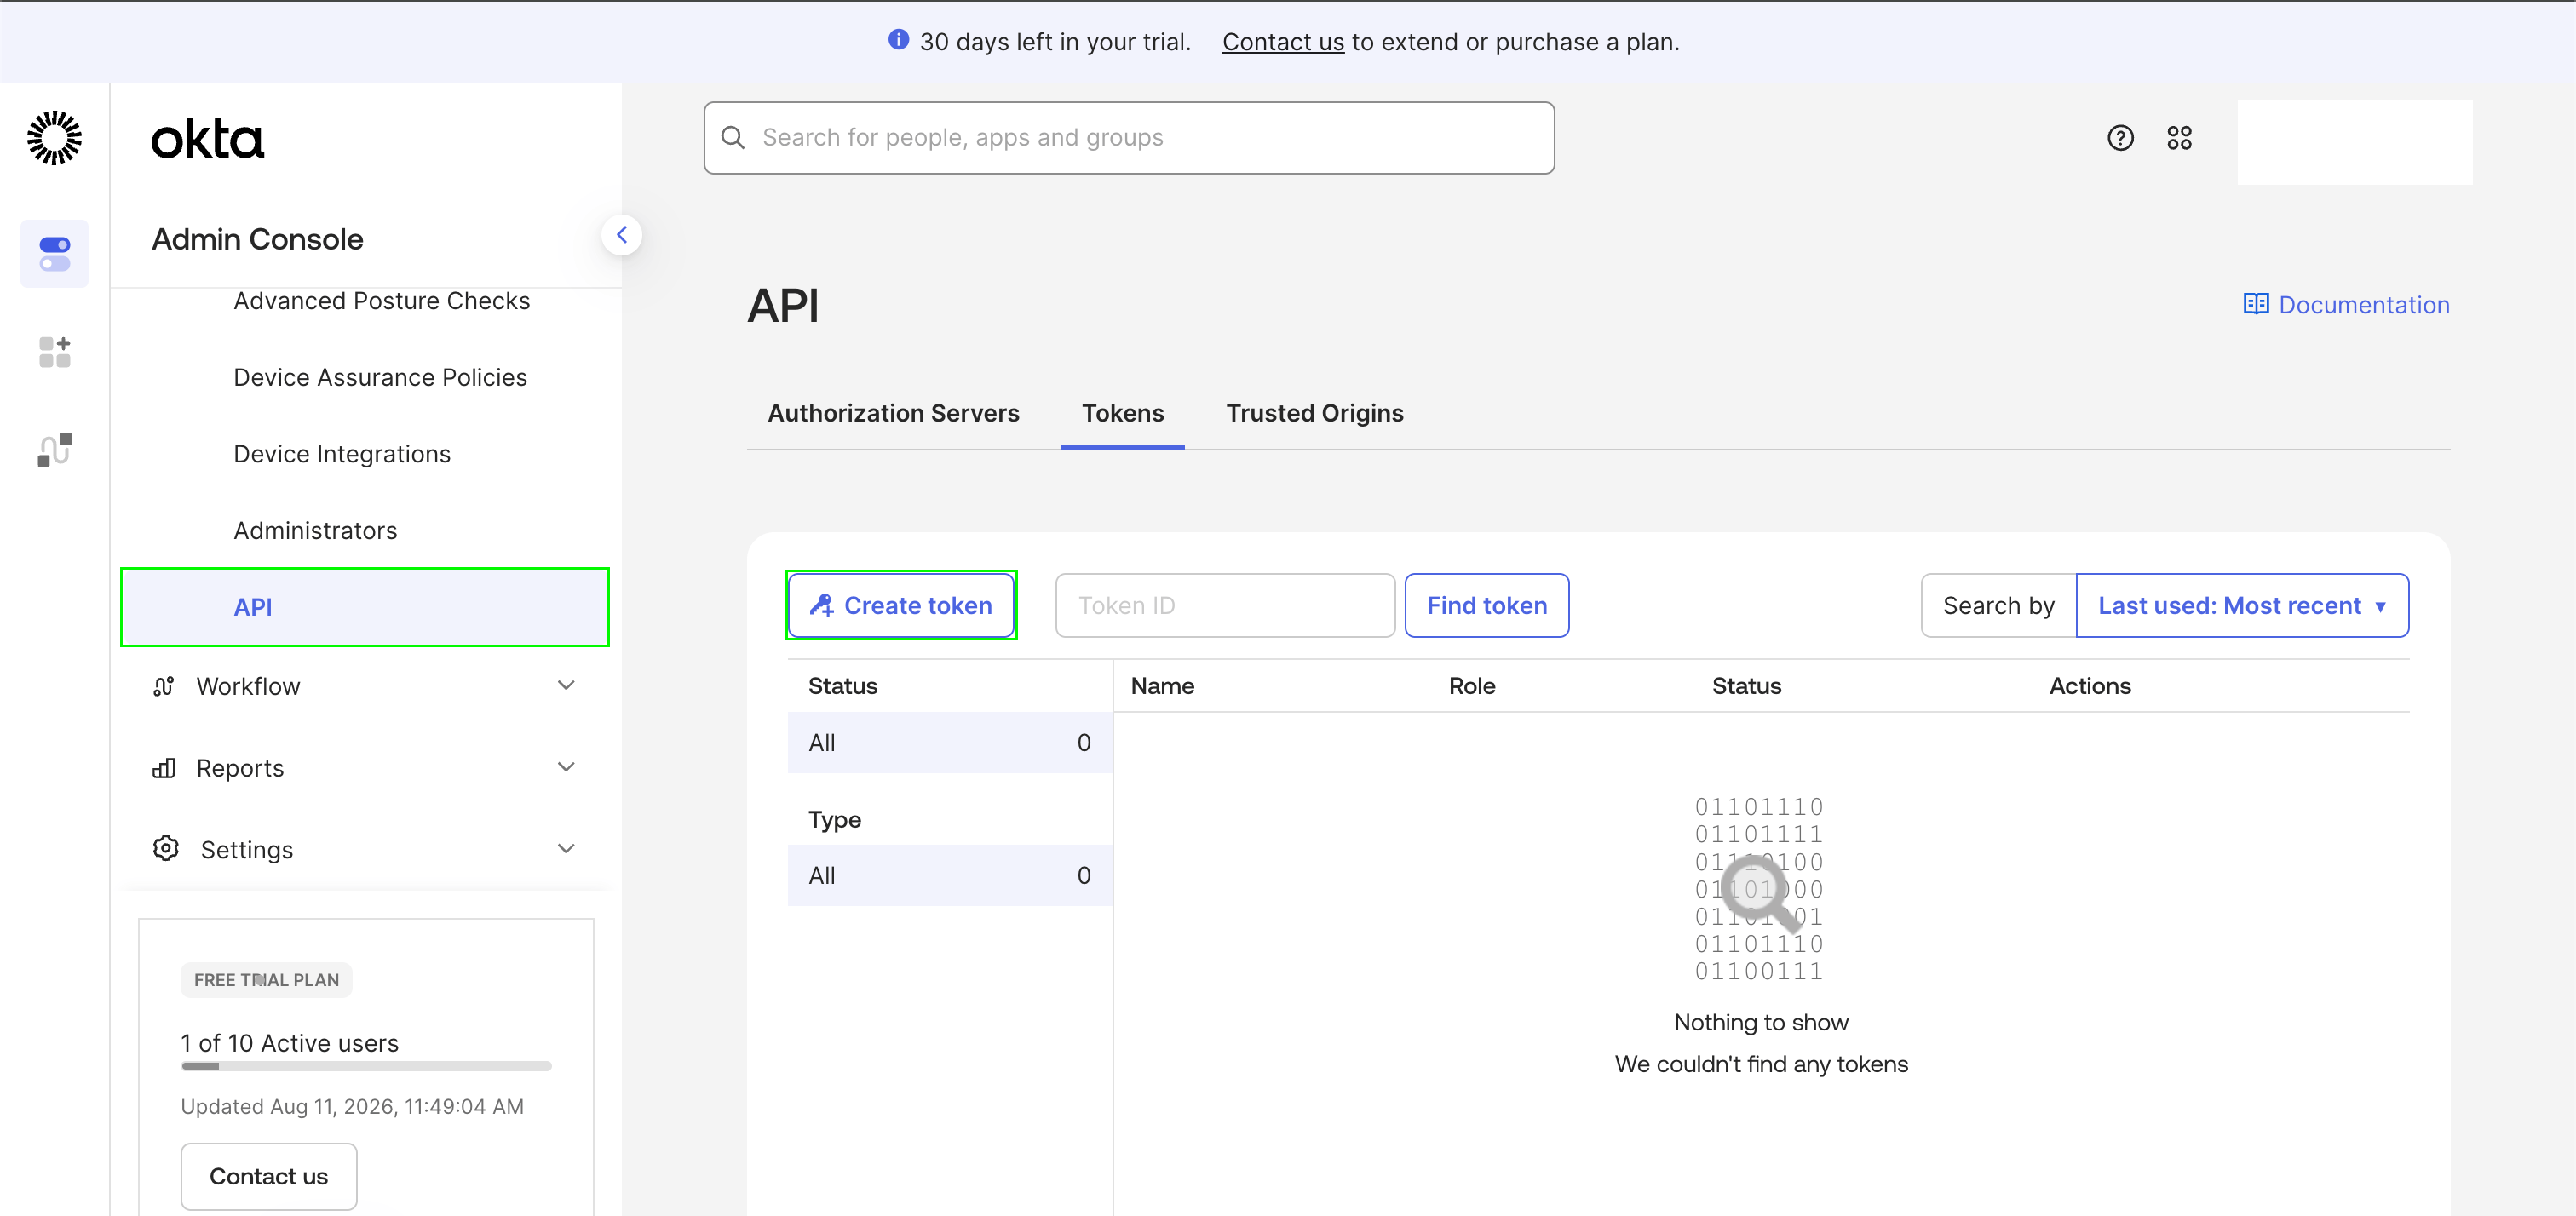
- In the left sidebar, navigate to Security > API.
- Click the Tokens tab, then click Create token.
- Enter a name for the token. Under network zones, leave Any IP selected, or restrict it to Nango’s public IP addresses if you want to limit the token to calls coming from Nango. Click Create token.
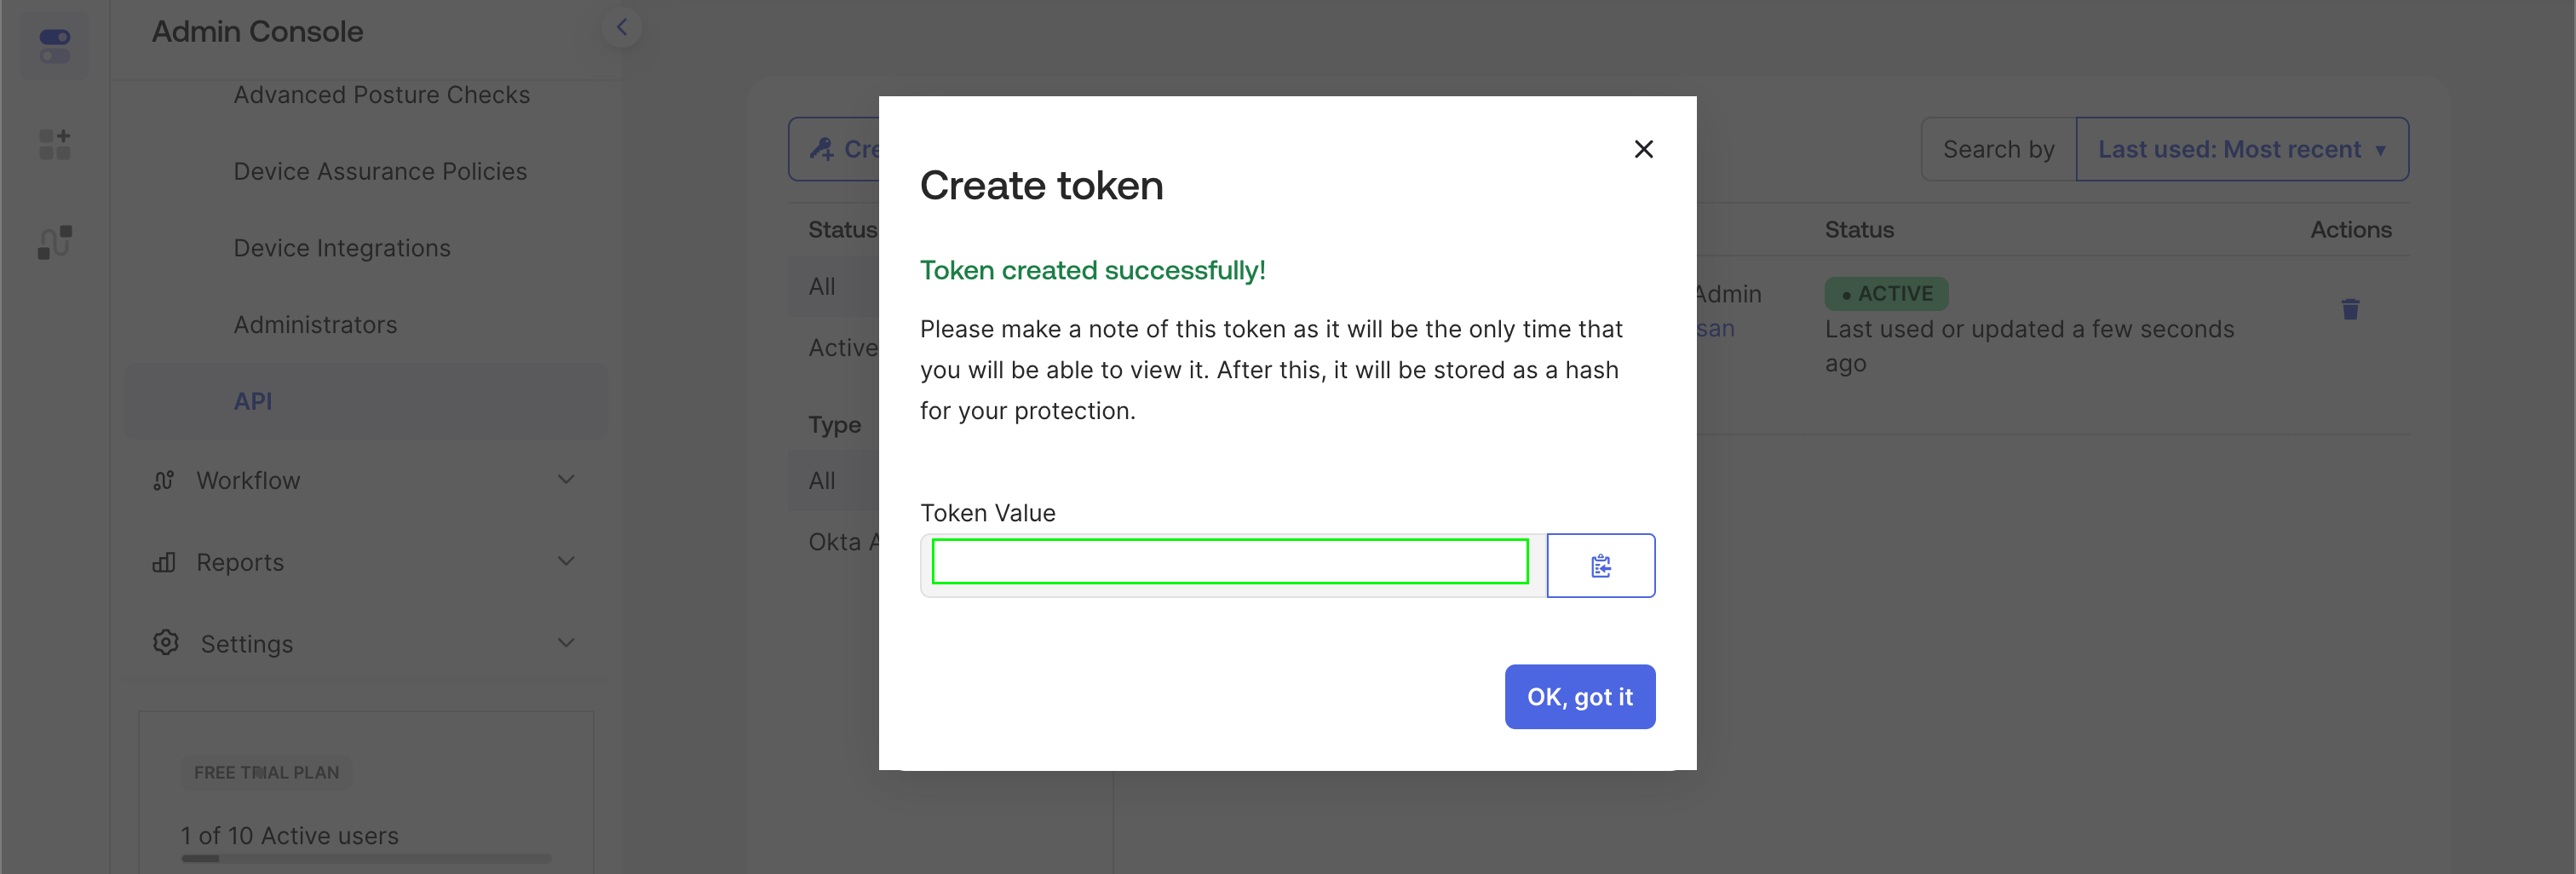
- Copy the token value immediately — Okta only shows it once.
Step 2: Finding your Okta Domain
Your Okta Domain is the full hostname of your Okta organization.- In the Admin Console, your browser’s address bar will show a URL like
https://dev-12345678-admin.okta.com. - Your Okta Domain is the hostname without
https://and without-admin(e.g.,dev-12345678.okta.com).
Step 3: Enter credentials in the Connect UI
Once you have your API Token and Okta Domain:- Open the form where you need to authenticate with Okta (API Token).
- Enter your API Token.
- Enter your Okta Domain as the full hostname (e.g.,
dev-12345678.okta.com). - Submit the form, and you should be successfully authenticated.