

Overview
To authenticate with ServiceNow using JWT bearer authentication, you need:- Domain - Your ServiceNow instance’s full hostname, such as
dev12345.service-now.com. - Client ID - The unique identifier for your ServiceNow OAuth JWT application.
- Client Secret - The confidential key for your OAuth JWT application.
- Key ID - The key identifier from your ServiceNow JWT verifier map.
- Private Key - The RSA private key matching your ServiceNow certificate.
- User Identifier - The user’s value for the application’s configured User Field.
Prerequisites:
- Administrator access to a ServiceNow instance.
- A ServiceNow user with the roles needed for the APIs you plan to call.
- OpenSSL to generate an RSA private key and certificate.
Instructions:
Step 1: Find your ServiceNow domain
Copy the hostname of your ServiceNow instance, such asdev12345.service-now.com. Do not include https:// or a path.
Step 2: Generate a private key and certificate
Generate an RSA private key and a certificate containing its public key:servicenow.key private. Upload servicenow.crt to ServiceNow by opening sys_certificate.list, creating a certificate record, and providing the certificate contents.
The certificate expires after 365 days. Before it expires, upload a replacement certificate, update the JWT verifier map, and update the private key in Nango if you generate a new key pair.
Step 3: Create an OAuth JWT API endpoint
- In ServiceNow, open System OAuth > Application Registry.
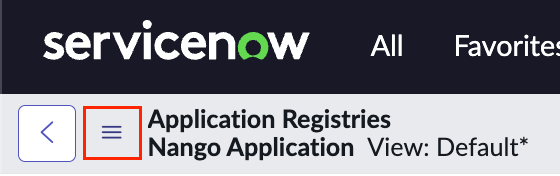
- Select New > Create an OAuth JWT API endpoint for external clients.
- Enter a name and select the User Field used to identify users in the
sys_usertable. - Save the application and copy its Client ID and Client Secret.
- Copy the configured user’s value for the selected User Field. For example, if User Field is Email, use the user’s email address. If it is User ID, use the user’s ServiceNow username.
Step 4: Create a JWT verifier map
- Open the OAuth JWT application you created.
- In the JWT Verifier Maps related list, select New.
- Enter a Key ID, such as
nango-servicenow-key. - Select the certificate uploaded in step 2 and save the verifier map.
Step 5: Connect in Nango
Once you have your credentials:- Open the form where you need to authenticate with ServiceNow.
- Enter your Domain, Client ID, Client Secret, Key ID, Private Key, and User Identifier in their designated fields.
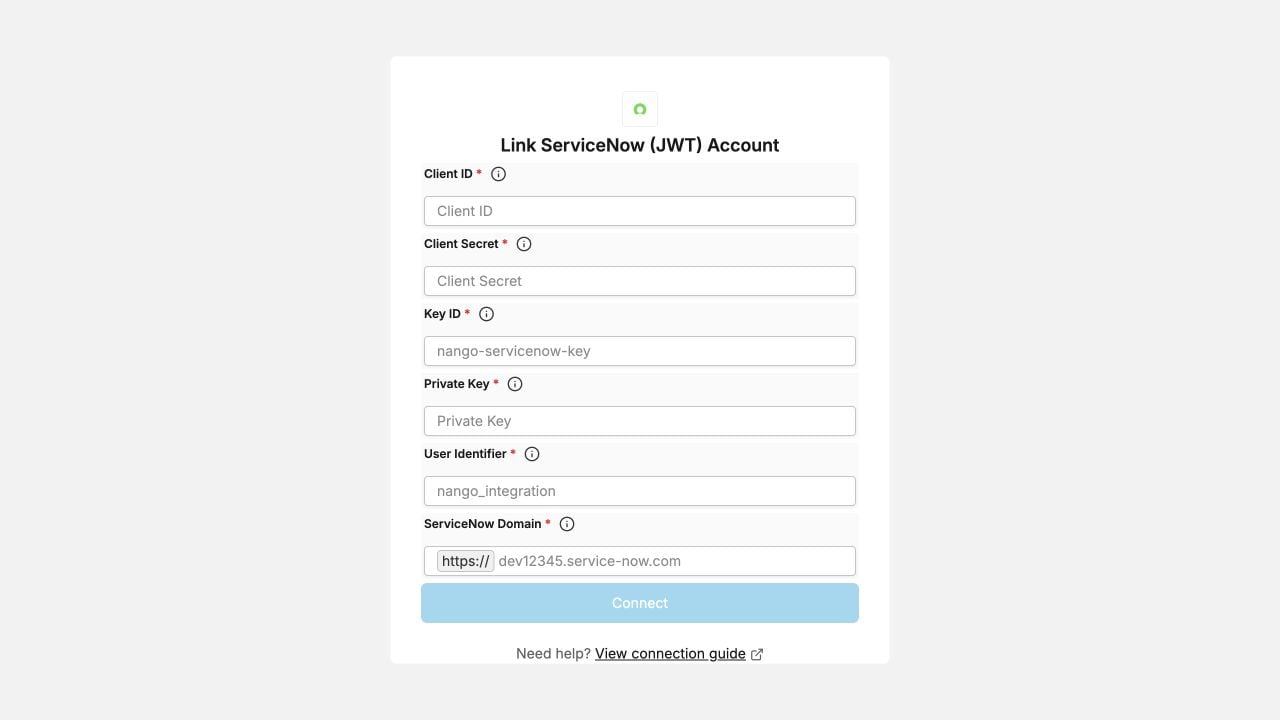
- Submit the form.