Overview
To authenticate with Pushpay ChMS, you will need:- Church subdomain — the hostname prefix for your ChMS site (
https://{subdomain}.ccbchurch.com). - API username — created in API Admin inside Pushpay ChMS (not the API User Community login).
- API password — the password for the API user created in API Admin.
Prerequisites:
- You must have a Pushpay ChMS account with API access enabled for your organization.
Instructions:
Step 1: Finding your Church subdomain
- Log in to Pushpay ChMS as an administrator.
- Open API Admin (location may vary by version; your implementer guide references this section).
- Note the HTTPS base URL for API calls. It is of the form
https://{your-subdomain}.ccbchurch.com/api.php. - The value before
.ccbchurch.comis your Church subdomain (for example,acmefromhttps://acme.ccbchurch.com).
Step 2: Create an API user
- In Pushpay ChMS, go to API Admin.
- Create a dedicated API login for this integration (recommended so access can be revoked independently).
- Assign only the services this integration needs; each login’s permissions are granular per service.
- Copy the username and password for use in Nango.
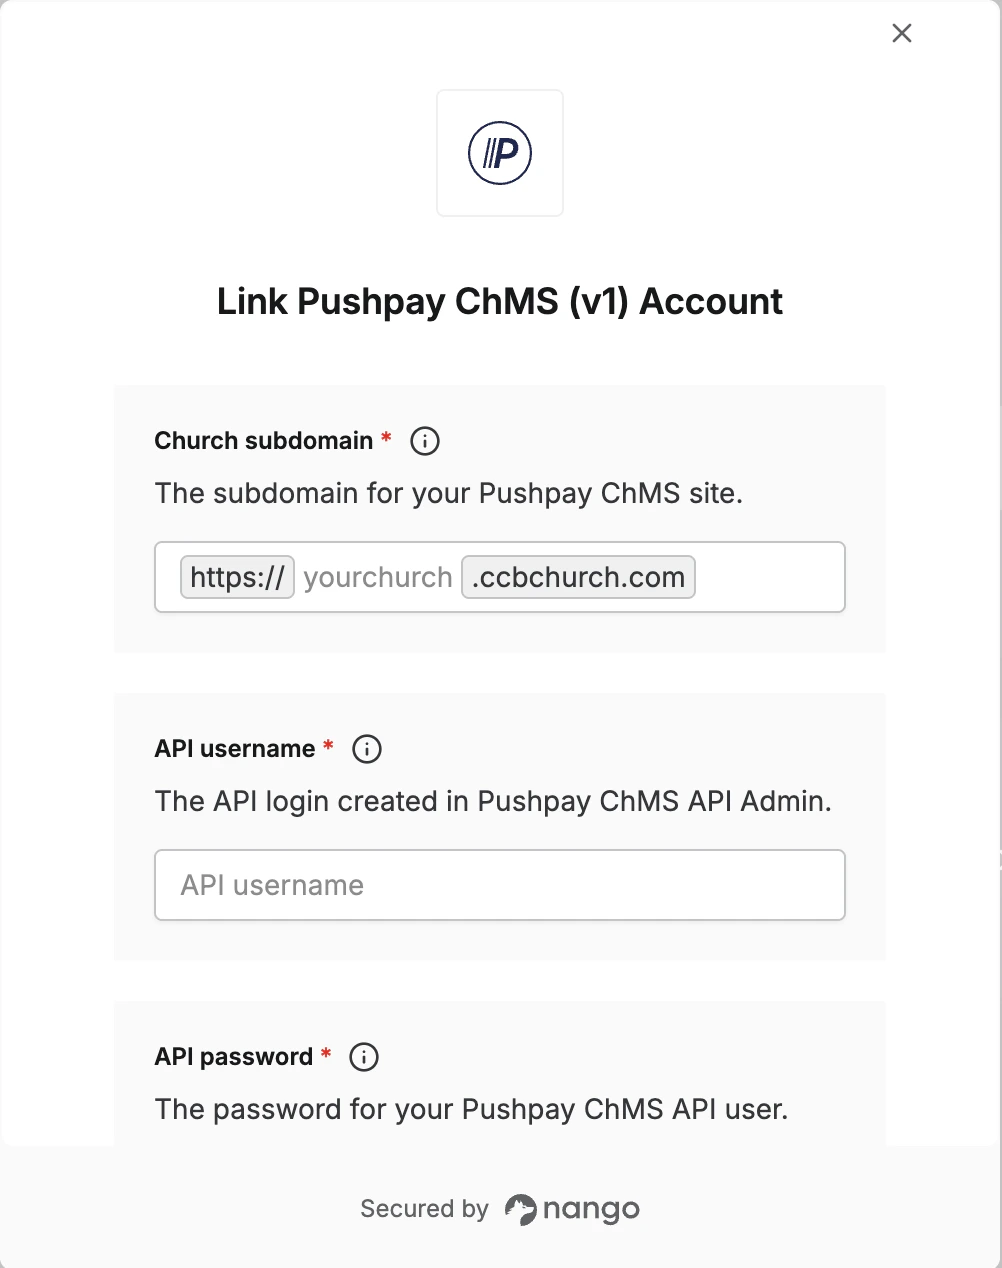
Step 3: Enter credentials in the Connect UI
Once you have your Church subdomain, API Username, and API Password:- Open the form where you need to authenticate with Pushpay ChMS.
- Enter your Church subdomain, API Username, and API Password in their respective fields.
- Submit the form, and you should be successfully authenticated.