Overview
To authenticate with PostHog, you need two things:- Subdomain - The part of your PostHog URL after
https://and before.posthog.com - API Key - A key that grants Nango permission to interact with PostHog’s APIs and services
Prerequisites:
- You must set up an account with PostHog.
Step 1: Finding your subdomain
- Log in to your PostHog account and check the URL in the address bar. Your subdomain is the part after
https://and before.posthog.com. For example, if the URL ishttps://us.posthog.com, your subdomain isus. - For reference: US Cloud typically uses
usorus.i; EU Cloud useseuoreu.i.
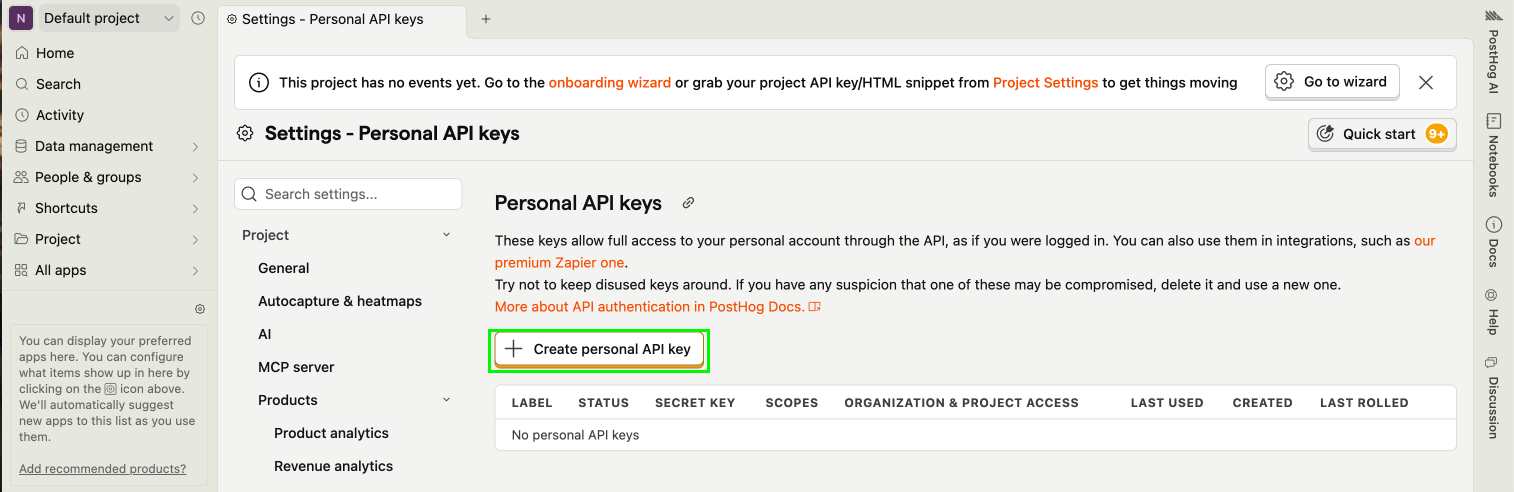
Step 2: Finding your API Key
- Go to the Personal API keys section in your account settings.
- Click
+ Create a personal API Key.
- Give your key a label—this is just for you, usually to describe the key’s purpose.
- Choose the scopes and access level for your key. We recommend selecting only the scopes and access level required for the API endpoints you really need. You can always modify the scopes later if you need to.
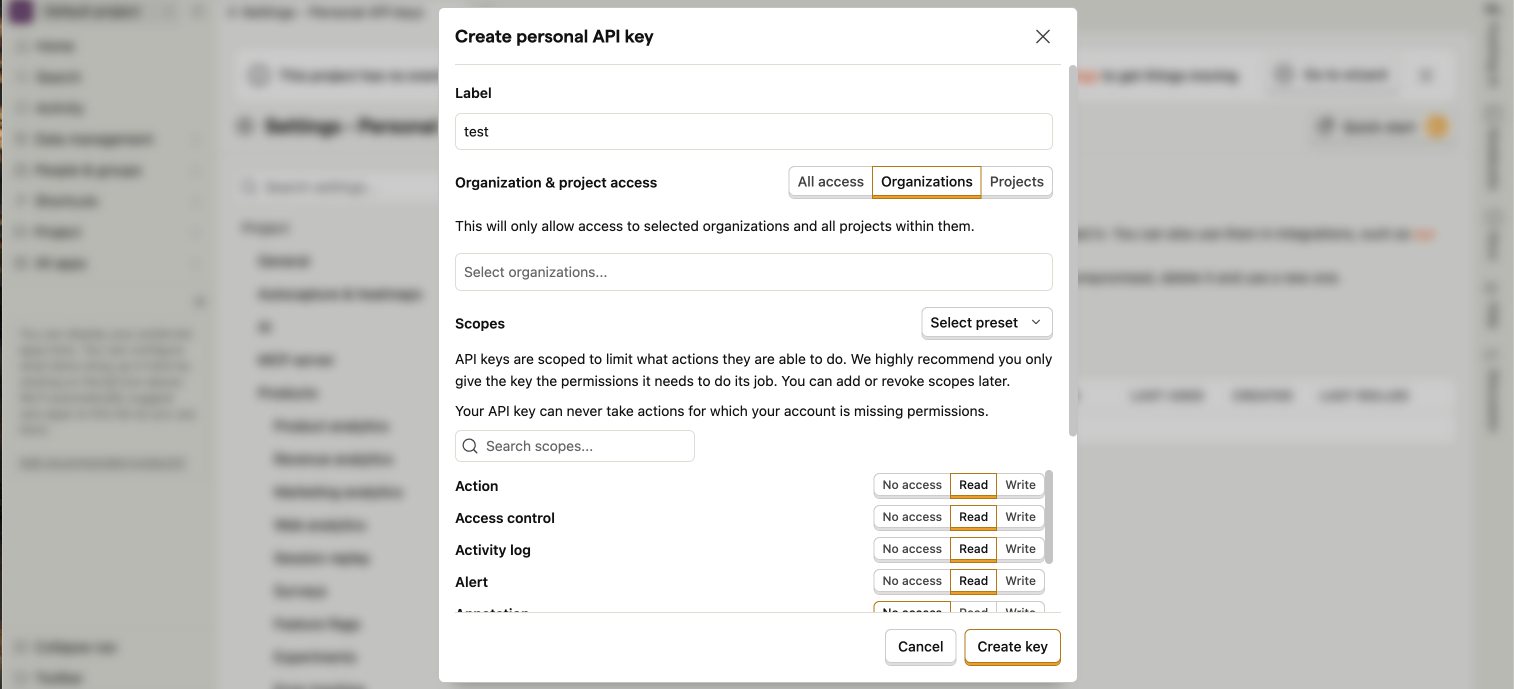
- Click Save key to submit the form and generate your API Key.
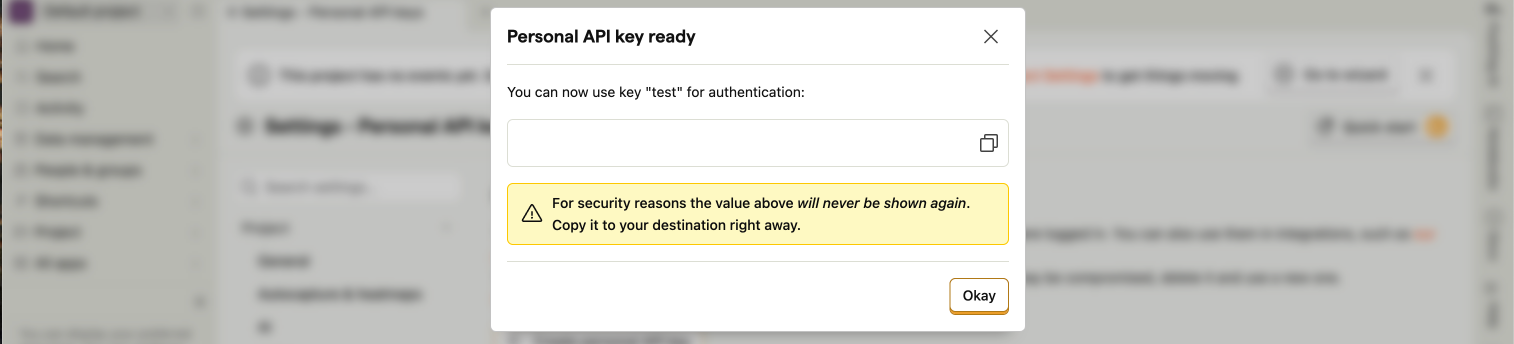
- Copy your API Key securely—you won’t see it again after you leave the page.
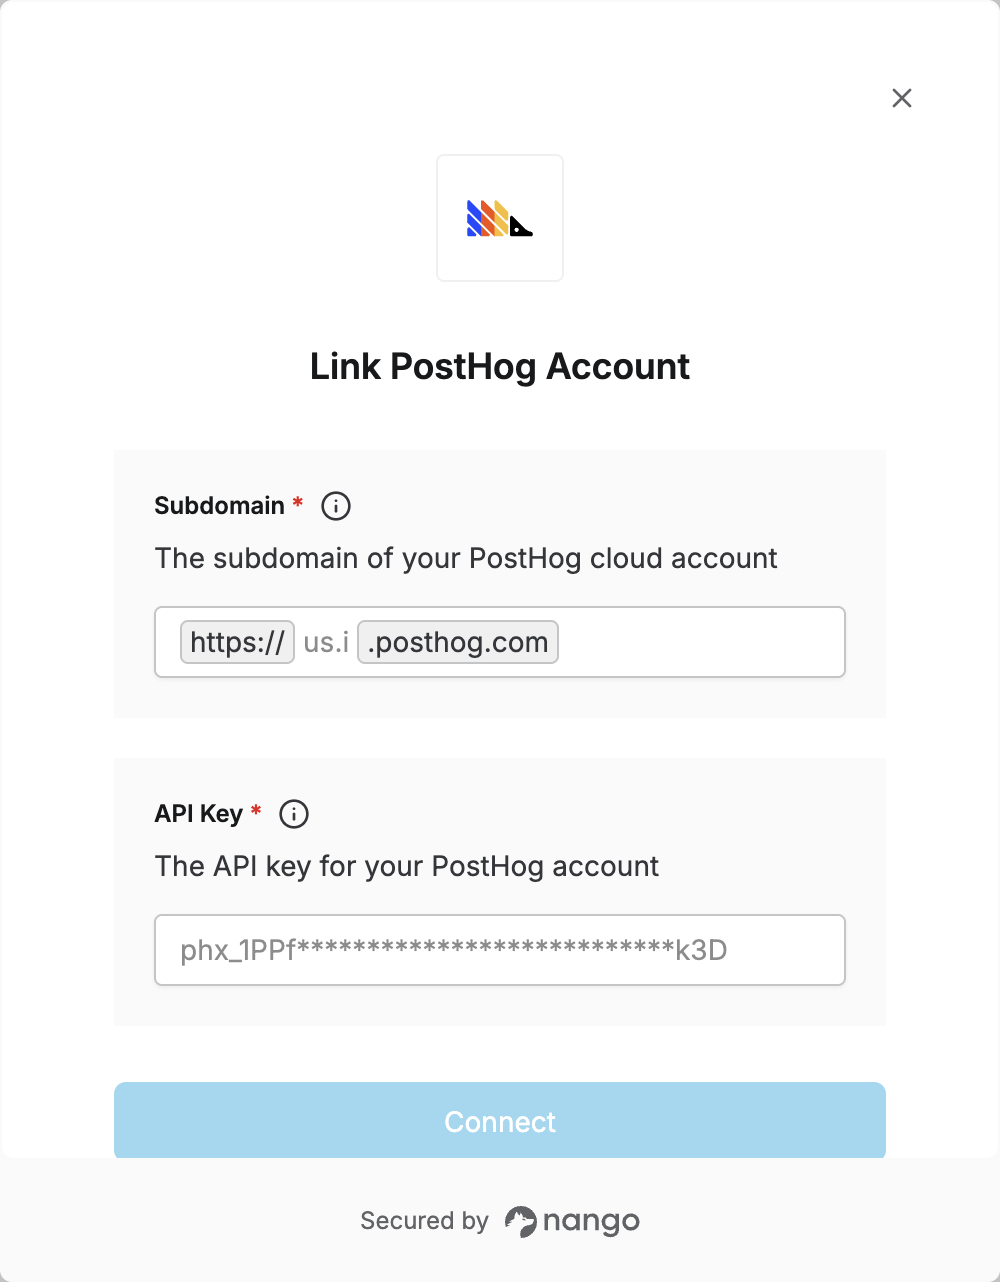
Step 3: Enter credentials in the Connect UI
Once you have your Subdomain and API Key:- Open the form where you need to authenticate with PostHog.
- Enter your Subdomain and API Key in their respective fields.
- Submit the form, and you should be successfully authenticated.