Overview
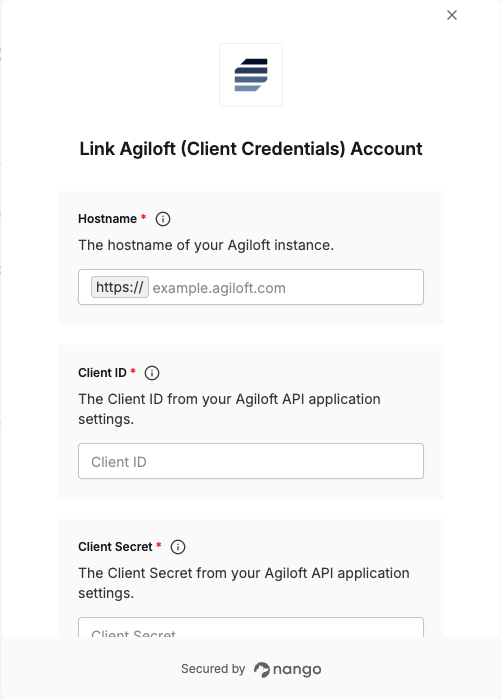
To connect with Agiloft (Client Credentials), you need:- Hostname – The domain of your Agiloft instance.
- Client ID – The Client ID from your Agiloft API application settings.
- Client Secret – The Client Secret from your Agiloft API application settings.
Prerequisites
- An Agiloft account with administrative access to create API applications.
Instructions
Step 1: Create an API application and get your credentials
- Create a dedicated native Agiloft user account to act as a service user. The account needs an Admin or Standard license. Add the appropriate groups to grant access to the records you plan to interact with.
- Log in to your Agiloft instance and go to Setup > Integration > OAuth2 Client Setup.
- Click Deploy, Upgrade, or Configure depending on what is shown to access the API Application screen.
- Click New to open the OAuth2 Application Settings wizard.
- Set Authorization Grant Type to Client Credentials, fill in a Name and Display Name, and set Full Name to the service user account from step 1.
- Click Apply Changes, then click Enable to activate the application.
- Copy the generated Client ID and Client Secret — you will need them in the next step.
Step 2: Find your hostname
Your hostname is the domain you use to access your Agiloft instance. For example, if you log in athttps://example.agiloft.com, your hostname is example.agiloft.com.
You can find it in the browser address bar when logged in to Agiloft.
Step 3: Enter credentials in Nango
- Open the Nango Connect form.
- Enter your Hostname, Client ID, and Client Secret in the fields provided.
- Submit the form, and you should be successfully authenticated.