Overview
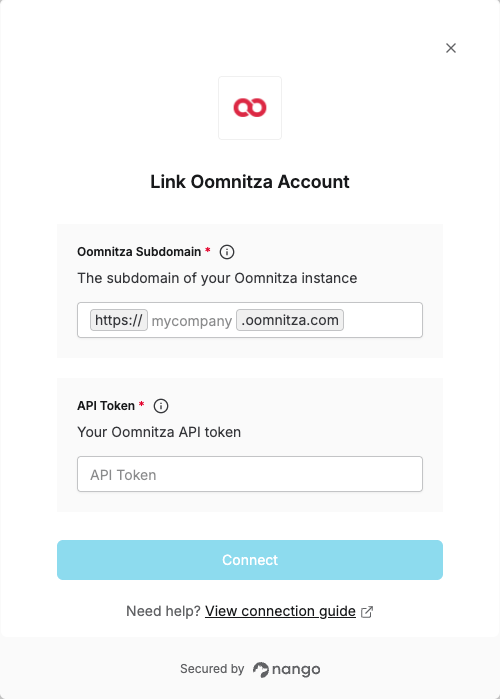
To authenticate with Oomnitza, you will need:- Subdomain - The subdomain of your Oomnitza instance (e.g.,
mycompanyformycompany.oomnitza.com). - API Token - A key that grants Nango permission to interact with Oomnitza’s API resources and services.
Prerequisites:
- You must have an Oomnitza account with API access
Instructions:
Step 1: Finding your Subdomain
Your Oomnitza subdomain is the part of your Oomnitza URL that appears before.oomnitza.com.
For example, if your Oomnitza URL is https://mycompany.oomnitza.com, your subdomain is mycompany.
You can find your subdomain by checking the URL in your browser when you’re logged into Oomnitza.
Step 2: Generating your API Token
- Log in to your Oomnitza account.
- Navigate to Configuration > Security > API tokens.
- Click + to add a new token.
- Enter a name for the token.
- Enter the name of the user to whom the token will be assigned and click SUBMIT.
Step 3: Enter credentials in the Connect UI
Once you have your Subdomain and API Token:- Open the form where you need to authenticate with Oomnitza.
- Enter your Subdomain and API Token in their respective fields.
- Submit the form, and you should be successfully authenticated.