Overview
To authenticate with Nerdio, you need:- Nerdio Instance URL - The hostname of your Nerdio Manager instance
- Azure Tenant ID - Your Azure Active Directory Tenant ID
- Client ID - The Application (client) ID from your Azure App Registration
- Client Secret - The client secret from your Azure App Registration
- API Scope - The Application ID URI scope for the Nerdio API
Prerequisites:
- Admin access to your Nerdio Manager installation (Premium edition required)
- Access to your Azure Portal with permissions to manage App Registrations
Instructions:
Step 1: Finding your Nerdio Instance URL
- Log in to your Nerdio Manager portal.
- Copy the hostname from your browser’s address bar (e.g.,
web-admin-portal-xxxxx.azurewebsites.net).
Step 2: Getting your Azure Credentials
- In Nerdio Manager, navigate to Settings > Integrations.
- In the REST API tile, if the Current status is Disabled, select Disabled to enable it.
- In Step #1, select Run. This creates a new Azure application under the nerdio-nmw-app app registration in your Azure tenant.
- In Step #2, select Grant to navigate to your Azure portal and grant Admin consent.

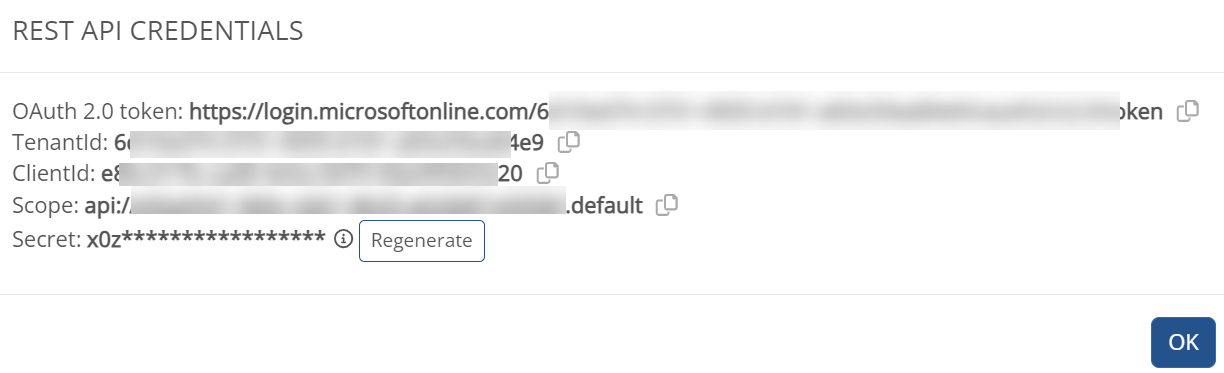
- Once enabled, copy the following values from the REST API Credentials section:
- Client ID - The Application (client) ID
- Tenant ID - Your Azure AD Tenant ID
- To generate a Client Secret:
- Navigate to your Azure Portal > App Registrations > select the Nerdio app
- Go to Certificates & secrets > New client secret
- Copy the secret value immediately (it will only be shown once)
Store the Client Secret securely immediately. It cannot be retrieved later. If you lose it, you will need to generate a new one.
Step 3: Configuring the API Scope
- In the Azure Portal, navigate to your Nerdio App Registration.
- Go to Expose an API and copy the Application ID URI.
- Append
/.defaultto the URI to form the complete scope (e.g.,api://your-app-id/.default).
If the Application ID URI is not set, you need to add it first. An example format is
api://g0cb288e-ff16-1861-9393-50219a19453c.Step 4: Enter credentials in the Connect UI
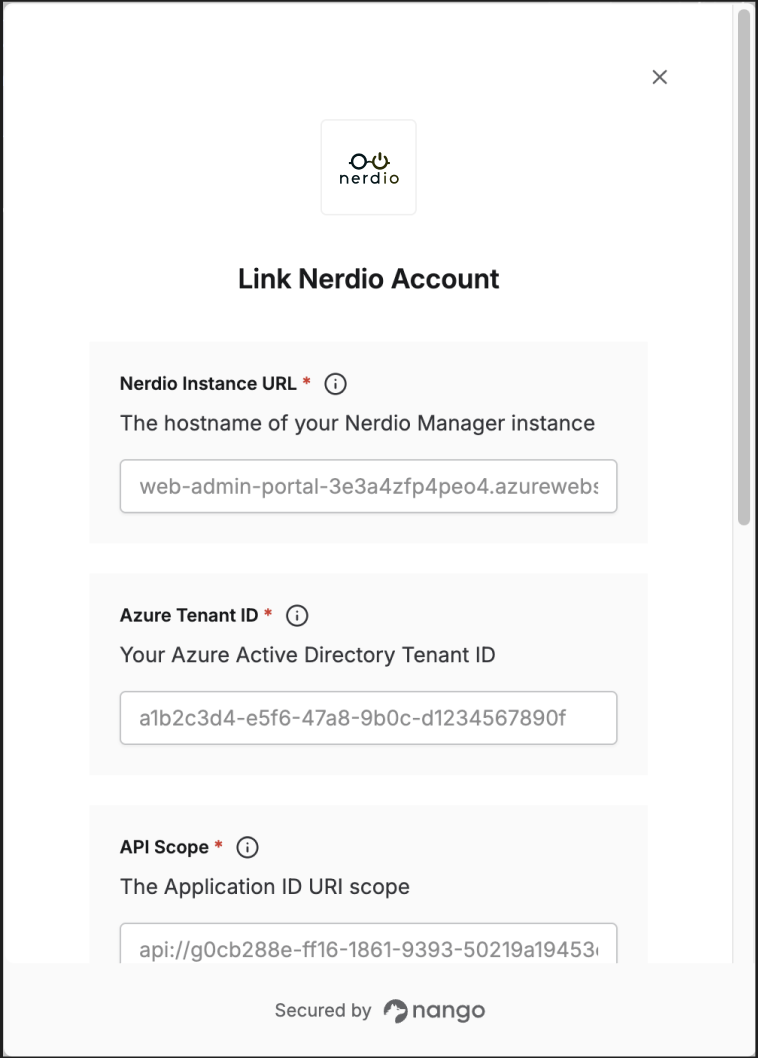
Once you have gathered all credentials:- Open the form where you need to authenticate with Nerdio.
- Enter your Nerdio Instance URL (hostname only, without https://).
- Enter your Azure Tenant ID.
- Enter your API Scope.
- Enter your Client ID and Client Secret.
- Submit the form to authenticate.