Overview
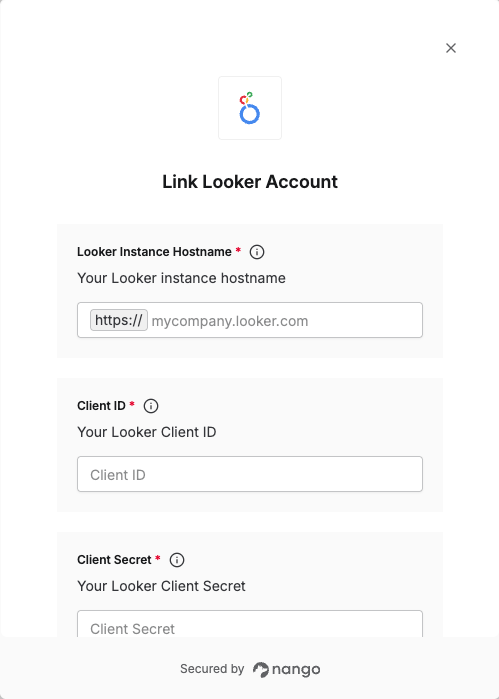
To authenticate with Looker, you will need:- Looker Instance Hostname - Your Looker instance hostname (e.g.,
mycompany.looker.com) - Client ID - A unique identifier for your client.
- Client Secret - A confidential key used to authenticate the identity of the application (client).
Prerequisites:
- You must have a Looker account with admin access
Instructions:
Step 1: Finding your Looker hostname
Your Looker instance hostname is the API URL for accessing your Looker instance’s API. The hostname format depends on your Looker instance configuration. Option 1: Check the API Host URL in Looker Admin (Recommended)- Log into your Looker instance with admin access.
- Navigate to Admin > API.
- Check the API Host URL field. This shows your configured API path.
- If an API Host URL is specified, use that value as your hostname (without the
https://prefix). - If the API Host URL field is not configured, you can use this field to assign an API path that is different from your Looker server machine name.
Step 2: Obtaining your client credentials
To generate your Client ID and Client Secret:- Log into your Looker instance with admin access.
- Navigate to Admin > Users and select your user account.
- Click the API section and select Create API3 Key.
- A new Client ID and Client Secret will be generated.
Step 3: Enter credentials in the Connect UI
Once you have your Looker Instance Hostname, Client ID, and Client Secret:- Open the form where you need to authenticate with Looker.
- Enter your Looker Instance Hostname, Client ID, and Client Secret in their respective fields.
- Submit the form, and you should be successfully authenticated.