

Pre-requisite: complete the Configuration guide.
Why tags exist
Nango uses random UUIDs as connection IDs. This means there is no built-in way to tie a Nango connection back to a user, organization, or any other entity in your system. Tags solve this: they are the bridge between a Nango connection and the entities it belongs to in your application. Their primary purpose is attribution. When a user completes an auth flow, Nango sends a success webhook containing the tags you set when creating the connect session. This lets you reconcile the webhook with the right user/org/entity on your side and store the resultingconnectionId against it.
Beyond attribution, tags are also useful for:
- Filtering connections via the API (e.g. list all connections for
organization_id = org_123) - Routing webhooks or background jobs based on connection context
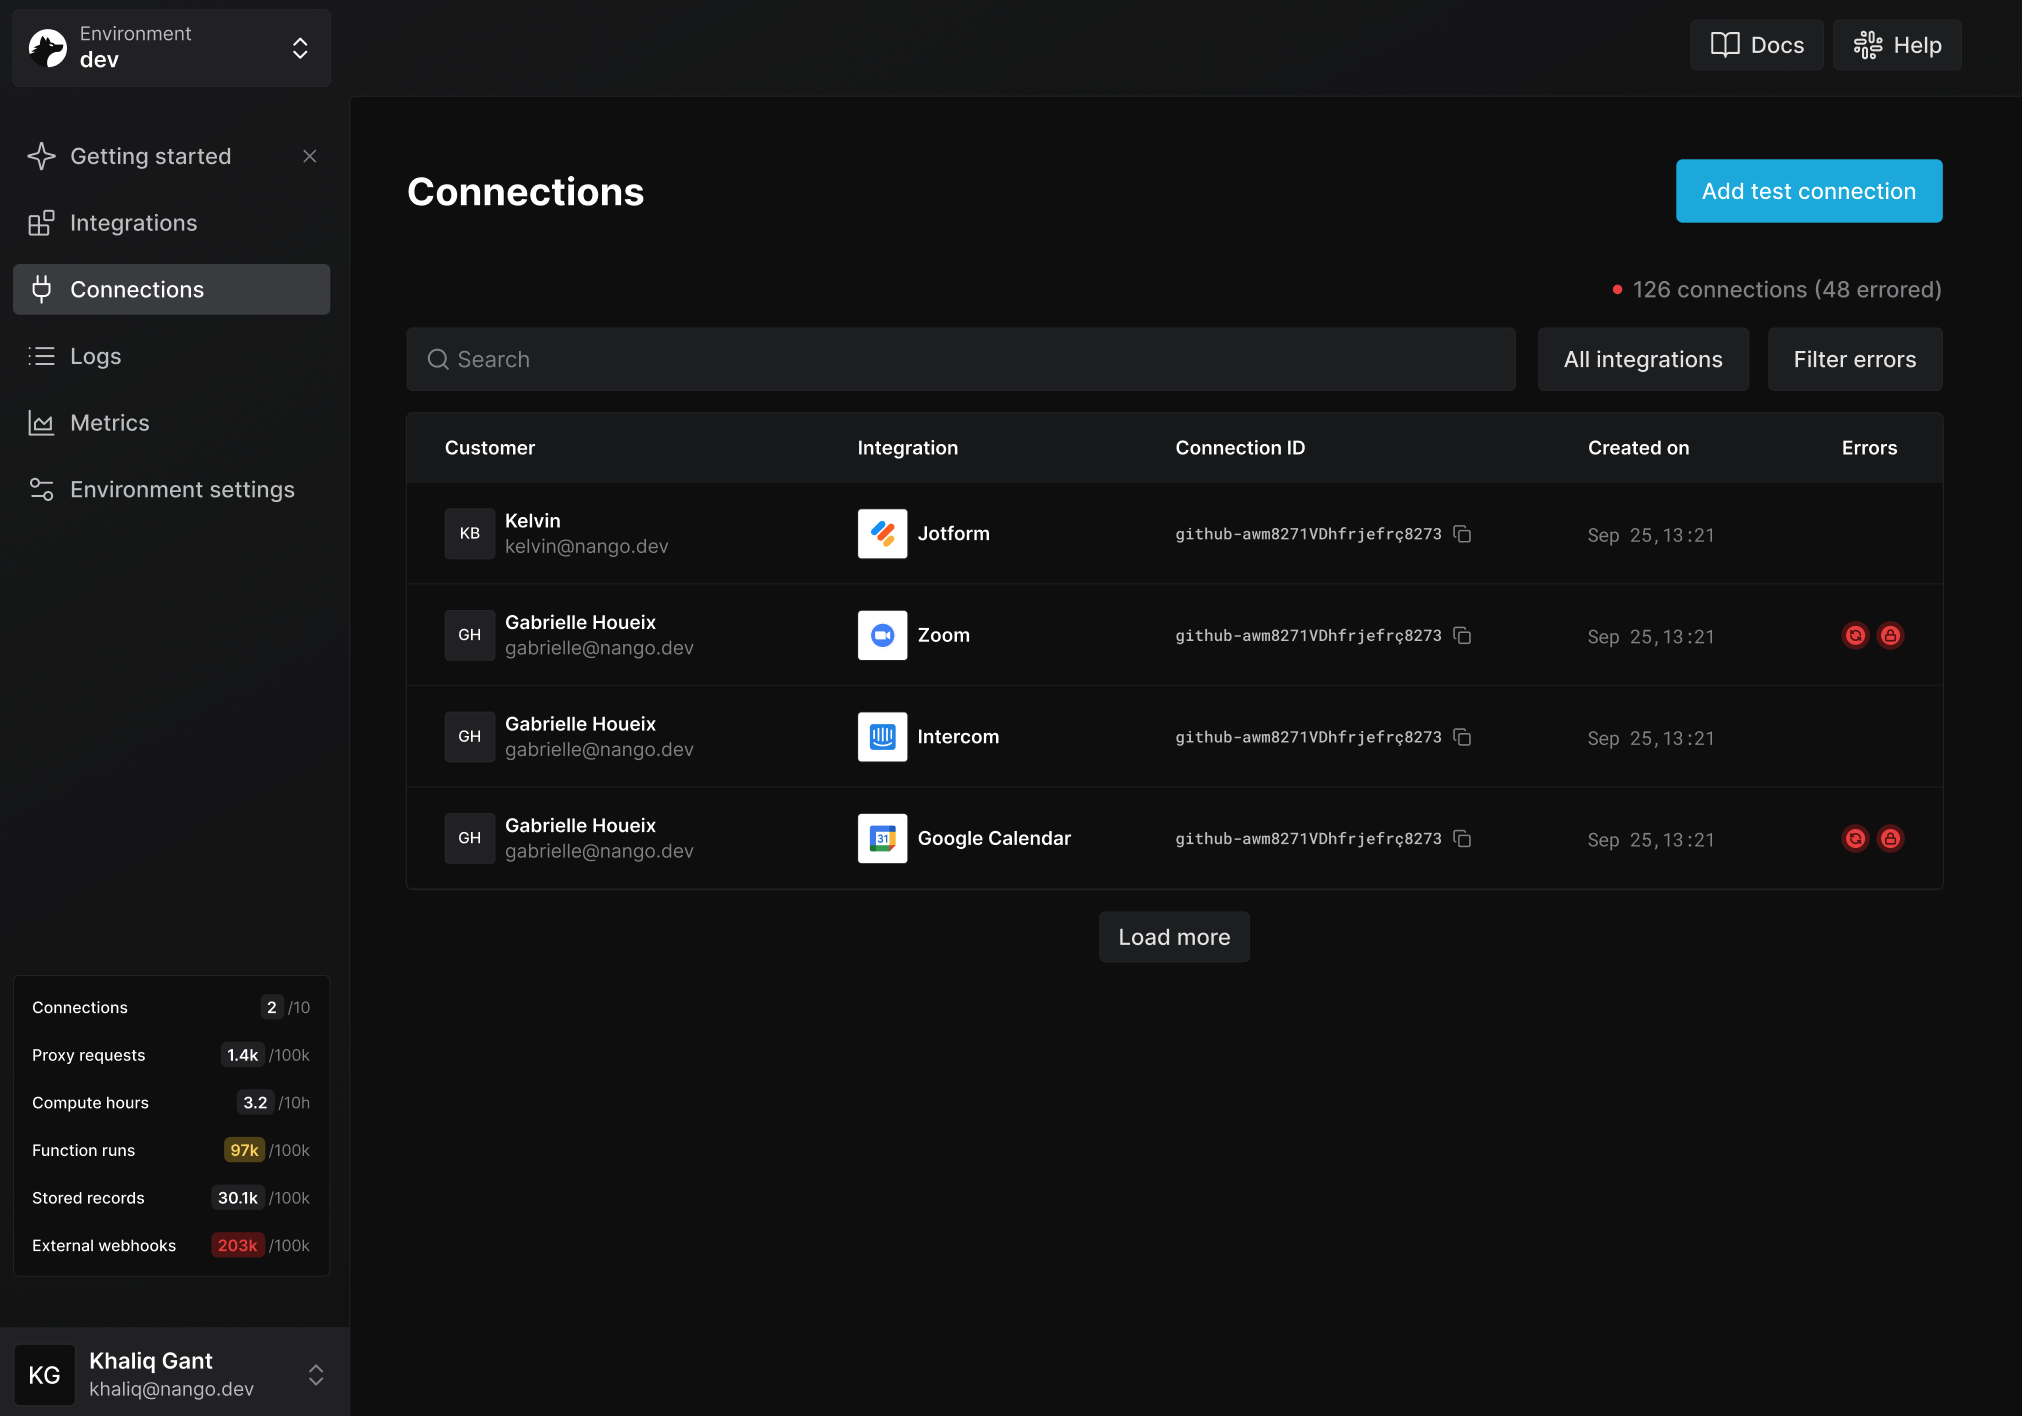
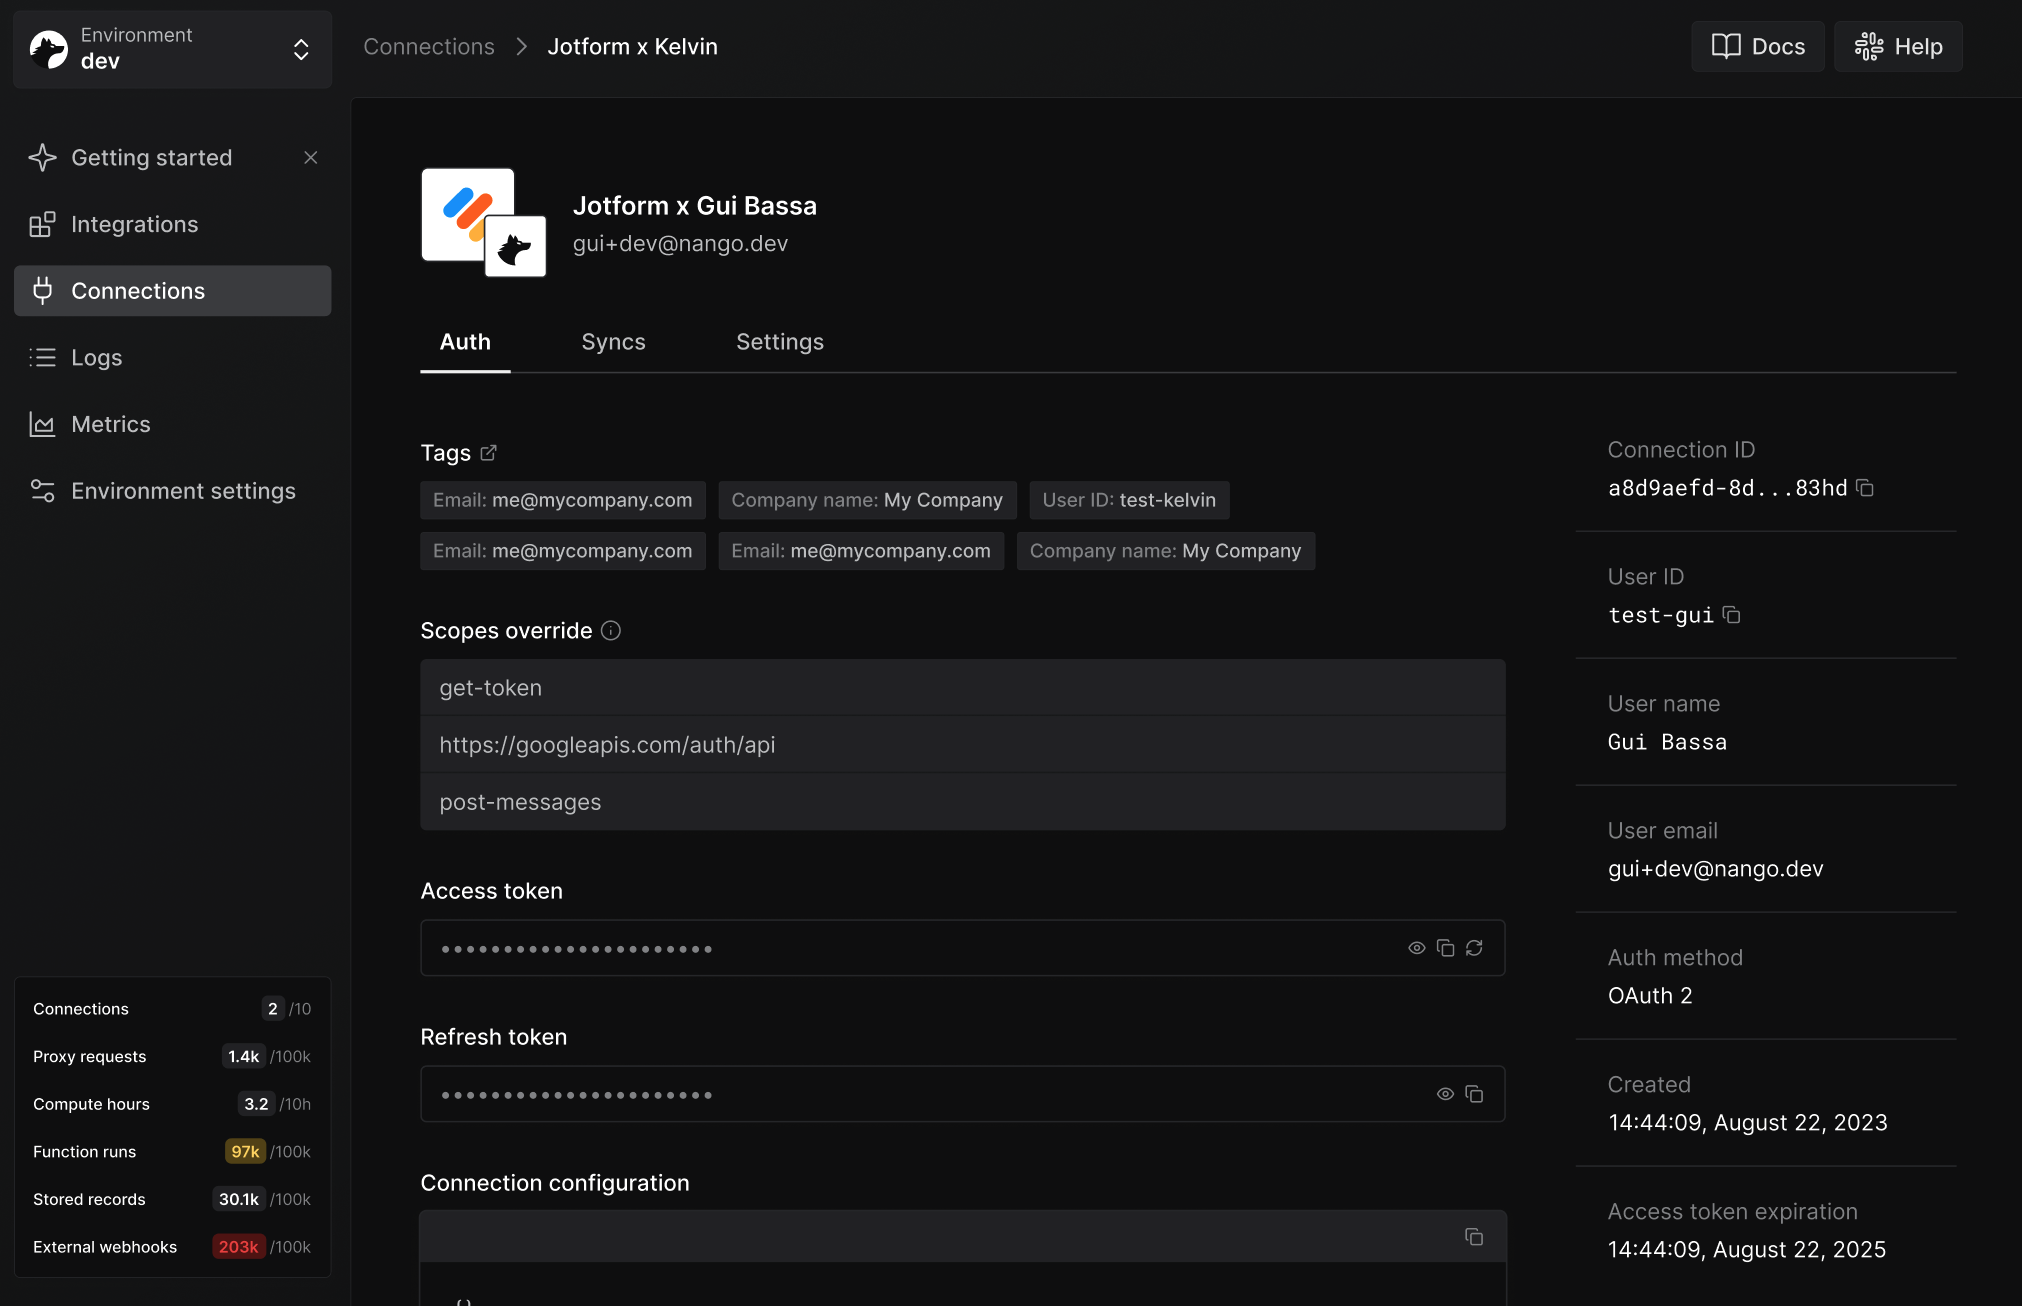
- Navigating the Nango Dashboard — all tags are visible on the Connections pages.
Recommended tags
Most apps start with these tags:end_user_idend_user_emailorganization_id
workspace_id, project_id, plan).
Tags are intentionally flexible so you can model your own tenant/user/workspace structure without being constrained to a fixed schema.
Tags are designed for identifiers and routing metadata. Avoid putting secrets or large/free-form payloads in tags.
1. Add tags when creating a Connect session
When requesting a new Connect session token from Nango, pass atags object:
- Node
- cURL
2. Read tags from the auth webhook
These tags will appear in successful auth webhooks sent by Nango:connectionId with the user/org/workspace that initiated the flow in your application.
3. Read tags from the connection
Nango also stores these tags on the connection itself.- Node
- cURL
4. Filter connections by tags
You can filter connections by tags when listing connections:- Node
- cURL
5. Update tags on an existing connection (optional)
If you need to update tags after a connection is created, patch the connection:- Node
- cURL
Updating tags replaces the whole tag object. If you want to add or remove a single tag, fetch the current connection first, merge locally, then patch.
6. Special keys
Two tag keys receive special treatment in the Nango dashboard:end_user_display_name— shown instead of the connection ID in the connections list, making it easier to identify who a connection belongs to.end_user_email— shown alongsideend_user_display_namein the connections list. The domain from the email address is also used to display the end user’s company logo on the connection detail page.
Validation rules
end_user_email: must be a valid email address (e.g.user@example.com).
Tag keys are lowercased, so
End_User_Email and end_user_email are treated as the same key.7. Limitations and rules
The tags have several limitations:- keys are automatically lowercased
- keys are case-insensitive (duplicate keys after normalization are rejected)
- keys must start with a letter and contain only alphanumerics, underscores, hyphens, periods, or slashes
- keys can be up-to 64 characters long
- only 10 tag keys per connection are allowed
- values must be non-empty strings up to 255 characters long