3 easy ways to do OAuth redirects on localhost (with HTTPS)
Problems with OAuth redirects to localhost? We have the solution for you.
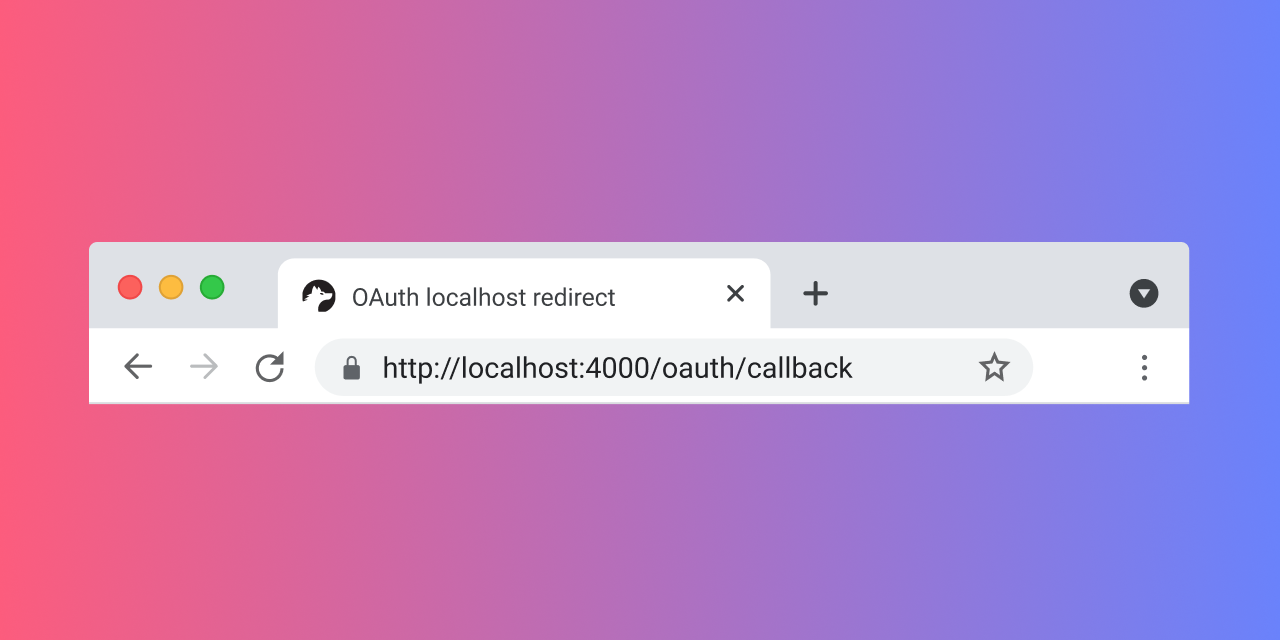
OAuth redirects on localhost can be really frustrating: You implemented the whole OAuth dance and registered your application with the OAuth provider. Now you’re finally ready for a full test!
But then you realize that the API you’re trying to run OAuth for doesn’t allow you to redirect HTTP URLs. Not even on localhost.
Some providers prohibit redirect URLs with localhost altogether.
Unfortunately, localhost redirect issues are a common problem with OAuth providers:
- Slack OAuth does not allow redirects to `http://localhost...`; they insist that your redirect URL start with `https://...`.
- The TikTok OAuth API also does not like HTTP-based redirects.
- Microsoft OneDrive OAuth API enforces HTTPS for all redirects.
- Qualtrics API OAuth has strict SSL requirements.
- Gorgias OAuth API also doesn’t like HTTP redirects on localhost.
Redirect issues are another annoyance on the long list of things that make OAuth hard.
Why require HTTPS for all OAuth redirects?
In one word: security.
When the OAuth provider redirects a user to your app, the redirect URL contains a secret authorization `code`:
Anybody who has this authorization `code` (and your OAuth `client_id` and `client_secret`) can request an access token for the user who authorized your application.
With HTTP, anybody can potentially see the secret authorization_code
The problem with HTTP is that anybody who sees the HTTP request can also see the full redirect URL with the secret authorization `code`.
This is a problem when your HTTP request travels across the internet: It will hop through different routers and servers, none of which should be able to see your secret authorization `code`. Here, HTTPS makes sense — it makes sure that the HTTP request is properly encrypted, so that only the destination web server can see the full URL and extract the code.
On localhost, HTTPS is not required
On localhost, things are different. Requiring HTTPS doesn’t make sense, because the HTTP request should never leave your local machine. When the web browser gets redirected to `http://localhost/oauth/redirect`, it will start an HTTP request for this URL by locating the web server for the `localhost` hostname.
Your operating system will detect `localhost` and directly route the network request to your application’s local process without ever leaving your machine. This means nobody ever has the chance to see your secret authorization `code` and HTTPS is not needed.

3 methods for OAuth redirects on localhost
These are easy ways to do OAuth redirects on localhost that we have tried and love.
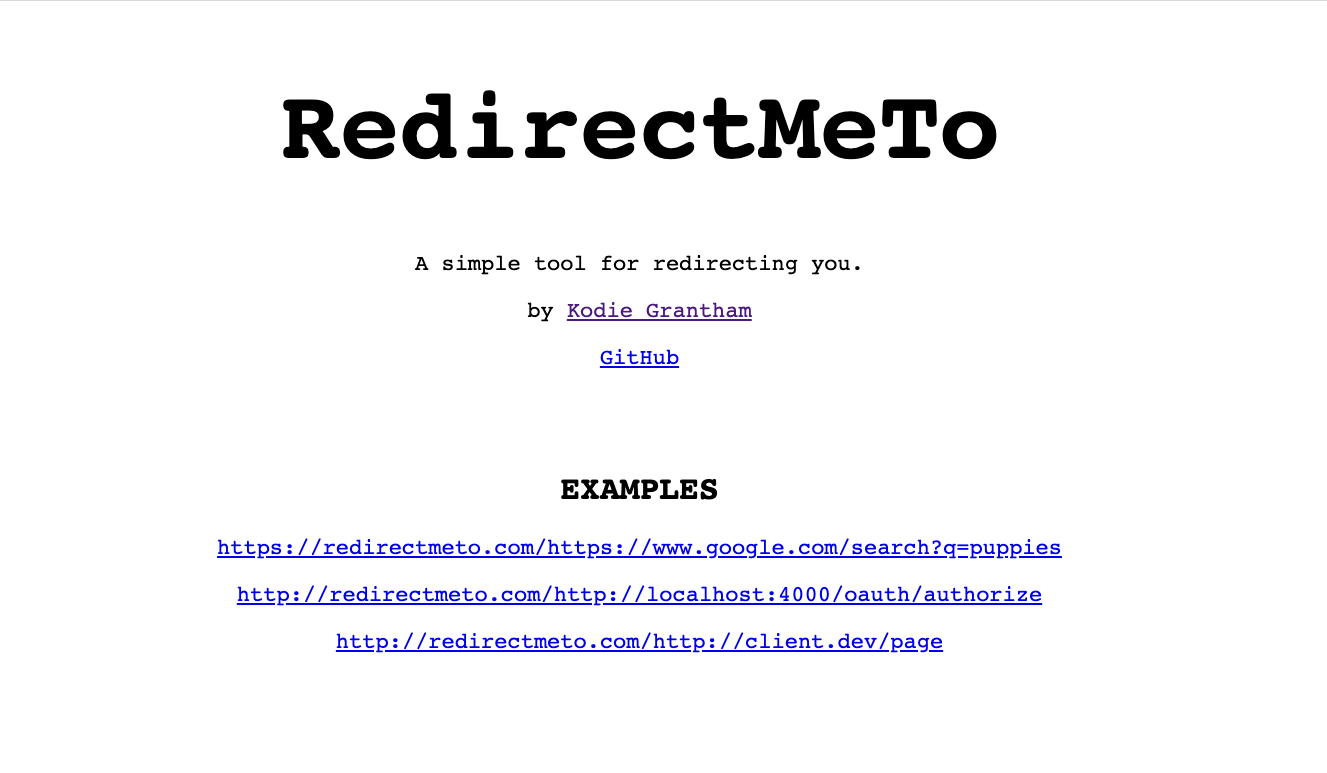
1. Using a free redirect service (for example, RedirectMeTo)
This is our favorite solution (and what we recommend to Nango API contributors).

How it works
These websites let you set up an easy redirect straight from your browser. You give them a URL where traffic should be redirected to. Then, once the redirect is activated, every request that goes to the page will be redirected to the URL you specified.
Here is how it works with RedirectMeTo: Let’s say we want to use `http://localhost:4000/oauth/authorize` as our redirect URL on localhost.
Instead of setting this URL as the redirect URL, we would register the following as the redirect URL with the OAuth provider:
When the OAuth provider redirects to the URL above, RedirectMeTo will initiate another redirect and forward users to `http://localhost:4000/oauth/authorize`. It includes all the query parameters of the original redirect request.
You can try a live example by clicking on this link: https://redirectmeto.com/http://localhost:4000/oauth/authorize?test=yes
So simple, yet so useful!
What we like
- Very simple to configure, nothing to install.
- Supports HTTPS-to-HTTP redirects.
- Has worked with every OAuth provider we’ve tried it with (dozens of them!).
What we don’t like
- You have to trust the service: They can see the full request and could intercept your authorization code. From what we know, RedirectMeTo is run by a friendly dev out of goodwill, but theoretically this is an attack vector.
- URLs get pretty long quickly (and look a bit weird).
2. Using an HTTPS tunnel to localhost (for example, ngrok)
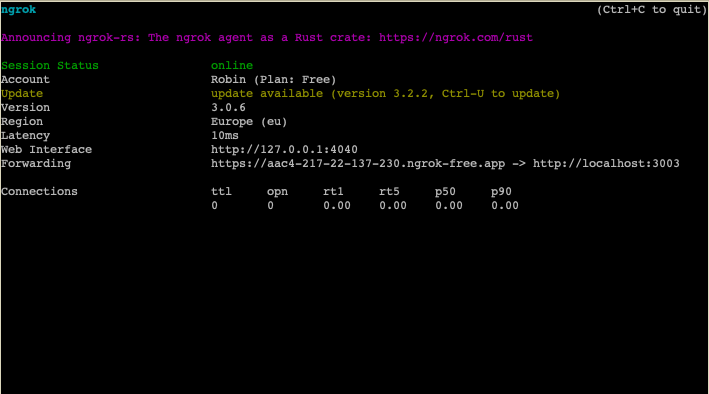
Another fairly simple solution is using a service that tunnels traffic from an HTTPS URL to your localhost. Ngrok is the most popular solution here, but there are others.
And they all work in the same way: You run a command in your terminal to start a tunnel for a specific port on localhost. You then get an external HTTPS URL that forwards the traffic to localhost for you.

What we like
- Versatile, can be used for all sorts of traffic forwarding.
- Control over the forwarding URL — Ngrok (and others) let you use custom subdomains or domains.
- Traffic logs make debugging easier.
What we don’t like
- With ngrok, you quickly run into paywalls (others might be more generous).
- Forwarding URLs change with every invocation (with the free version).
- Ngrok (and presumably others) have warning screens before the first redirect to fight abuse.
- Another service you have to install, update, and run for development and testing.
3. Enabling HTTPS for your app running on localhost (so you can do `https://localhost`)
This one is a bit more complex than the other two options and takes more time to set up.
But it might be a good solution for you if you run into other HTTP-related issues on localhost and want to use HTTPS in all environments.
Broadly speaking, you’ll need to:
- Generate an SSL certificate for localhost on your machine.
- Install that certificate on your local machine (so browsers can find it).
- Tell your HTTP server that you want it to use the SSL certificate.
If you’re interested in this option, we recommend that you start with this Stack Overflow question. It outlines several different ways to set up HTTPS on your local machine.
Outdated solutions for OAuth redirects on localhost
Unfortunately, some of the solutions we found on the internet for localhost OAuth 2 redirects no longer work or have issues. We’re listing them here in the hope that you can avoid them and save some time. :)
Be careful with these:
- Self-signed certificates for `https://localhost`: These can work, but they’re pretty hard to make work well (and easy to get wrong). We don’t recommend this solution unless you already have a working setup. It’s not worth the hassle just for OAuth redirects.
- Using URL shorteners such as bit.ly: This used to work but no longer does. A few years ago, you could just shorten your `http://localhost/oauth/callback` link to `https://bit.ly/oauth`, and it would work. But bit.ly (along with every other major URL forwarder) has stopped following localhost redirects, due to security concerns.
- Setting an alias domain or host name in your `/etc/hosts` file: This trick can work if the OAuth provider doesn’t allow `localhost` as the callback domain. But it won’t help with the HTTPS issue. The advantage of the recommended solutions outlined previously is that they get around all the OAuth redirect issues you might run into on localhost.
- Not forwarding URL query parameters: Make sure that query parameters are forwarded; otherwise, your redirects will be broken. Unfortunately, not all the forwarding services we tested did this.
Final Thoughts
OAuth redirects on localhost can be annoying. Many OAuth 2.0 providers prohibit using redirect URLs with HTTP, even for localhost. Some also entirely prohibit redirecting to localhost.
Luckily, there are some workarounds: Redirecting websites and HTTPS tunnels make it possible to also run OAuth flows on localhost. A more involved solution is to set up an SSL certificate for your machine.
Finally, there are open-source OAuth solutions like Nango, which let you avoid the pains of OAuth all together. Nango provides prebuilt OAuth flows, automatic token refreshes, and HTTPS-based redirect URLs for more than 100 APIs that use OAuth 2.


.jpg)

.png)

