> ## Documentation Index
> Fetch the complete documentation index at: https://nango.dev/docs/llms.txt
> Use this file to discover all available pages before exploring further.
# Razorpay - How do I link my account?
# Overview
To authenticate with Razorpay, you will need:
1. **Key ID** - A unique identifier for your Razorpay account, used for API authentication.
2. **Key Secret** - A secure key used alongside the Key ID to authorize API requests.
This guide will walk you through finding these credentials within Razorpay.
### Prerequisites:
* You must have an account with Razorpay.
* You must activate your account to make live payouts. To activate your account, provide the following KYC information from your Dashboard:
1. Contact Info
2. Business Details
3. Your Bank Account Information
4. Business Documents such as ID proof, Business Registration proof and Company PAN.
### Instructions:
#### Step 1: Finding your Key ID and Secret
1. Sign in to your [Razorpay](https://x.razorpay.com/) account.
2. Navigate to the user icon in the top-right corner of the screen and click **My Profile → My Accounts & Settings**.
3. Navigate to **Developer Controls** and click **Generate** Key.
When generating API keys in Live mode, you must enter the OTP sent to you. This is to authorize the new user generating a new set of keys.
4. Download the keys when the pop-up appears.
#### Step 2: Enter credentials in the Connect UI
Once you have your **Key ID** and **Key Secret**:
1. Open the form where you need to authenticate with Razorpay.
2. Enter your **Key ID** and **Key Secret** in their respective fields.
3. Submit the form, and you should be successfully authenticated.
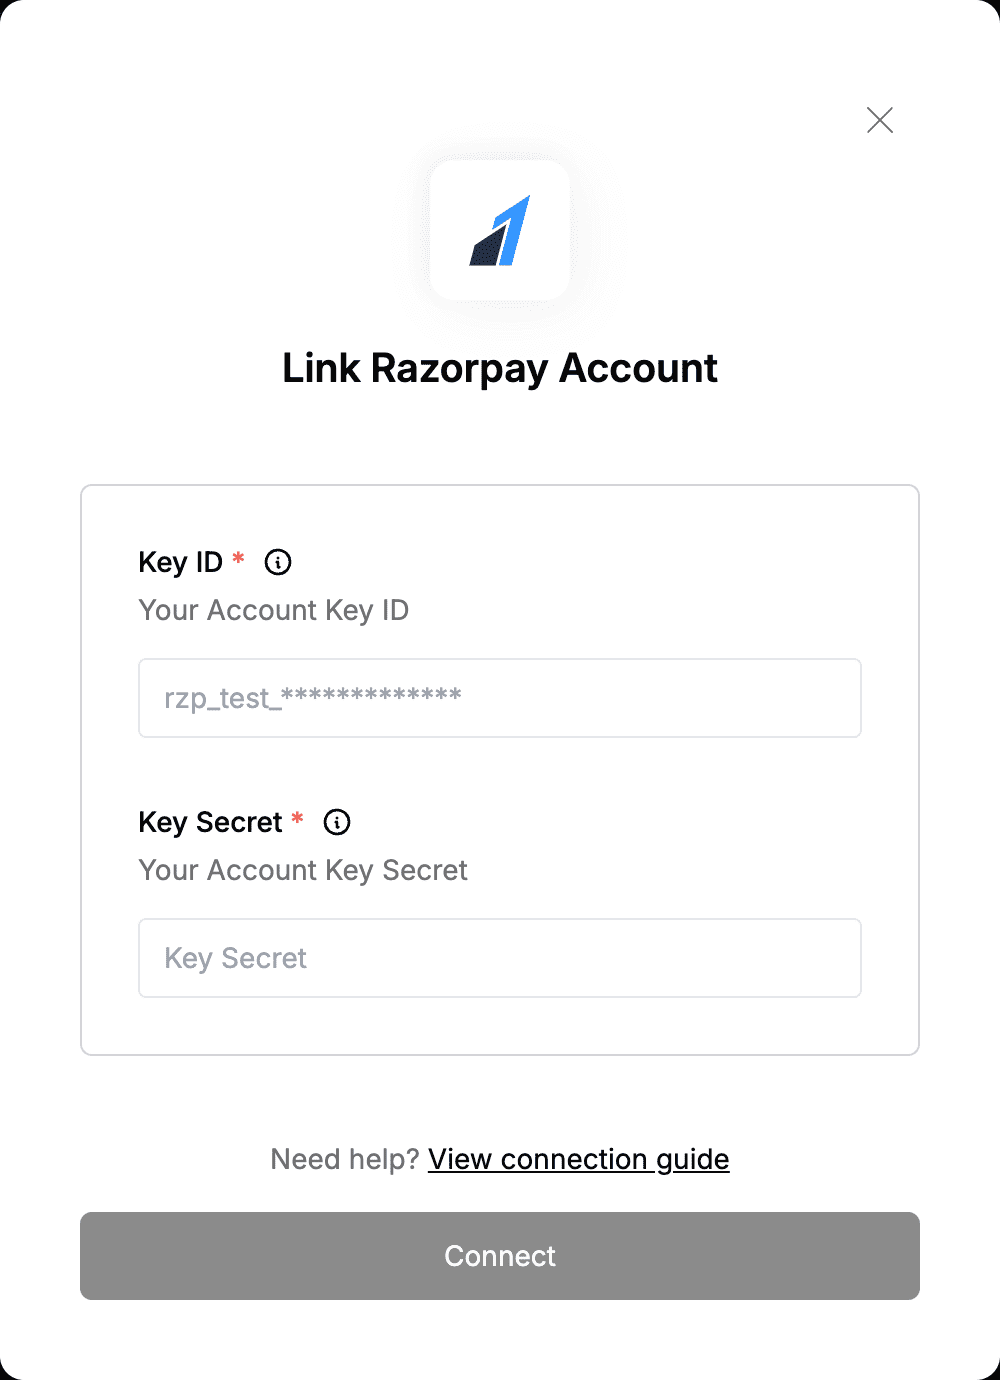 You are now connected to Razorpay.