> ## Documentation Index
> Fetch the complete documentation index at: https://nango.dev/docs/llms.txt
> Use this file to discover all available pages before exploring further.
# Grammarly SCIM - How do I link my account?
# Overview
To authenticate with Grammarly SCIM, you need:
1. **API Key** - A unique key used to authenticate your application with the Grammarly SCIM API.
This guide will walk you through generating and using this API key within Grammarly.
### Prerequisites:
* You must have a Grammarly Enterprise or Education account with admin access.
### Instructions:
#### Step 1: Finding Grammarly SCIM Credentials
1. Log in to your Grammarly account.
2. Go to the **Provisioning** page and click **Configure**.
3. Click the **Activate SCIM** button.
4. Generate a SCIM token by clicking the **Create token** link.
5. Copy the SCIM token for future use, click **Got it**, and close the window.
6. Check the **Enable provisioning features** box.
7. Click **Configure API Integration**.
8. Check the **Enable API integration** box.
9. Enter the API Token provided by Grammarly (from Step 4 above).
10. Click **Test API Credentials**—if successful, a verification message appears at the top of the screen.
11. Click **Save**.
12. Select **To App** in the left panel, then select the **Provisioning Features** you want to enable.
#### Step 2: Enter credentials in the Connect UI
Once you have your **API Key**:
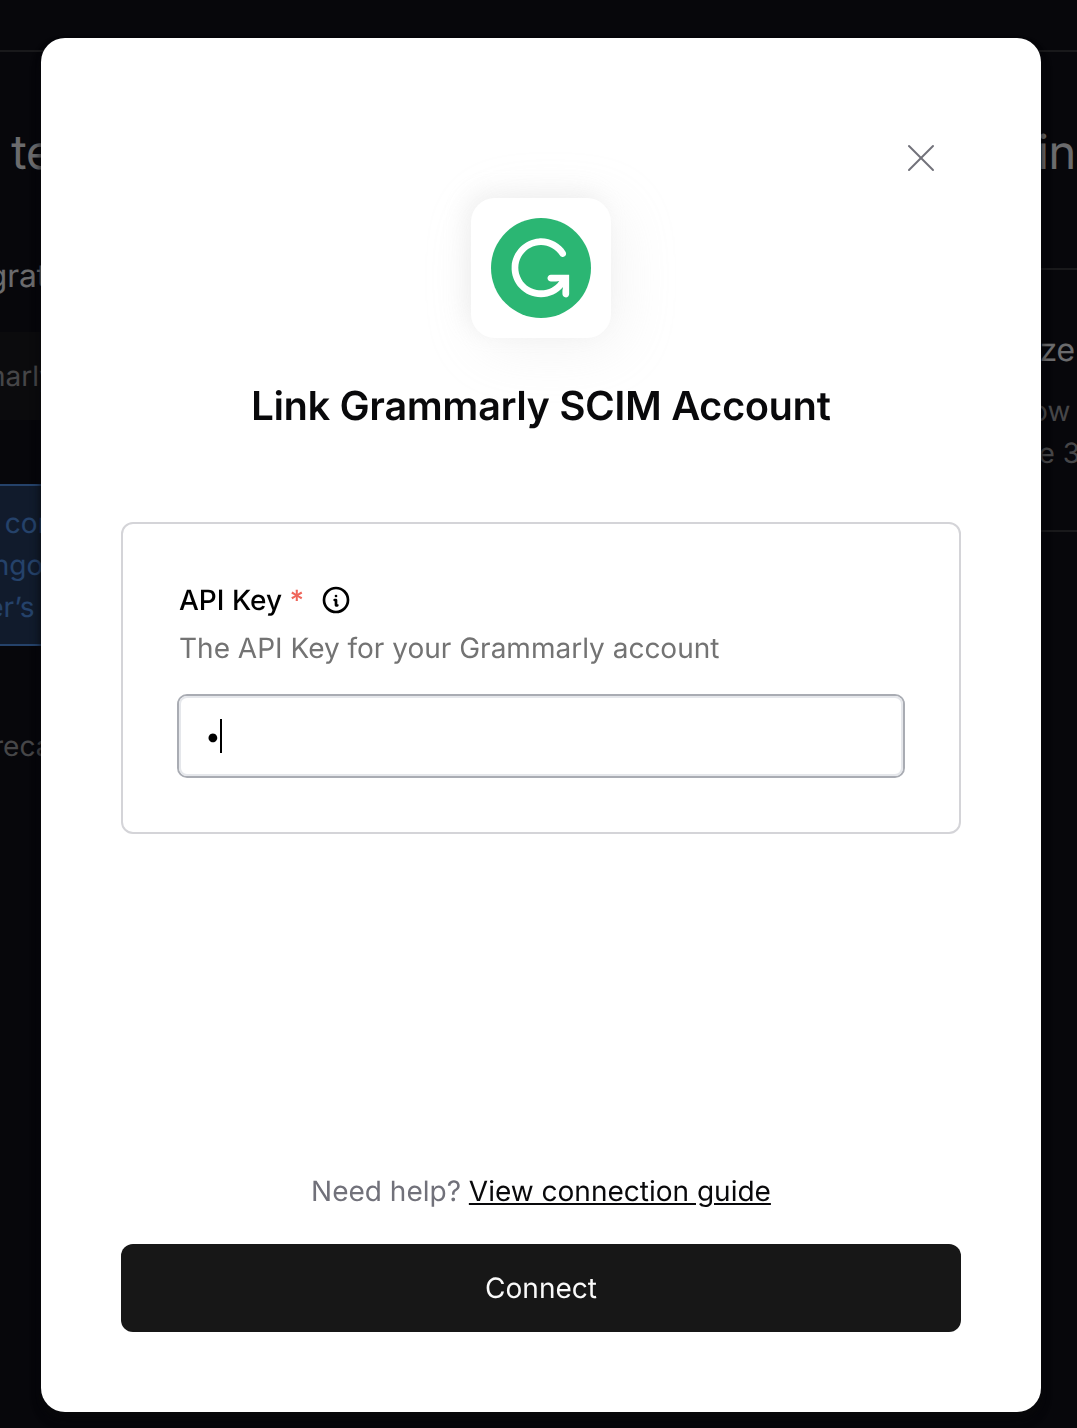
1. Open the form where you need to authenticate with Grammarly SCIM.
2. Enter the **API Key** in its designated field.
3. Submit the form, and you should be successfully authenticated.
 You are now connected to Grammarly SCIM.
The SCIM API supports the following operations:
* Create, read, update, and delete users
* Create, read, update, and delete groups
* Add and remove users from groups
You are now connected to Grammarly SCIM.
The SCIM API supports the following operations:
* Create, read, update, and delete users
* Create, read, update, and delete groups
* Add and remove users from groups