> ## Documentation Index
> Fetch the complete documentation index at: https://nango.dev/docs/llms.txt
> Use this file to discover all available pages before exploring further.
# ServiceNow (JWT) - How do I link my account?
# Overview
To authenticate with ServiceNow using JWT bearer authentication, you need:
1. **Domain** - Your ServiceNow instance's full hostname, such as `dev12345.service-now.com`.
2. **Client ID** - The unique identifier for your ServiceNow OAuth JWT application.
3. **Client Secret** - The confidential key for your OAuth JWT application.
4. **Key ID** - The key identifier from your ServiceNow JWT verifier map.
5. **Private Key** - The RSA private key matching your ServiceNow certificate.
6. **User Identifier** - The user's value for the application's configured **User Field**.
This guide walks you through configuring OAuth JWT bearer authentication in ServiceNow and obtaining these credentials.
### Prerequisites:
* Administrator access to a ServiceNow instance.
* A ServiceNow user with the roles needed for the APIs you plan to call.
* OpenSSL to generate an RSA private key and certificate.
### Instructions:
#### Step 1: Find your ServiceNow domain
Copy the hostname of your ServiceNow instance, such as `dev12345.service-now.com`. Do not include `https://` or a path.
#### Step 2: Generate a private key and certificate
Generate an RSA private key and a certificate containing its public key:
```bash theme={null}
openssl genpkey -algorithm RSA -pkeyopt rsa_keygen_bits:2048 -out servicenow.key
openssl req -new -x509 -key servicenow.key -out servicenow.crt -days 365
```
Keep `servicenow.key` private. Upload `servicenow.crt` to ServiceNow by opening `sys_certificate.list`, creating a certificate record, and providing the certificate contents.
The certificate expires after 365 days. Before it expires, upload a replacement certificate, update the JWT verifier map, and update the private key in Nango if you generate a new key pair.
#### Step 3: Create an OAuth JWT API endpoint
1. In ServiceNow, open **System OAuth > Application Registry**.
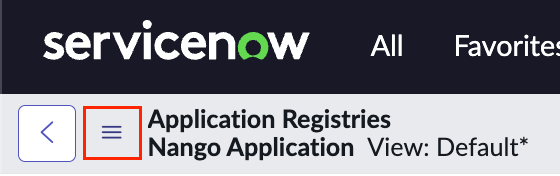 2. Select **New > Create an OAuth JWT API endpoint for external clients**.
3. Enter a name and select the **User Field** used to identify users in the `sys_user` table.
4. Save the application and copy its **Client ID** and **Client Secret**.
5. Copy the configured user's value for the selected **User Field**. For example, if **User Field** is **Email**, use the user's email address. If it is **User ID**, use the user's ServiceNow username.
#### Step 4: Create a JWT verifier map
1. Open the OAuth JWT application you created.
2. In the **JWT Verifier Maps** related list, select **New**.
3. Enter a **Key ID**, such as `nango-servicenow-key`.
4. Select the certificate uploaded in step 2 and save the verifier map.
#### Step 5: Connect in Nango
Once you have your credentials:
1. Open the form where you need to authenticate with ServiceNow.
2. Enter your **Domain**, **Client ID**, **Client Secret**, **Key ID**, **Private Key**, and **User Identifier** in their designated fields.
2. Select **New > Create an OAuth JWT API endpoint for external clients**.
3. Enter a name and select the **User Field** used to identify users in the `sys_user` table.
4. Save the application and copy its **Client ID** and **Client Secret**.
5. Copy the configured user's value for the selected **User Field**. For example, if **User Field** is **Email**, use the user's email address. If it is **User ID**, use the user's ServiceNow username.
#### Step 4: Create a JWT verifier map
1. Open the OAuth JWT application you created.
2. In the **JWT Verifier Maps** related list, select **New**.
3. Enter a **Key ID**, such as `nango-servicenow-key`.
4. Select the certificate uploaded in step 2 and save the verifier map.
#### Step 5: Connect in Nango
Once you have your credentials:
1. Open the form where you need to authenticate with ServiceNow.
2. Enter your **Domain**, **Client ID**, **Client Secret**, **Key ID**, **Private Key**, and **User Identifier** in their designated fields.
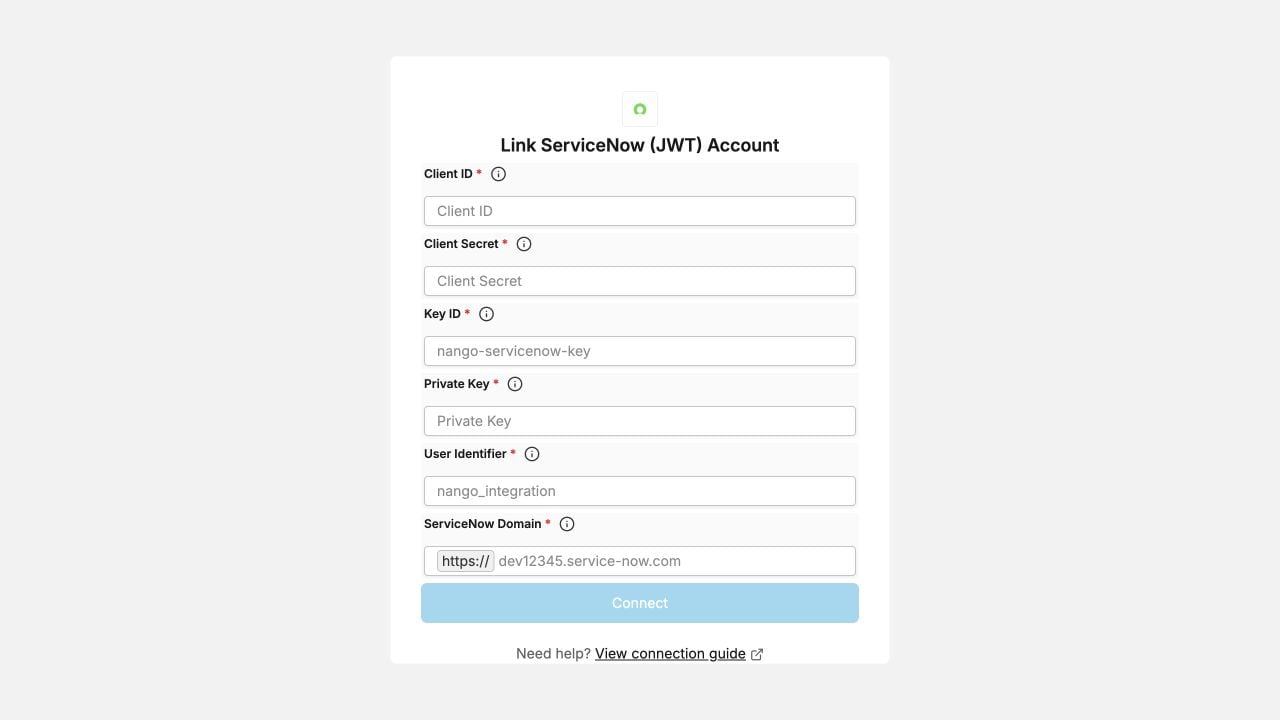 3. Submit the form.
You are now connected to ServiceNow.
3. Submit the form.
You are now connected to ServiceNow.