> ## Documentation Index
> Fetch the complete documentation index at: https://nango.dev/docs/llms.txt
> Use this file to discover all available pages before exploring further.
# Glean - How do I link my account?
# Overview
To authenticate with Glean, you need:
1. **Server URL** — your Glean instance's server URL.
2. **API Token** — a Glean-issued token, generated in the Glean admin console.
3. **Act As** (optional) — the email of the user to act as. Only relevant for global tokens, which Glean rejects without it.
### Prerequisites
* A Glean account with access to create API tokens (Super Admin, Admin, or API Token Creator role — see Glean's Administrator Roles matrix for the exact permission breakdown).
### Instructions
#### Step 1: Finding your server URL
1. In the Glean admin console, go to [About Glean](https://app.glean.com/admin/about-glean).
2. Find the **Server instance (QE)** field — this is your server URL.
For example, if the field shows `https://acme-prod-be.glean.com/`, your server URL is `acme-prod-be.glean.com`.
This is the same regardless of whether Glean runs in Glean's cloud or in your own cloud (cloud-prem) — only the underlying infrastructure location differs, not how you find or use the server URL.
When someone logs in to Glean directly, the app resolves the correct server automatically from their email domain, so end users never see this URL. Nango isn't logging in through that flow, so you (an admin) still need to look it up manually once and enter it here.
#### Step 2: Generating your API token
1. In the [Admin Console](https://app.glean.com/admin/), go to **Platform > API tokens**.
2. Click **Add token**.
3. Give the token a name.
4. Choose its permissions — either global, or scoped to what your integration needs (for example `SEARCH`, `CHAT`).
5. Set an expiration date — choose a longer one to avoid having to rotate the token frequently.
6. Save the token.
The token secret is shown only once, at creation. Copy and store it securely before leaving the page — you won't be able to view it again.
Tokens can be **user-scoped** (act as the creating user) or **global** (act as any user, super admin only). Global tokens need an email to act as on every request — Glean rejects requests from a global token without one.
#### Step 3: Setting your Act As email
If you created a **global** token, enter the email of the user Nango should act as in the **Act As** field. If you created a **user-scoped** token, skip this and leave **Act As** blank.
#### Step 4: Enter credentials in the Connect UI
Once you have your **Server URL**, **API Token**, and (if applicable) **Act As** email:
1. Open the form where you need to authenticate with Glean.
2. Enter your **Server URL** and **API Token** in the fields provided.
3. If you're using a global token, enter the email to act as in the **Act As** field. Leave it blank for a user-scoped token.
4. Submit the form, and you should be successfully authenticated.
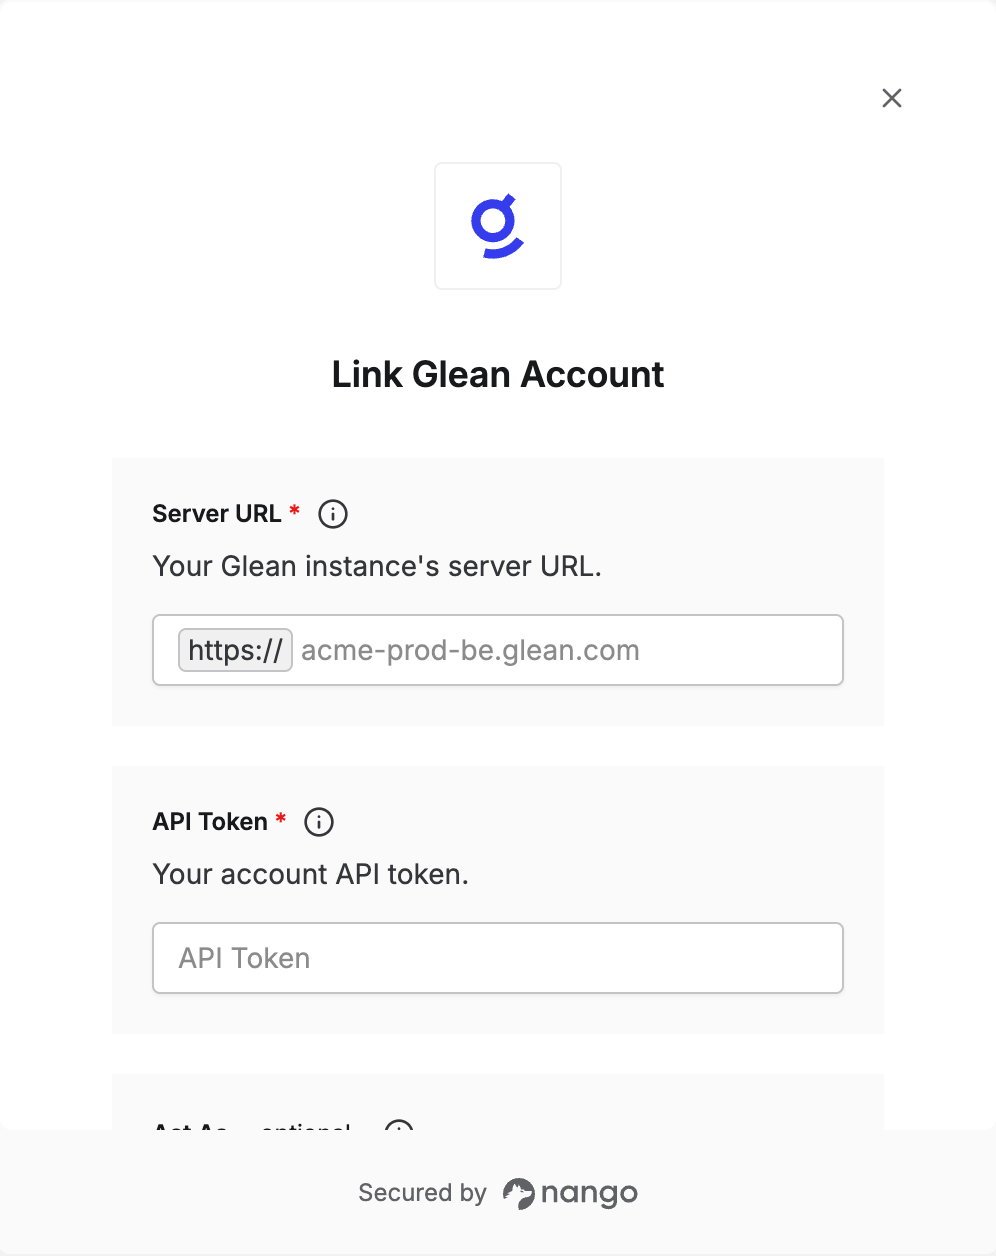 You are now connected to Glean.