> ## Documentation Index
> Fetch the complete documentation index at: https://nango.dev/docs/llms.txt
> Use this file to discover all available pages before exploring further.
# How to obtain your Axiom API token
# Overview
To authenticate with Axiom, you will need:
1. **Edge / region (subdomain)** – For ingest and query, use your edge deployment; for all other endpoints you can use the default `(api)`.
2. **API token** – A key that grants Nango permission to interact with Axiom's API resources and services.
This guide covers configuring the base domain and creating an **API token** (basic or advanced).
### Prerequisites
* An [Axiom](https://axiom.co) account
#### Step 1: Finding your subdomain
The base domain of an API request depends on the operation:
* **Ingest and query** – Use the base domain of your [edge deployment](https://axiom.co/docs/reference/edge-deployments) (see table below).
* **All other API endpoints** – Use `api`.
In Nango, enter the **subdomain** that corresponds to your edge (the part before `.axiom.co`):
| Edge deployment | Subdomain (enter in Nango) |
| ------------------ | -------------------------- |
| US East 1 (AWS) | `us-east-1.aws.edge` |
| EU Central 1 (AWS) | `eu-central-1.aws.edge` |
#### Step 2: Generating your API token
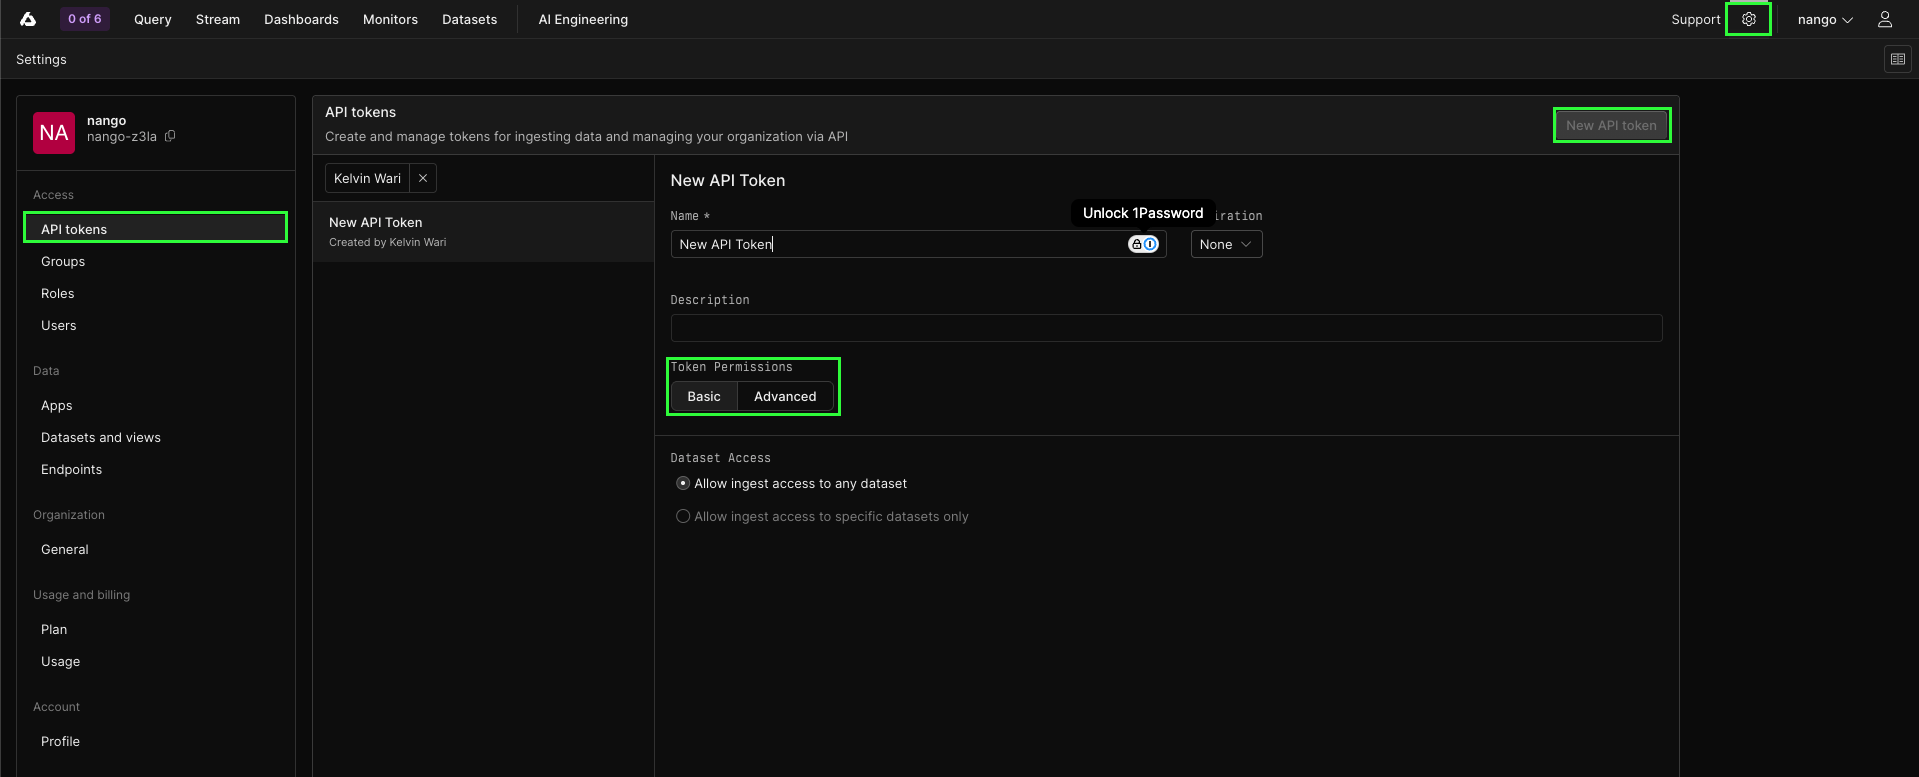
1. In Axiom, go to **Settings** → **API tokens**, then click **New API token**.
2. Name your API token.
3. Optional: Add a description and set an expiration date.
4. Under **Token permissions**:
* **Basic** – for ingesting data; select which datasets the token can access.
* **Advanced** – for querying, managing datasets, and other actions; select datasets and actions.
 5. Click **Create**.
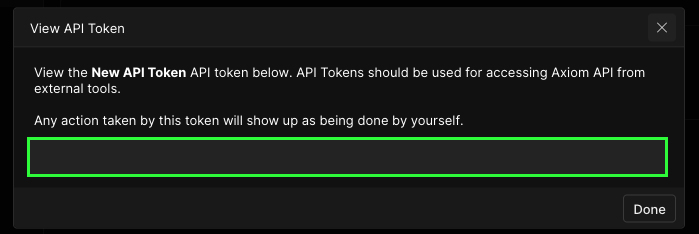
6. Copy the API token and store it securely. It won’t be shown again.
5. Click **Create**.
6. Copy the API token and store it securely. It won’t be shown again.
 Generate **API tokens** when needed instead of [Personal access tokens (PAT)](https://axiom.co/docs/reference/tokens#personal-access-tokens-pat), as PATs provide full control over your Axiom account.
#### Step 3: Enter credentials in the Connect UI
Once you have your **API token**:
1. Open the form where you need to authenticate with Axiom
2. Enter your **API token** in their respective fields
3. Submit the form, and you should be successfully authenticated
Generate **API tokens** when needed instead of [Personal access tokens (PAT)](https://axiom.co/docs/reference/tokens#personal-access-tokens-pat), as PATs provide full control over your Axiom account.
#### Step 3: Enter credentials in the Connect UI
Once you have your **API token**:
1. Open the form where you need to authenticate with Axiom
2. Enter your **API token** in their respective fields
3. Submit the form, and you should be successfully authenticated
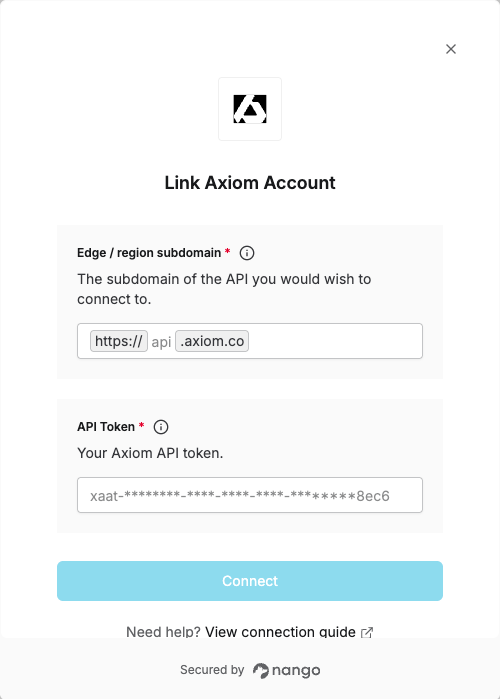 You are now connected to Axiom.